
Turn ordinary property photos into market-ready visuals
- AI tools
- 11 AI tools
- tool families
- 4 tool families
- per render
- Seconds per render
- installs · runs in browser
- 0 installs · runs in browser
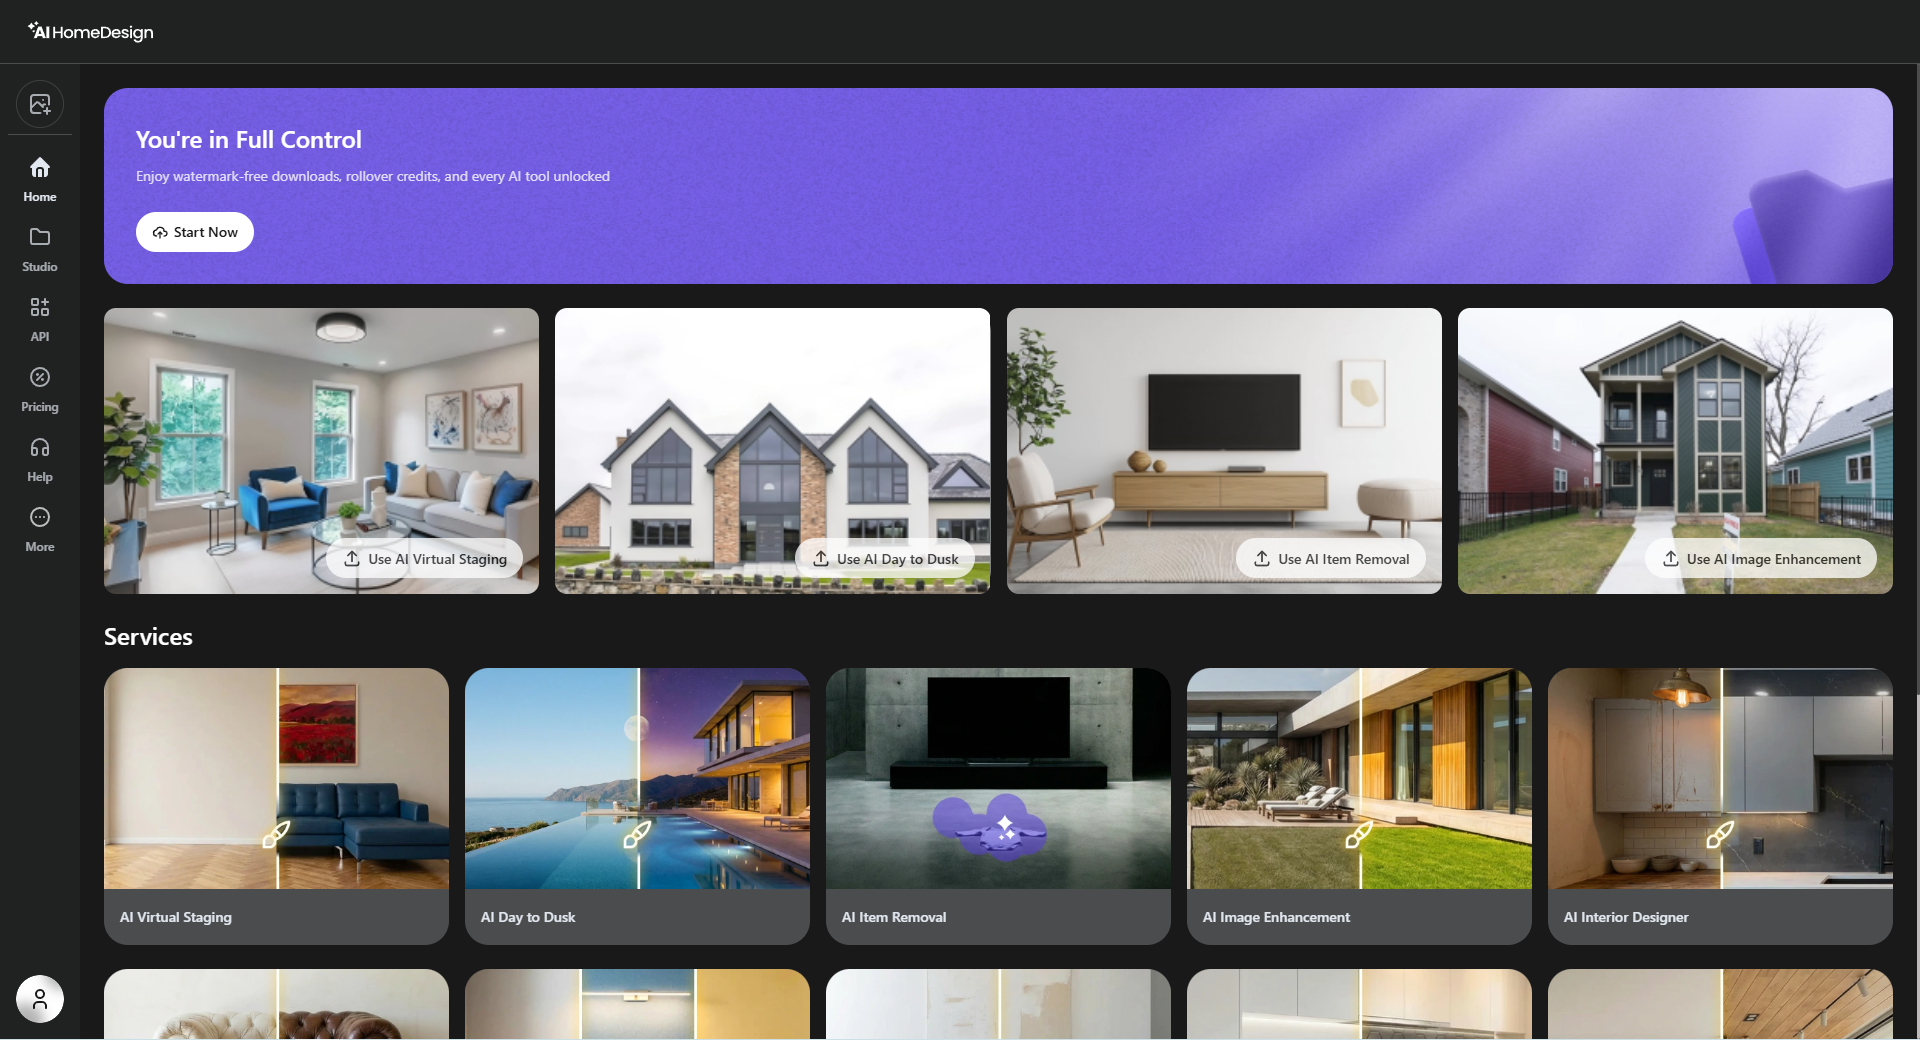
- app.aihomedesign.com
- Watermark-free downloads
- Free regenerations
Overview
What is AI HomeDesign?
From one photo you can furnish empty spaces, restyle interiors, change walls / floors / ceilings, remove clutter, enhance lighting, and convert daytime exteriors to twilight. Everything runs in the browser at app.aihomedesign.com — there is nothing to install.
- Furnish empty rooms
- Redesign interiors
- Swap finishes
- Remove items
- Enhance photos
- Day → Dusk
Getting started
Create an account & sign in
Sign in. Open the account button (bottom-left), choose Login, then continue with Google, Apple, or email. New here? Use Create an Account.
Quick onboarding. On first use, a short “Which best describes you?” step tailors suggestions to your role. You can close it and start any time.
Go to the app
Open app.aihomedesign.com in any modern browser.
Open the account button
It sits at the bottom-left of the sidebar. Click Login in the menu that opens.
Pick a sign-in method
Continue with Google or Apple, or use Log in with Email. New users tap Create an Account.
Choose your role
Answer the one-step onboarding so the dashboard can tailor suggestions — then you’re in.
Orientation
The interface at a glance
Home — marketing / landing entry point with quick-start tool cards and a Services showcase. The + button (top of the sidebar) skips Home entirely and opens the uploader straight away.
Studio — your workspace: all projects and files.
API — API keys & webhooks (for developers).
Pricing — plans and credits.
Help — support contact.
More — extra links and settings.
Account (bottom-left) — profile, plan, credits, Add Coins, Color Mode (light/dark), Brand Center, Billing, Logout.
Account menu. See your plan, remaining Photos (credits) and days until renewal, top up with Add Coins, flip Color Mode, or open Brand Center.
Workspace
The Studio
Studio. Projects group all photos & designs for one property; loose photos land in Single Files. Both are sortable, and storage is unlimited on paid plans.
Projects
A Project is a folder for one property (e.g. “2347 W Grand Ave, Chicago IL 60612”). Each card shows the name, last-modified date and file counts. Use Create Project to start one, and Sort by: Newest to organize.
Single Files
Photos you process without a project appear under Single Files, also sortable. Use Load More to page through large libraries.
Step 1 of every tool
Uploading photos
Four ways in: Upload Photos from your device, pick an example image, Import from listing (paste a listing URL), or Pick from your projects to reuse a saved photo.
Upload Photos
Pick image files from your computer — drag & drop or add several at once.
Pick an example image
Try the tools instantly on one of the built-in sample photos.
Import from listing
Paste a listing URL to pull photos straight from it.
Pick from your projects
Reuse a photo already saved in your Studio.
Smart suggestions
Single photo. The app suggests a tool chain under the photo (e.g. Day to Dusk › Item Removal). Tap One-Tap Edit to run the whole chain automatically, or pick tools yourself.
Bulk photos. Tap photos to select or deselect, then Edit N Photos to process the batch — uses 1 credit per photo.
The core loop
How generation works
The workspace. Your photo fills the canvas; pick a tool from the Tools row (or View All for the full catalog) to open its configuration.
Pick the room type. Open Space and choose the room — bedroom, living room, dining room, studio, home office and more.
Pick a style. The Style panel shows visual thumbnails — Prime, American, Luxury, Modern, Scandinavian, Farmhouse and more (open View All for the rest).
Add your photo
Upload, pick an example, import a listing, or reuse a saved photo (see above).
Select a tool
Choose from the Tools row, or View All for the full catalog.
Set the configuration
Room type, style, material and any tool-specific options (e.g. Remove Furniture) in the panel that opens.
Generate
The AI processes the photo; the button shows the estimated time. Regenerating is always free — see how credits are spent for the exact rules per plan and tool.
Refine & download
Compare before/after, chat or chain another tool on the result under Refine Your Result, or download.
The toolkit
The 11 AI tools
Services. The Home page lists every tool as its own card — there’s no separate all-tools catalog page or family tabs in the app itself. AI Virtual Staging · AI Photo Editing · AI Interior Design · AI Home Renovation is how this guide groups them below, to make them easier to browse.
AI Virtual Staging
AI Virtual Staging
Furnish an empty room with realistic furniture & décor.
Inputs
1 photo of an empty (or to-be-restyled) room.
Space (room type) — 15
- Bedroom
- Living Room
- Dining Room
- Living + Dining
- Studio
- Home Office
- Kitchen
- Single Bedroom
- Outdoor
- Bathroom
- Basement
- Nursery
- Kids Room
- Foyer
- Living + Dining + Bedroom
Style — 8
- Prime
- American
- Luxury
- Modern
- Scandinavian
- Farmhouse
- Hampton
- Industrial
Toggle
- Remove Furniture — clear existing furniture before staging
Steps
Upload → select Space → select Style → (optional) Remove Furniture → Generate.
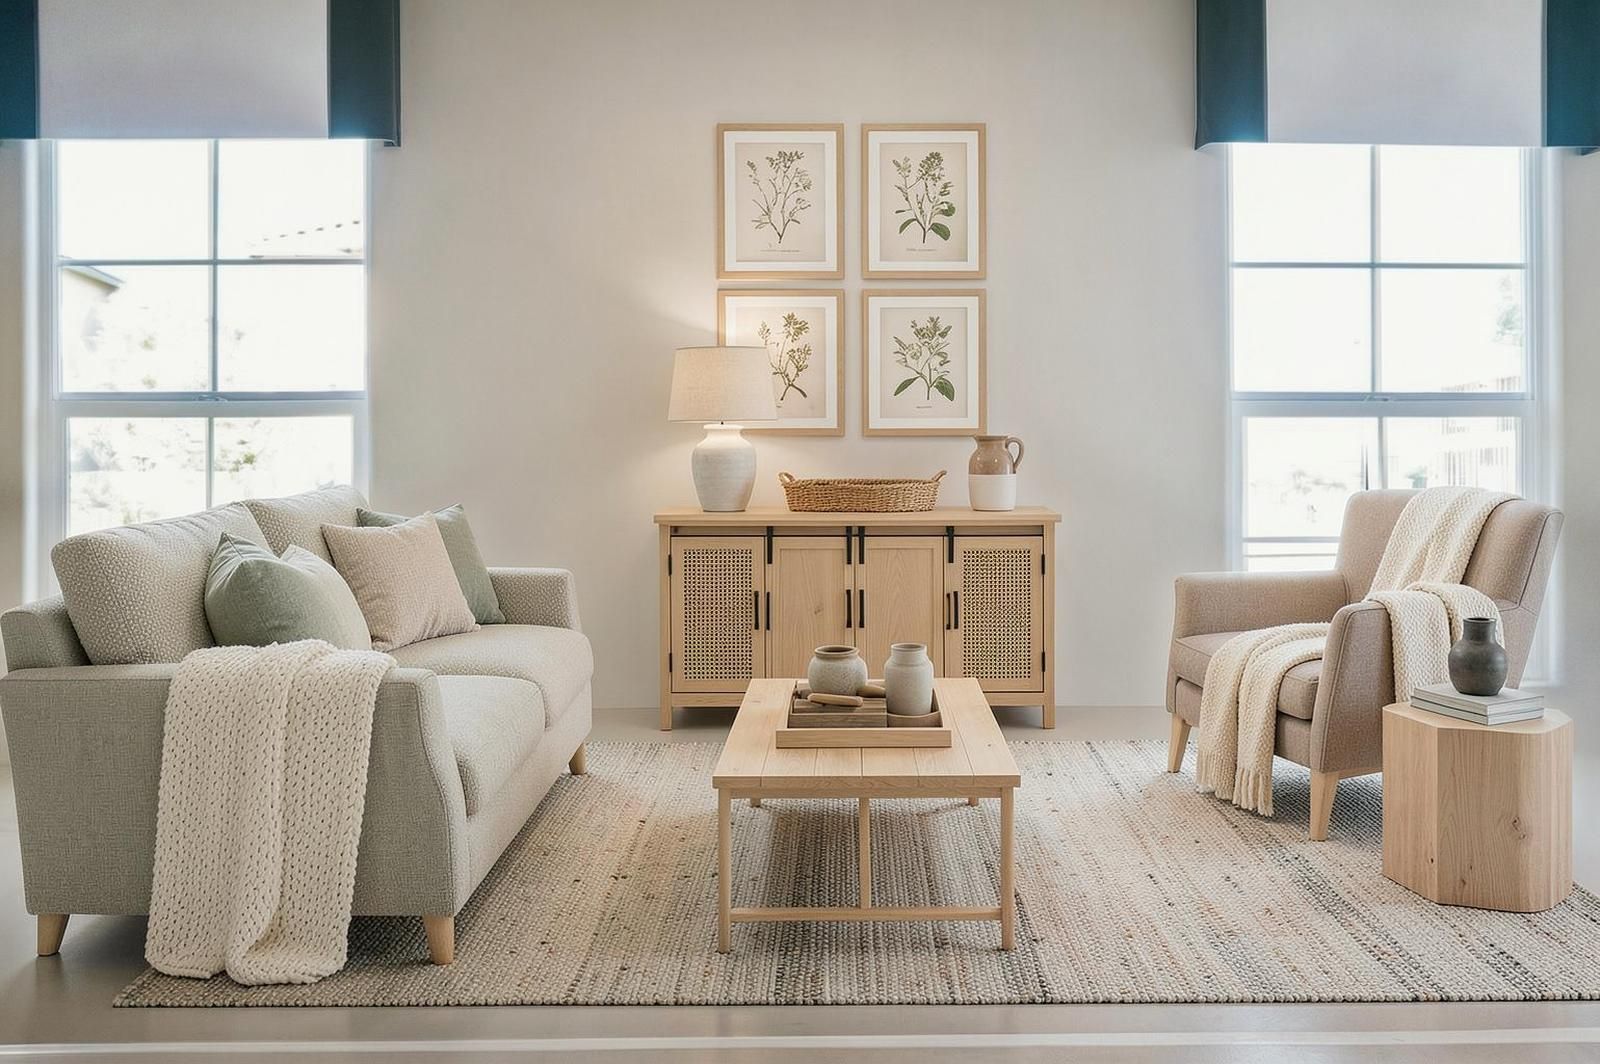
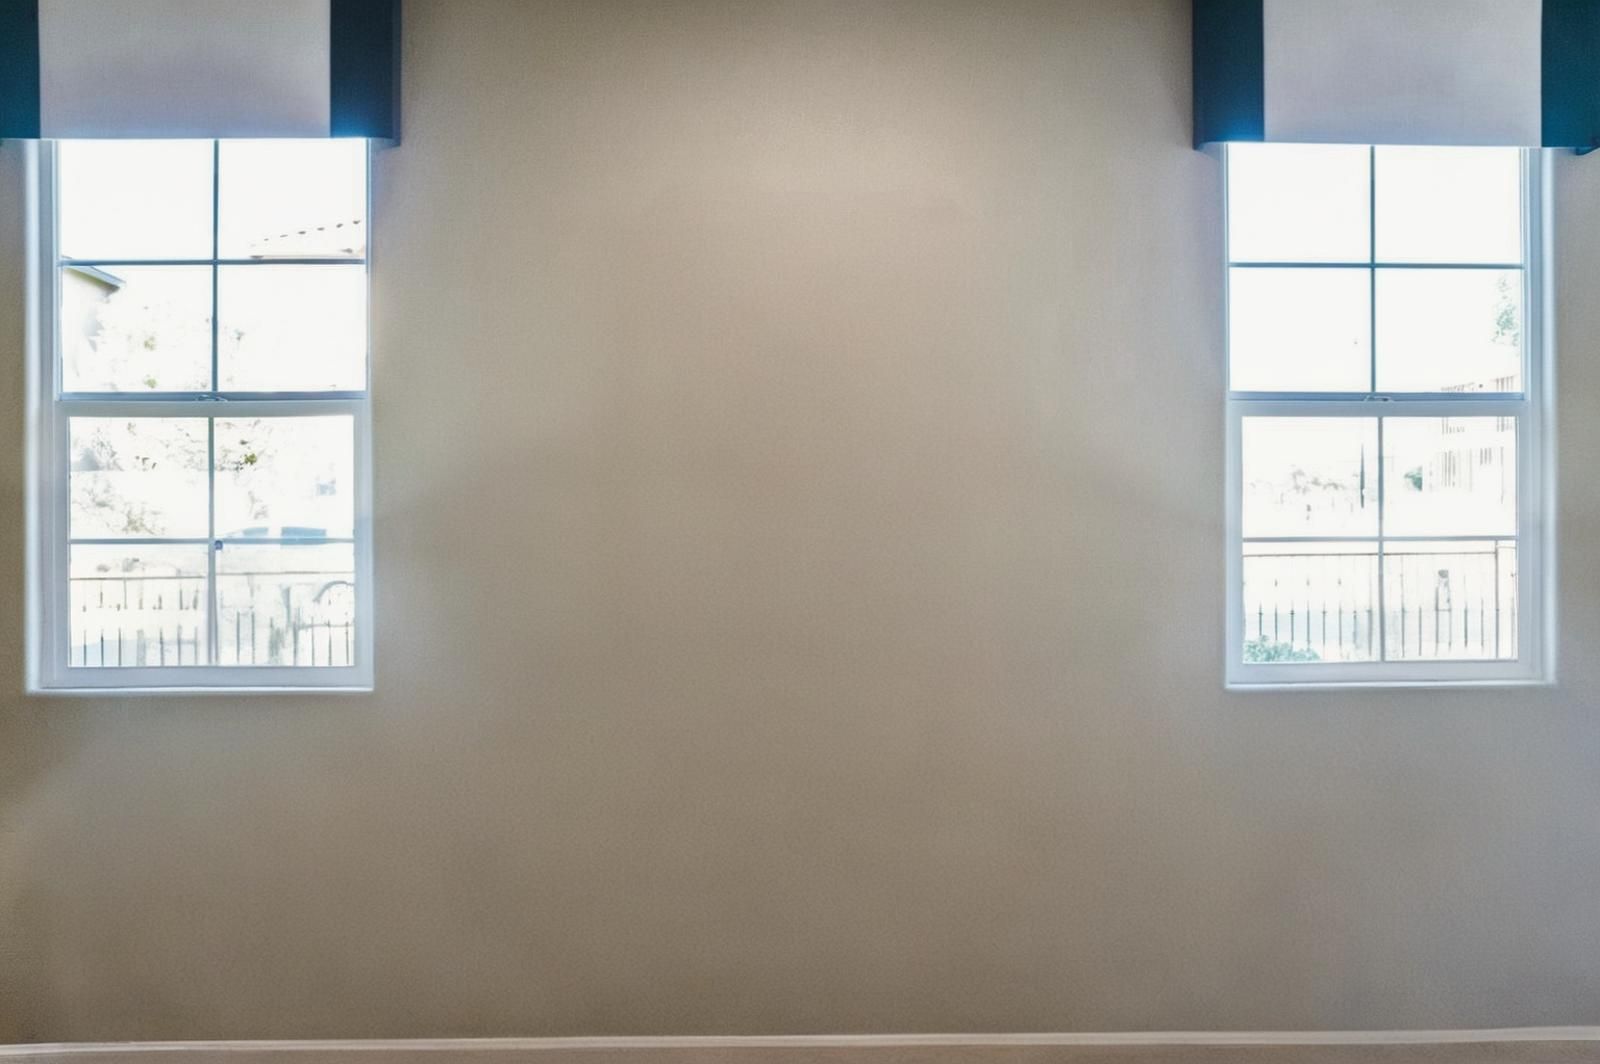
Before → After — real result from this tool · drag the slider
The tool’s options panel in the dashboard — verified live


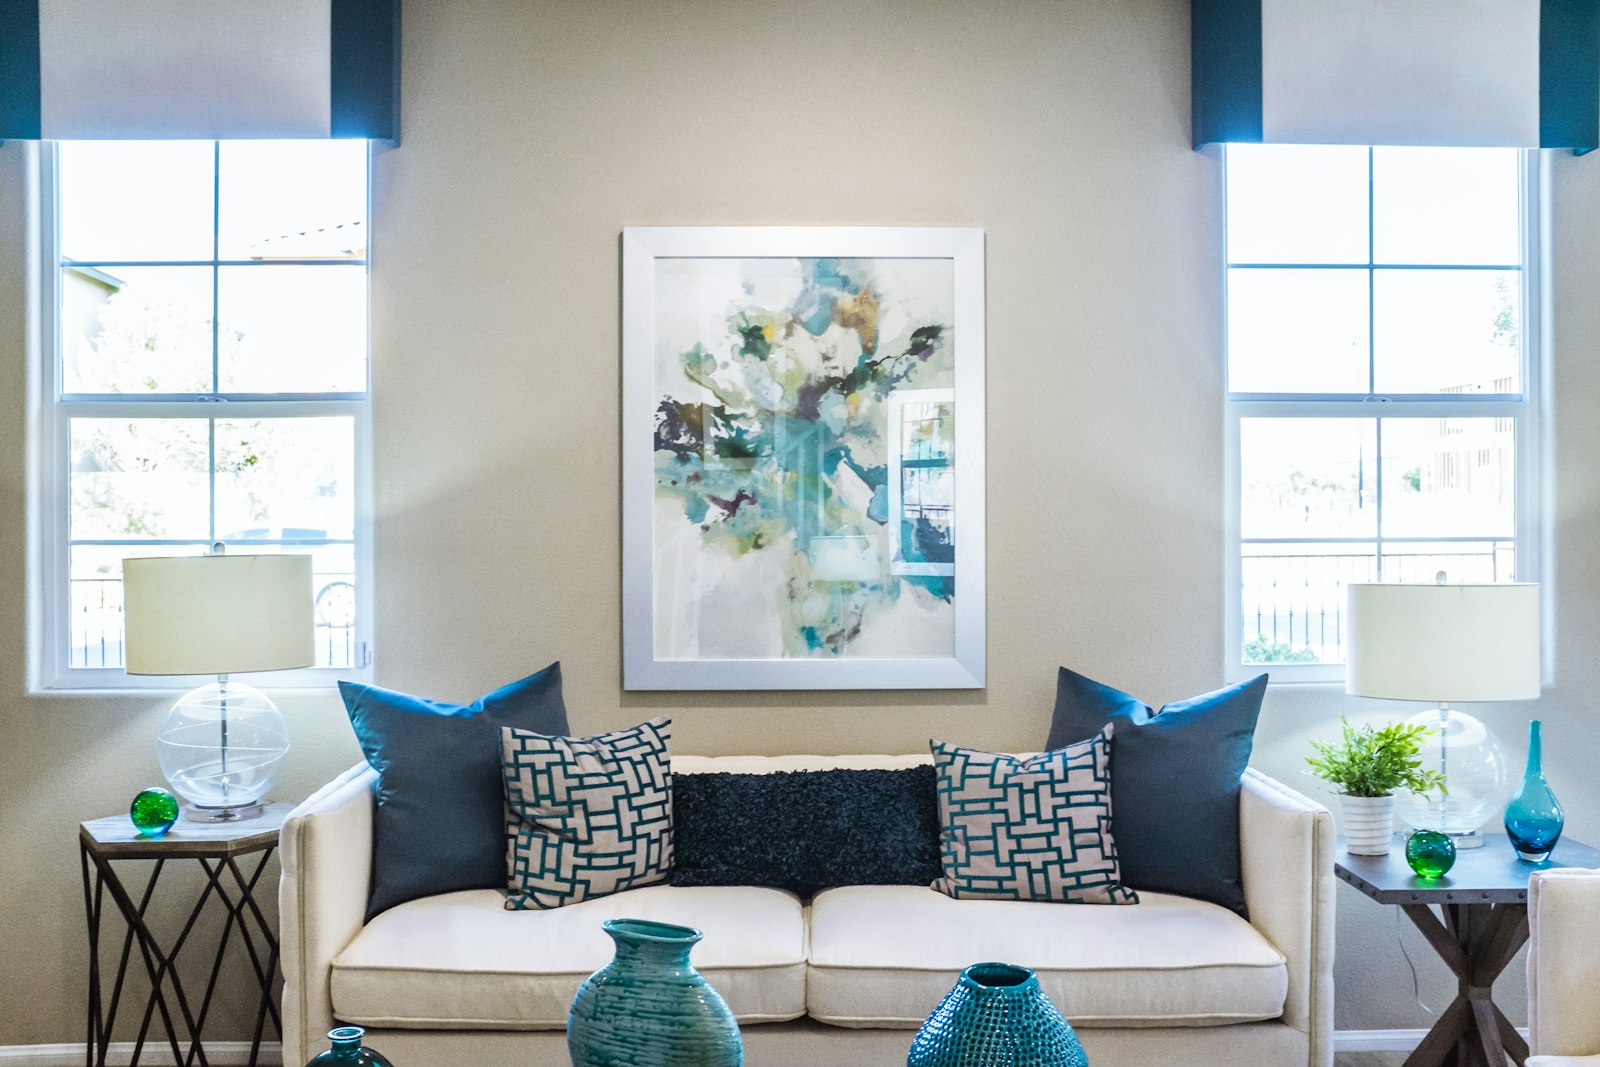
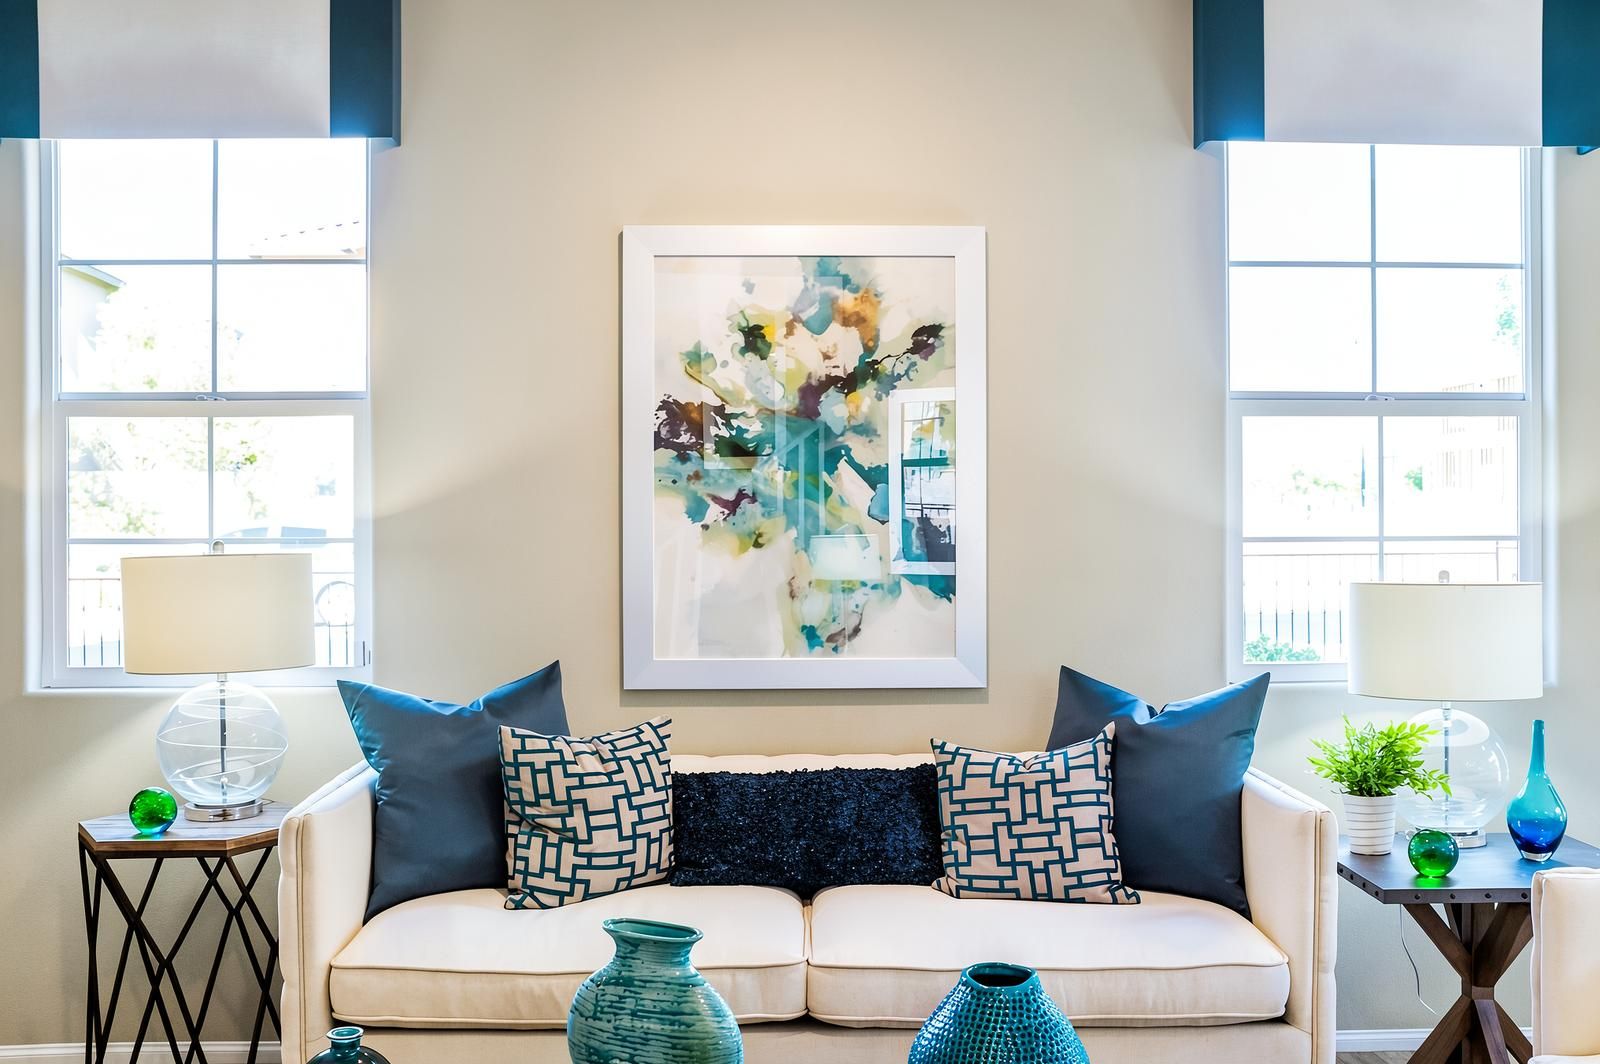
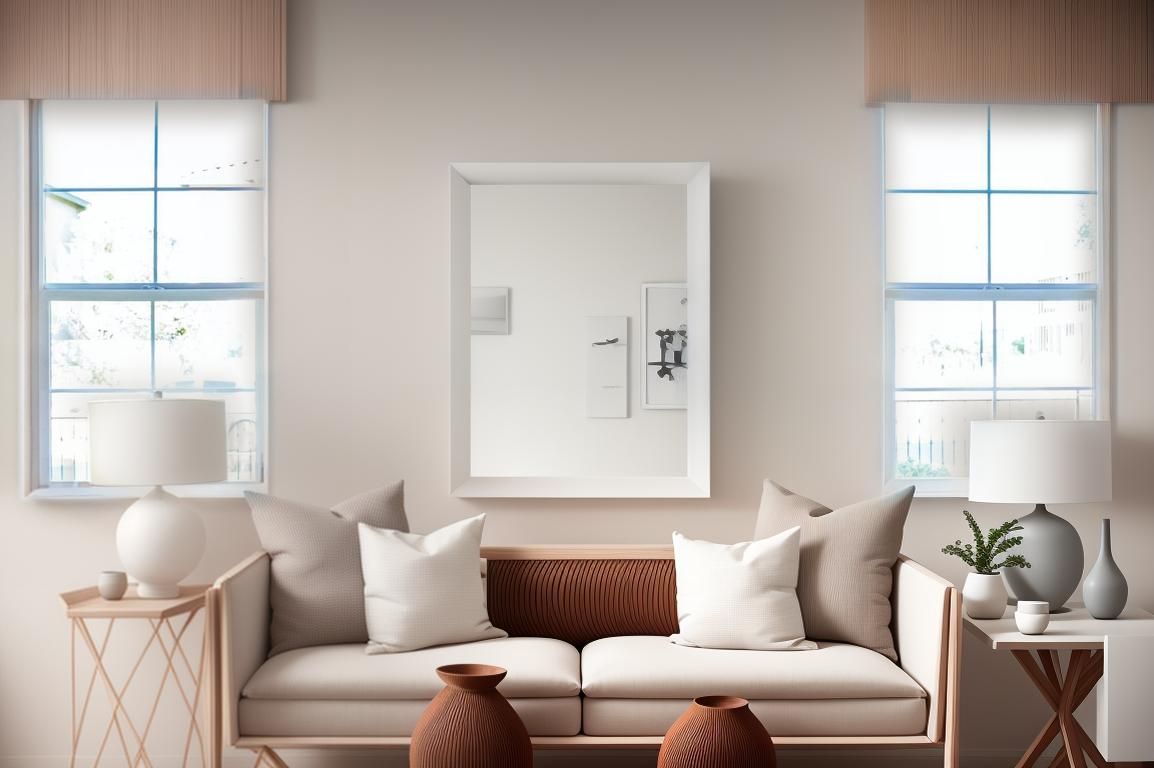
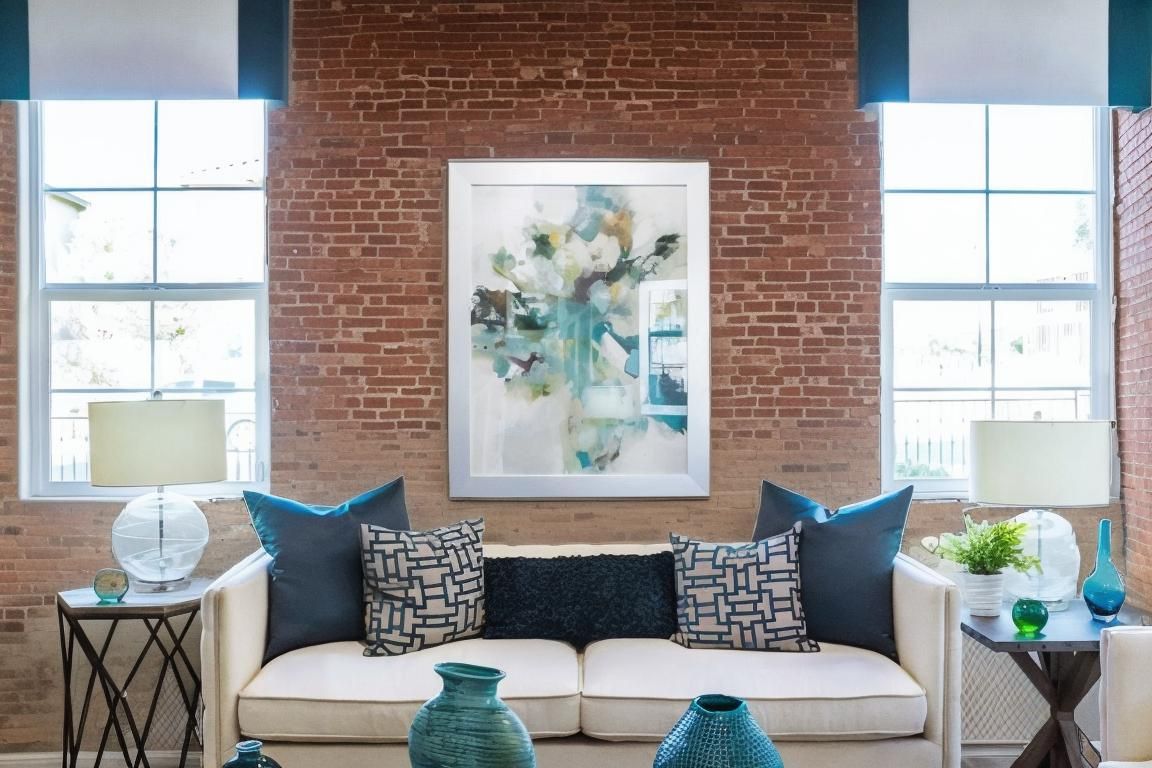
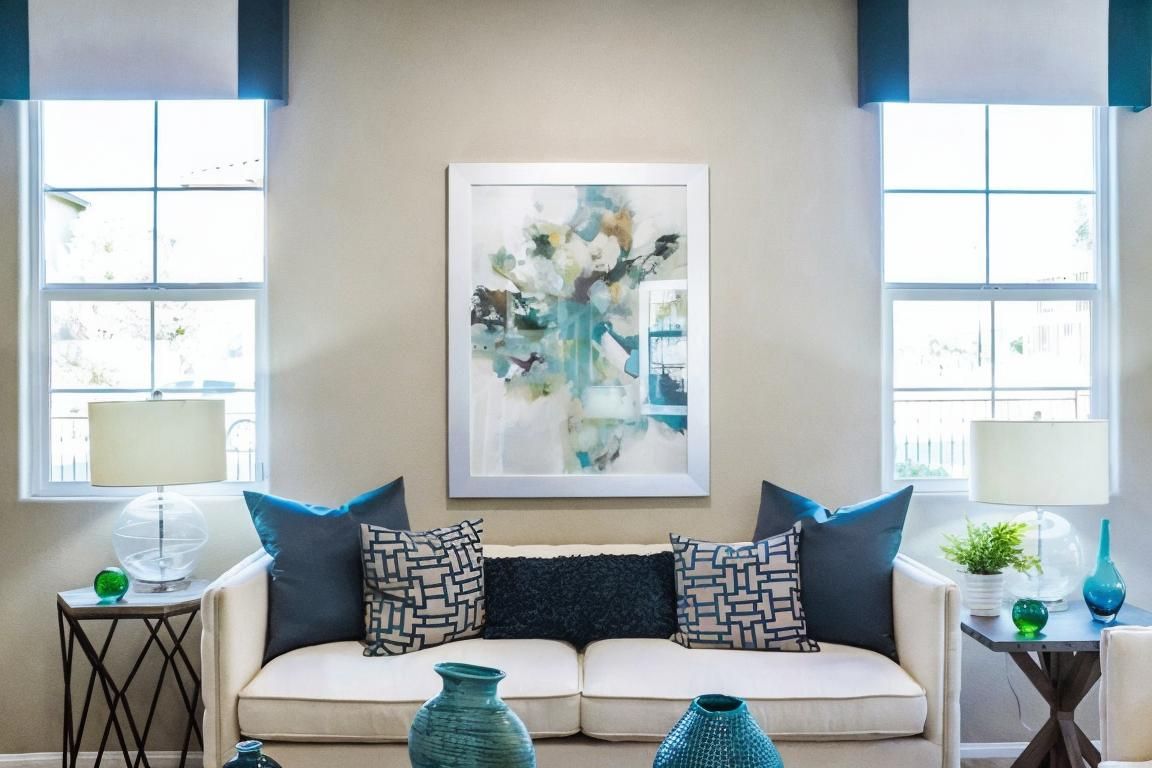
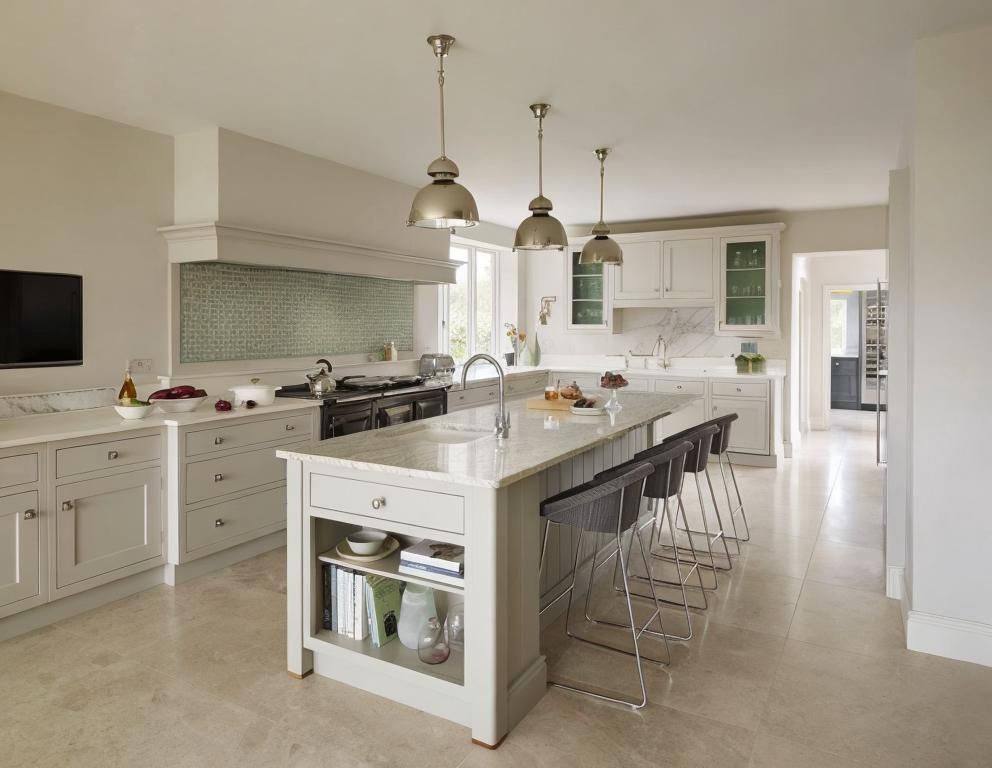
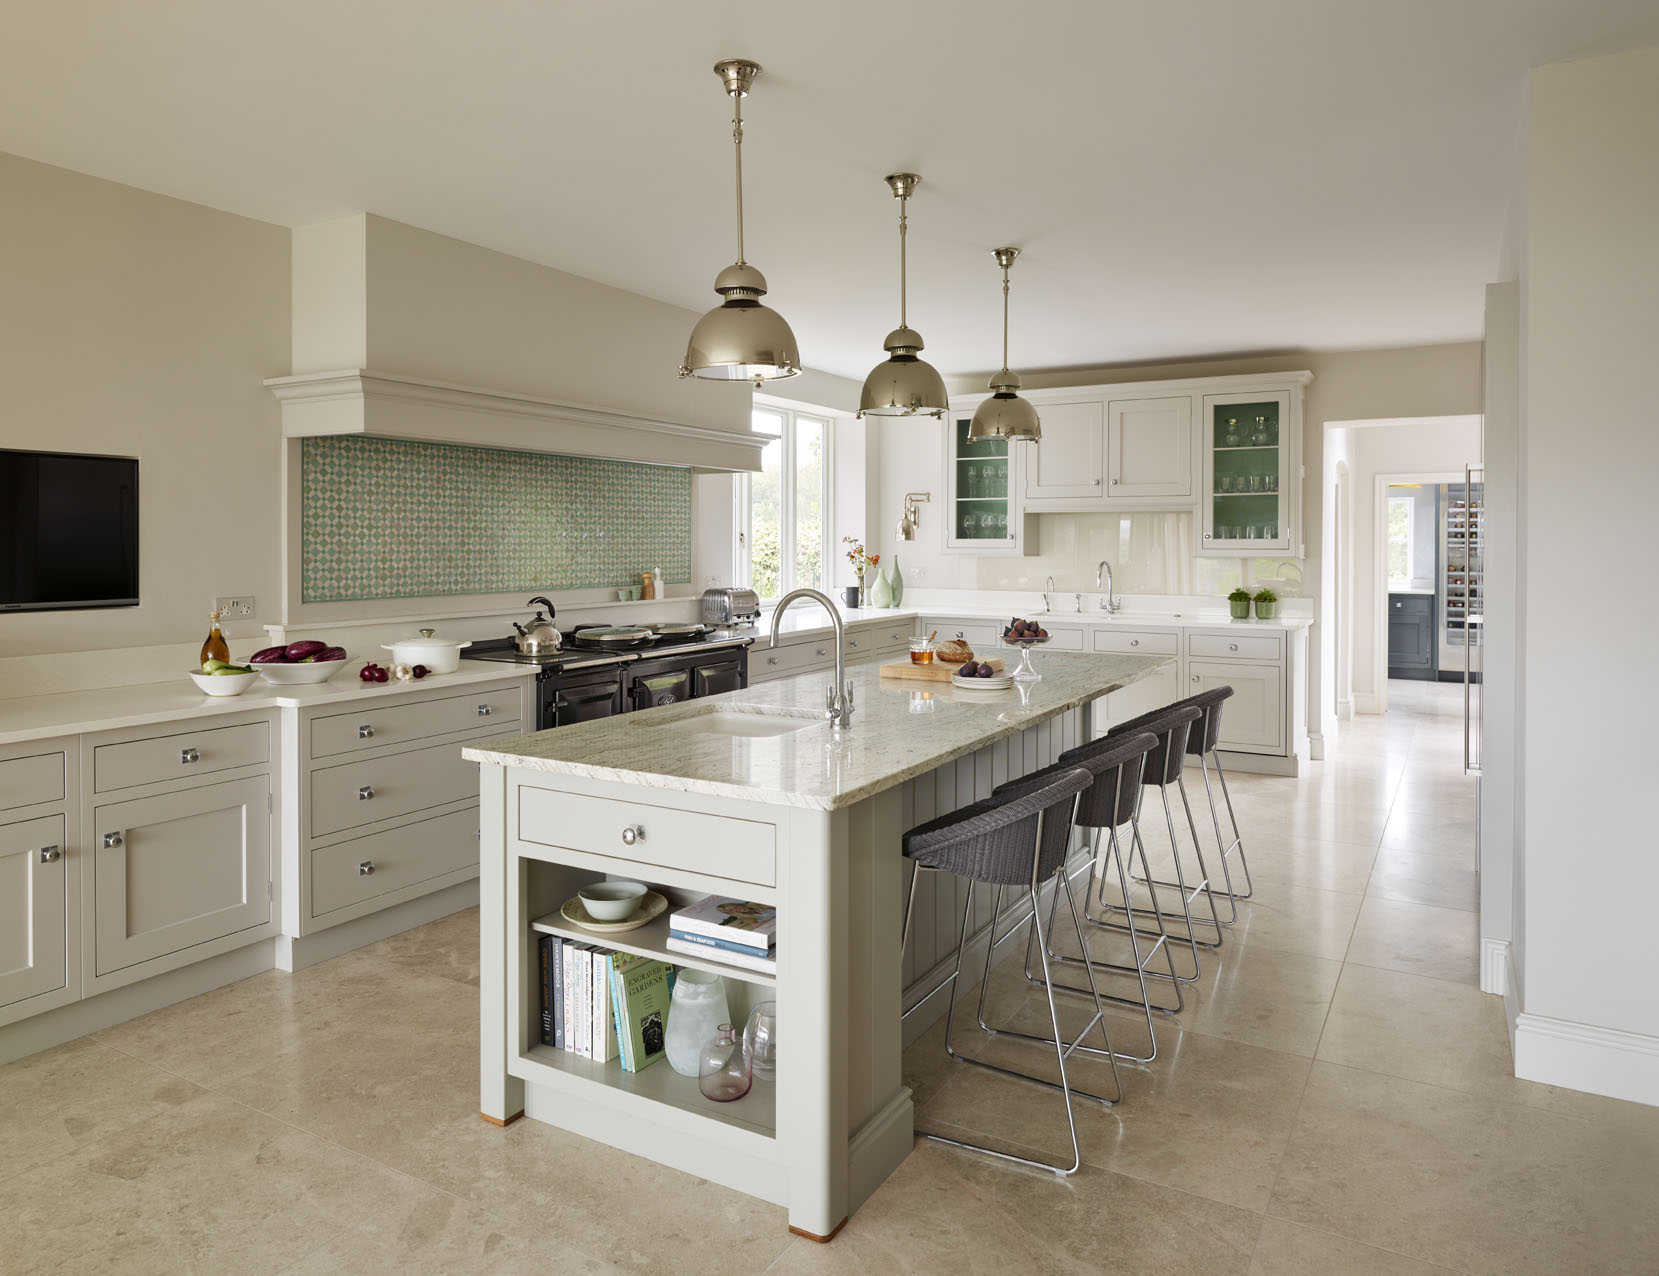
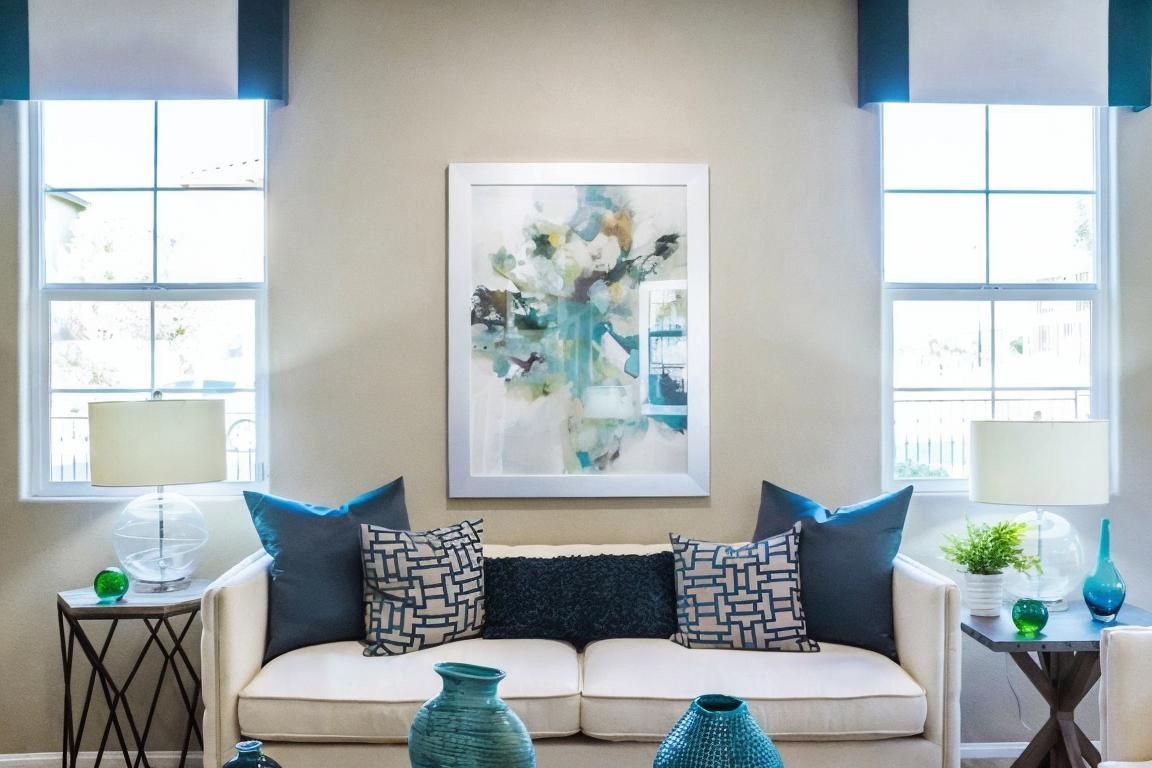
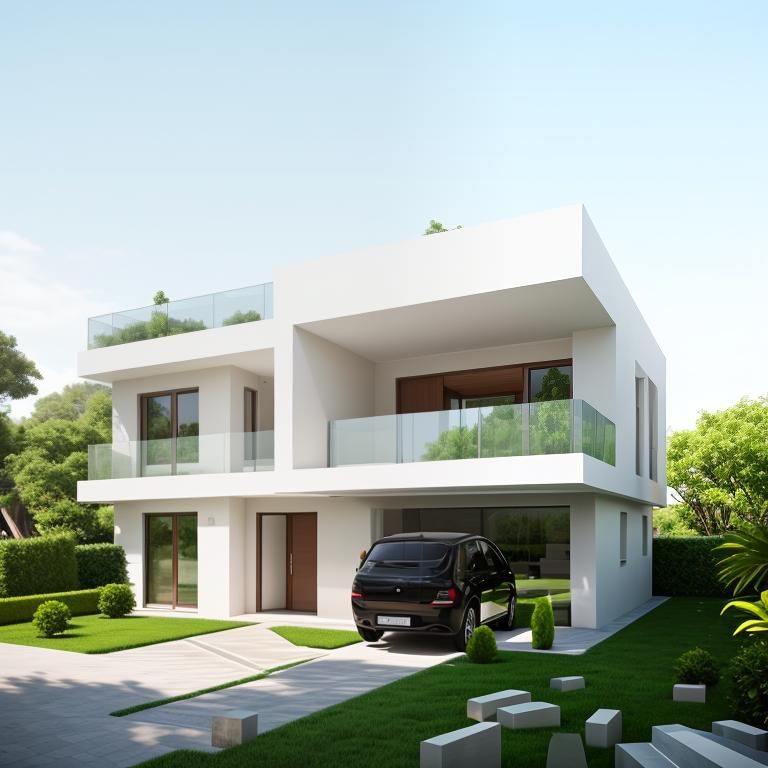

After you generate
Working with results
Compare — toggle Compare on the result to see it against the original.
Download — pick Standard, High, or Ultra quality; the app marks one Recommended based on the photo (it varies, not always the same tier). On paid plans downloads are watermark-free.
Refine Your Result — don’t like a variation? Use Regen (always free) for a different result with the same settings, Chat to describe a change in words (capped per result by plan — see credits), or pick another tool to chain onto this result (stage a room, then enhance it, then change the floor).
History — a breadcrumb on the result shows its full chain, e.g. Origin → AI Virtual Staging → AI Item Removal.
Bookmark — save a result for later with the bookmark icon.
More actions (•••) — Send feedback on the result, or View fullscreen.
Organize — results save into your Project or Single Files automatically, with unlimited storage and a multi-month backup.
Download Options. Pick Standard, High, or Ultra quality (one is marked Recommended), and toggle the "Enhanced by AI" label or your own logo before you download.
Billing
Plans & credits


Enterprise
Enterprise
Enterprise
Enterprise
- Unlimited Storage
- Free Regenerations
- Cancel Anytime
- Unused Credits Rollover
- 8 Extra AI Tools Without Coins
- Watermark-free Downloads
How credits are spent
Monthly plans — every generation spends 1 credit, on any tool. Regenerating is always free.
Yearly plans — AI Home Renovation tools (Wall Change, Floor Change, Backsplash Change, Ceiling Change, Under Construction) and AI Interior Design tools (Interior Designer, Furniture Restyle) are fully free, generate and regenerate. AI Day to Dusk, AI Virtual Staging, AI Image Enhancement and AI Item Removal spend 1 credit on the first generation only; regenerating is free.
Edit with Chat — free, but capped per result: 1 message on Free, 3 on Pro, 5 on Pro Plus, 7 on Enterprise.
Example images — generating from a built-in sample photo never spends a credit, on any plan.
Top up any time with Add Coins
Need more renders mid-month? Open Add Coins from the account menu, drag the slider to the number of photos you want, and check out — credits are added instantly.
Add Coins. Choose a quantity; the per-photo rate and total update live, then Checkout.
Secure checkout. Pay by card or Link via Stripe — trusted by leading real-estate brands.
Monthly pricing on the Pricing page.
Yearly pricing — up to 51% off, with the effective monthly rate shown.
For developers
API access
API Access. Copy or Regenerate your private Token, register a Webhook endpoint for instant result notifications, generate an MCP Endpoint, and open the full docs.
Private API Key — your secret token. Copy it, and Regenerate to roll it if it leaks.
Webhook — register an endpoint to receive instant, automated result notifications instead of polling. Use Add endpoint and View webhook logs.
MCP Endpoint Generator — generate a secure MCP endpoint URL to use AI HomeDesign's tools from Claude or another AI assistant. A server health check (no key needed) is linked alongside it.
View docs — full reference at doc.aihomedesign.com (authentication, the project → order → process → result workflow, all tools, error codes, rate limits, Postman collection).
Support
Help & support
Reach support from the Help page, or email support@aihomedesign.com.
Get the best results
Tips & best practices
Photo quality matters most. Use sharp, well-lit, straight-on shots; avoid heavy fisheye distortion.
Match the room type to the photo for accurate, realistic furniture scale.
Use the right tool: empty room → Virtual Staging; furnished room to restyle → Interior Designer / Furniture Restyle; finishes only → Wall / Floor / Ceiling / Backsplash Change; clutter → Item Removal; dark/flat photo → Image Enhancement; daytime exterior → Day to Dusk.
Regenerations are always free — try a few styles before downloading.
Batch upload, then process photos one by one to move quickly through a listing.
Yearly billing saves up to 51% if you process photos regularly.