Time estimate: One to two hours per property (prep, shoot, and edit). Difficulty: Beginner to intermediate. No professional photography background needed. If you are searching for How to Get Better Real Estate Listing Photos Without Upgrading Your Camera, this guide shows how to do it with simple technique changes instead of new gear.
The camera matters far less than lighting, staging, timing, and post-processing. A mid-range smartphone or entry-level DSLR, paired with the right technique, can produce images that stop buyers mid-scroll. This guide breaks down the exact steps agents and sellers can take to raise photo quality starting today, with no new gear required.
Why Listing Photo Quality Affects Clicks, Showings, and Sale Price
Buyers scroll past dozens of listings in minutes. A blurry kitchen shot or a dark bedroom photo sends them to the next result before they read a single word. Strong listing photos attract more clicks, more showings, and more serious buyers, helping properties sell faster and often for a stronger price.
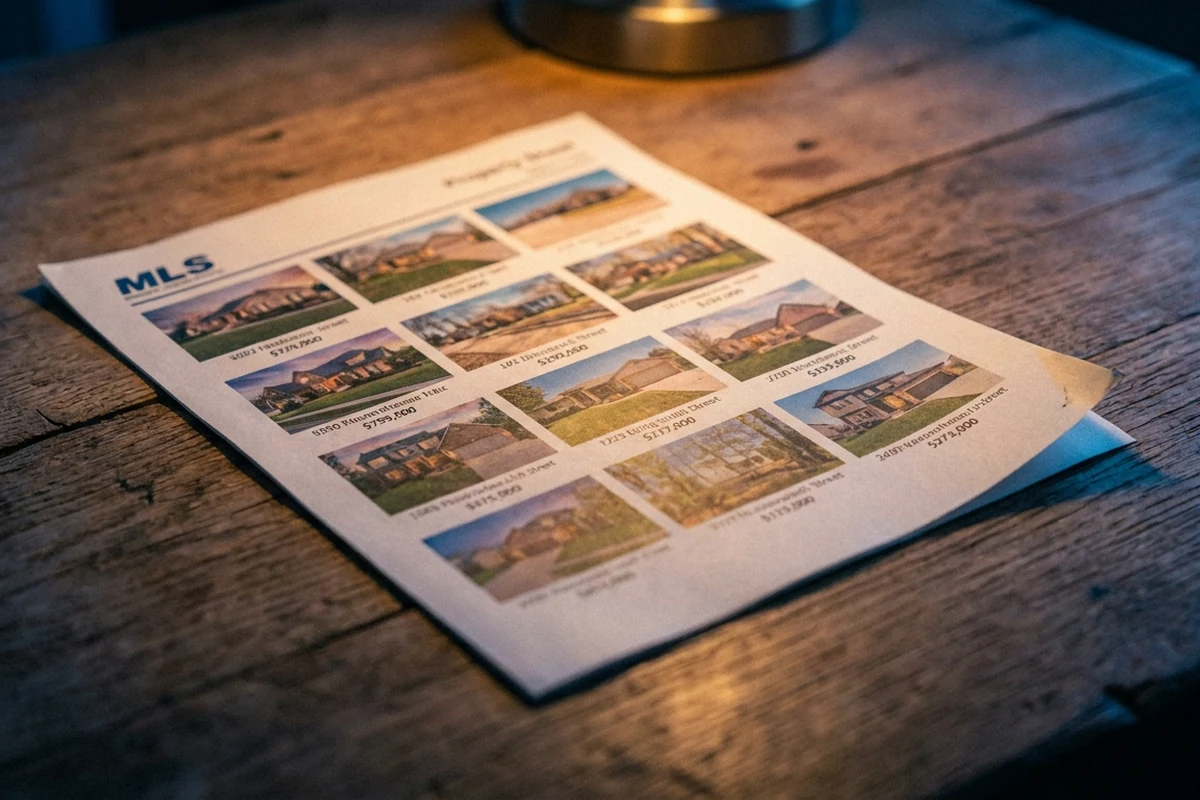
Photo count matters as much as photo quality. Listings with roughly two dozen photos hit the sweet spot for buyer engagement on major listing platforms. A thin gallery signals that the property has something to hide. Solid real estate photography technique costs nothing extra, yet the impact on perceived value is immediate.
Professional photographers charge hundreds of dollars per shoot. Smartphone photography, done with proper technique, can cut that cost entirely. The return on investing in method, not equipment, is where the real payoff sits.
What Agents Need Before Starting: Tools, Skills, and Access
Many first attempts at smartphone real estate photography fail before the shoot even begins. Arriving without the right gear, at the wrong time of day, or to an unprepared property wastes the session entirely. A short checklist prevents most of those problems.
Physical Gear
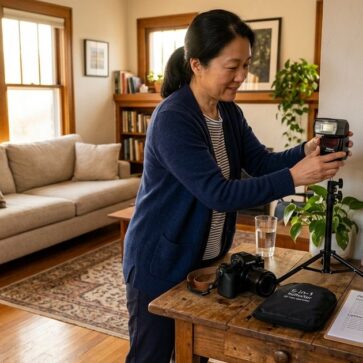
A tripod with a smartphone mount is non-negotiable for interior shots. Low-light rooms require longer exposures, and even slight hand movement creates blur. A spirit level, or the phone’s built-in level, keeps vertical lines straight. A wide-angle clip-on lens at roughly half magnification captures more of each room, though overuse can make spaces look unrealistic. An external battery pack keeps the phone charged through a full-property session.
Apps and Camera Settings
A third-party pro camera app with manual ISO and shutter speed control gives far more flexibility than the default camera in dim interiors. Before the shoot, configure the phone to capture the highest resolution and widest aspect ratio available. That step is critical to prepare real estate photos for MLS submission without rejection. Lightroom Mobile, Photoshop Express, or Pixlr handle post-processing well and cost little or nothing.
Property and Scheduling Preparation
Schedule the exterior shoot during golden hour, early morning or late afternoon. That timing produces balanced, diffused light that flatters the property. Inside, basic staging matters: declutter, depersonalize, and clean every room before the session begins. Turn on all lights, including lamps and under-cabinet fixtures, to make spaces look bright and welcoming.
Step 1: Stage and Prepare the Property Before Touching the Camera
Most listing photos fail before the camera is ever raised. The culprit is almost always the room itself: cluttered counters, personal photos on walls, excess furniture that compresses perceived space. Buyers scanning photos need to picture themselves in the home. Distractions kill that connection fast.
Remove personal items from every room. Clear countertops in kitchens and bathrooms, pull extra furniture from living areas, and strip bedding down to neutral layers. These small edits make rooms read as larger, cleaner, and more aspirational. Quick wins like fresh towels, a simple fruit bowl, and neutral throw pillows add warmth without visual noise.
Lighting: The Detail Most DIY Listing Photos Get Wrong
Turn on every interior light before shooting. Overhead fixtures, lamps, under-cabinet strips. Layered lighting creates warmth and depth that a single overhead bulb cannot. Open blinds and curtains to pull in natural light, then balance it with interior fixtures. That combination produces the even, inviting look buyers respond to.
Never use the built-in camera flash. It creates harsh shadows and a cold, sterile appearance that makes even well-staged rooms look uninviting. Natural light combined with switched-on interior lights almost always produces a better result. This principle applies equally to rental and for-sale listings. Good light at capture means less correction later.
Step 2: Set Up the Smartphone Camera for Maximum Quality
Blurry, washed-out listing photos almost always trace back to default camera settings, not the phone itself. Before shooting a single room, agents should spend two minutes configuring the camera. Those small adjustments make a clear difference in the final images.
Set the resolution to its maximum option. Choose an aspect ratio that matches MLS requirements. Higher resolution files give far more flexibility when cropping or editing later, without sacrificing image quality.
Enable HDR mode next. It blends multiple exposures into one frame, so bright exterior windows stay visible without blowing out, and dark interior shadows retain detail. HDR is especially useful in rooms where a window sits directly in the camera’s line of sight.
Low-Light Spaces and Manual Controls
For basements or windowless bathrooms, a third-party pro camera app with manual mode is worth the extra step. Manual control over ISO and shutter speed produces sharper, better-exposed images straight out of the camera. Less editing is needed afterward. Learning how to reduce grain and noise in real estate listing photos becomes much easier when the original file is already clean.
Two settings to disable immediately: digital zoom and any built-in beauty or AI enhancement filters. Digital zoom degrades image quality. Moving the camera closer is always the better approach. Enhancement filters soften textures and make surfaces look artificial, which undermines listing credibility.
Step 3: Master Lighting Strategy for Interiors and Exteriors
More listing photos fail because of bad lighting than any other single factor. Harsh midday sun creates unflattering shadows across a facade. Dark interior corners make rooms feel cramped. Getting lighting right, both inside and outside, is the clearest path from mediocre shots to compelling ones.
Exterior Timing: Work With Natural Light
Schedule exterior shots during golden hour. At those times, sunlight is warm, low-angle, and diffused. It flatters facades without creating the harsh contrast that midday sun produces. Overcast days work equally well. Cloud cover acts as a natural softbox, spreading even, shadow-free light across the entire exterior.
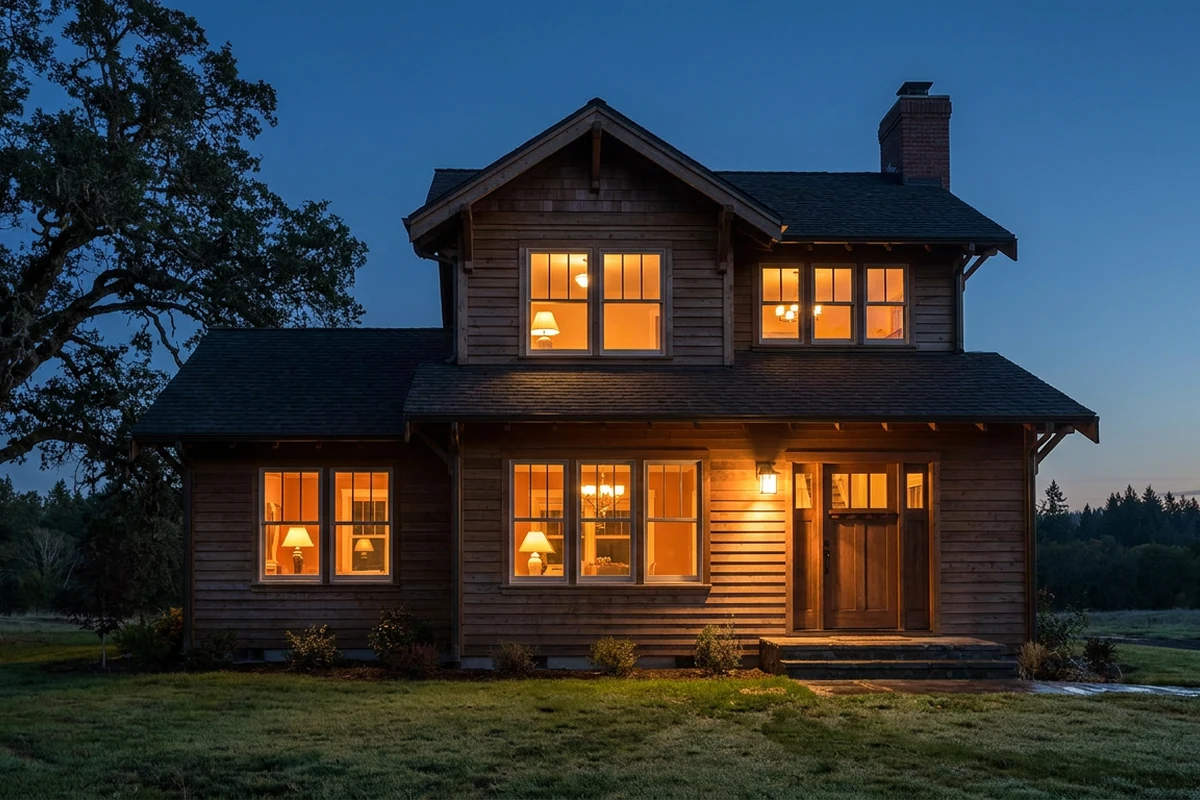
For a dramatic alternative, the day-to-dusk edit technique replicates that golden-hour warmth in post-processing. It works well when the shoot window is limited. The result is a facade that feels warm and welcoming regardless of when the shutter fired.
Interior Lighting: Layer Every Source
Inside the property, layering light sources eliminates dark corners and adds depth. Turn on ambient overhead lights, accent lamps, and task lighting such as under-cabinet strips. Each layer fills a different zone of the room. Together, they make spaces feel warm and spacious rather than flat.
Color temperature consistency matters here. Mixed bulbs, some warm and some cool, create an uneven, distracting look in photos. Before shooting, replace cool fluorescent bulbs with warm equivalents wherever possible. The result is a cohesive tone across every frame.
HDR Mode: The Window Problem Fix
Any shot that includes a window risks a blown-out sky or a dark interior. Rarely both exposed correctly at once. HDR mode on a smartphone camera solves this by blending multiple exposures into one balanced image. It is especially useful in living rooms and kitchens where large windows are common. Enabling HDR before shooting those frames prevents one of the most common technical failures in listing photography.
Step 4: Camera Height, Angles, and Composition
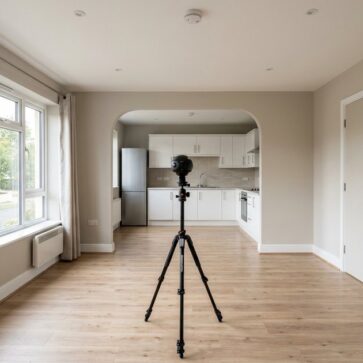
Most amateur listing photos share one telltale flaw: the camera was held at eye level. That single mistake distorts walls, hides countertop surfaces, and makes rooms feel cramped. Mounting the phone on a tripod at chest or waist height corrects all three problems at once. Furniture tops and counters read clearly, and vertical lines stay true.
Position the camera at doorways or room corners whenever possible. These vantage points capture the maximum square footage in a single frame and help buyers read the floor plan’s natural flow. For anyone exploring real estate photography tips for beginners, this corner-to-doorway rule is one of the fastest ways to close the gap between amateur and professional results.
Before pressing the shutter, activate the phone’s built-in level or spirit level overlay. A tilted horizon makes walls appear to lean, which quietly signals carelessness to buyers. Straight verticals build visual trust. This step takes seconds and costs nothing.
Wide-Angle Lens and Photo Count
The wide-angle lens setting opens up tight spaces. But overusing it makes rooms appear unrealistically large, which disappoints buyers at in-person showings. Use it to add breathing room, not to misrepresent size. Including a window in the frame when possible adds depth and natural light.
Aim for a final set of roughly two dozen photos per listing. Cover every room, key details like hardware and fixtures, and multiple exterior angles. That range keeps buyers engaged without overwhelming them.
Step 5: Edit Photos With Free and Low-Cost Apps
Even technically solid shots rarely look MLS-ready straight out of the camera. White balance shifts under mixed lighting, shadows go too dark, and slight lens distortion makes walls look curved. A basic editing pass fixes these issues without professional software or advanced skills.
Start With Lightroom Mobile
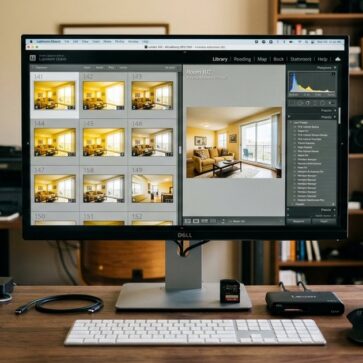
Lightroom Mobile is free and handles the core corrections well. Import the photos, tap “Auto” as a starting point, then fine-tune manually. Adjust exposure to recover dark corners, pull highlights down to reduce blown-out windows, and correct white balance so walls read as neutral rather than orange or blue. Lens distortion correction and vertical straightening are both available under the geometry panel.
Free Alternatives for Quick Fixes
Photoshop Express and Pixlr are solid free options when speed matters more than precision. Both handle perspective correction and cropping well, making them practical for agents who need a fast turnaround. Neither matches Lightroom’s control, but for minor adjustments they get the job done.
Export and Avoid Over-Processing
Export every photo as the highest-quality JPEG the MLS platform accepts. Check the platform’s specs before uploading. Heavy saturation boosts and HDR-style tone mapping look artificial and reduce buyer trust. The goal is consistent, color-accurate photos that look polished across the full set, not dramatic edits that misrepresent the space.
Step 6: Use AI Tools to Stage Empty Rooms and Improve Exterior Photos
Empty rooms are hard for buyers to interpret. Without furniture, scale feels off, purpose is unclear, and emotional connection rarely forms. That gap between a bare space and a buyer’s imagination is where listings quietly lose interest, and where virtual staging AI closes it fast.
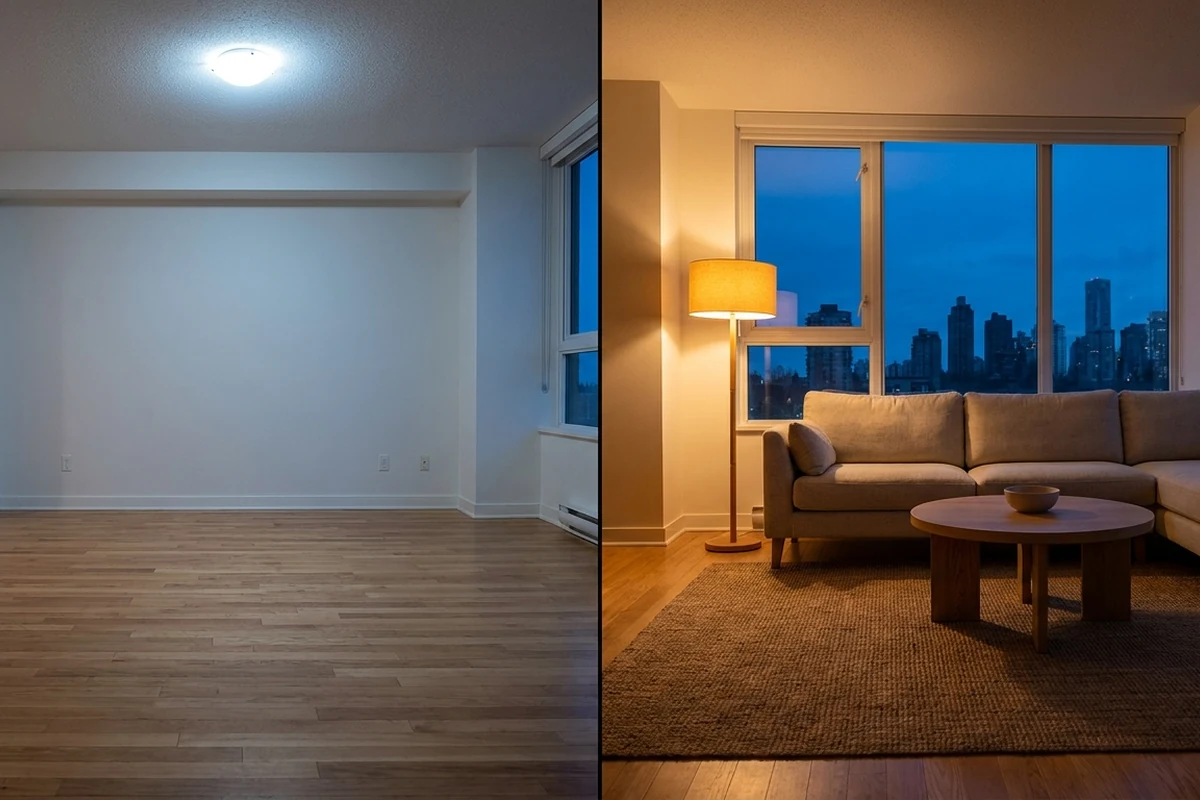
AI-powered virtual staging tools can furnish an empty room and produce MLS-ready photos in seconds, with no design experience required. Agents or FSBO sellers upload a photo of the vacant space, select a furniture style, and download the finished result. Platforms in the same-day, flat-rate staging category, AI HomeDesign among them, combine virtual staging, object removal, and sky replacement inside a single workflow.
Exterior photos benefit from a similar upgrade. A flat gray sky drains curb appeal from an otherwise strong facade. Sky replacement tools swap that overcast background for a crisp blue-sky or blue-hour version, making the exterior look dramatic and inviting.
Generative AI in real estate photography makes these improvements accessible at a fraction of physical staging costs. That math is especially meaningful for investors and FSBO sellers who cannot justify traditional staging budgets. One caution: MLS rules in most markets require disclosure when AI staging is used. Listing descriptions should clearly note that photos are virtually staged and do not reflect the property’s current condition.
Final Checklist Before Uploading to the MLS
Strong photos can still get rejected or underperform if the technical details are wrong at upload time. Before submitting, confirm every image meets MLS photo requirements for minimum resolution and file size. Double-check each file before the upload begins.
Sequencing matters more than most agents expect. The first photo becomes the thumbnail buyers see in search results, so lead with the strongest exterior shot. Follow with main living areas, kitchen, primary bedroom, bathrooms, secondary rooms, and outdoor spaces last. That order mirrors how buyers mentally walk through a property.
Final Quality Scan
Scan every image for reflections of the photographer or tripod in mirrors, appliances, and glass surfaces. Remove or re-shoot any affected images. Review the full set for color consistency. If one photo reads noticeably warmer or cooler than the others, re-edit it before uploading.
If the MLS platform supports captions, add accurate, keyword-rich room labels to each image. Follow MLS rules for property listings strictly: no text overlays, watermarks, or contact information inside the photos themselves.
Final Verdict
Better listing photos rarely require a new camera. The gap between amateur and professional results comes down to preparation, positioning, and light, not hardware. Agents, FSBO sellers, and investors who address those three variables first see the most meaningful improvement in how their listings present online.
A workflow that produces consistent results combines a tripod, HDR mode, and a corner-or-doorway composition strategy for shooting. Post-processing handles the rest. Free mobile apps correct exposure and straighten lines. For empty properties, the same-day, flat-rate virtual staging category — which includes AI-powered platforms such as AI HomeDesign alongside traditional virtual staging services — can furnish rooms without a physical shoot.
Sellers handling their own photography should focus on the exterior shot first. That image appears as the thumbnail on listing platforms and drives the first click. Shooting exteriors during golden hour, with the camera level and the home centered, addresses the most common first-impression problem before anything else.
Agents managing multiple listings at once may find it practical to batch their editing workflow rather than process photos one listing at a time. Shooting all properties in a similar sequence, then editing in a single session, reduces the time cost per listing. Most free editing apps support batch adjustments, which helps maintain a consistent look across a portfolio.
For anyone evaluating whether to invest in equipment at all, technique returns more than gear at the entry level. A stable shot with good light, taken at the right height, outperforms a shaky shot taken with an expensive camera. Readers researching hardware upgrades can compare options under best cameras for real estate photography once the foundational technique is solid.
Frequently Asked Questions
Can agents use these techniques for rental listings, or are they only for-sale properties?
These techniques apply directly to rental listings. Rental platforms use the same thumbnail-driven browsing behavior as MLS portals, so photo quality affects click-through rates in both contexts. Property managers photographing furnished units should follow the same decluttering, lighting, and composition steps. Vacant rental units benefit from virtual staging just as much as for-sale properties do.
What should agents do if the property has no natural light?
Turn on every available light source in the room, including vanity bulbs, under-cabinet strips, and portable lamps brought in for the shoot. A tripod becomes essential here, as it allows a slower shutter speed without blur. Third-party camera apps with manual ISO control help avoid the grainy, overexposed look that auto mode produces in dark spaces. Avoid the built-in flash entirely. It creates flat, harsh shadows.
Does AI virtual staging need to be disclosed in the MLS listing?
Disclosure requirements vary by MLS and state. Many MLS systems now require that virtually staged photos be labeled as such, with a caption or watermark. Failing to disclose can lead to buyer complaints, MLS violations, or fair housing concerns if the staging misrepresents the property’s actual condition. Agents should check their local MLS rules before uploading any AI-generated or digitally altered images.
Is a clip-on wide-angle lens safe for all rooms?
Clip-on wide-angle lenses work well in larger rooms: living areas, kitchens, and primary bedrooms. In small bathrooms or narrow hallways, the distortion can make proportions look unnatural and walls appear to bow outward. Switching back to the standard lens in tight spaces produces a more accurate and flattering result.