Real Estate Lightroom Presets: Workflow That Works
In short
- Presets equal consistency: a preset saves time by applying a repeatable look, not by fixing problems.
- Baseline first: profile, lens corrections, verticals, white balance, and exposure come before any preset.
- Know the handoff: clutter removal, day-to-dusk, and staging need tools beyond Lightroom sliders.
A card full of RAW files lands after a shoot, and delivery is due the next morning. The fastest move sounds simple: apply real estate Lightroom presets and export.
That is also the moment many preset packs disappoint. Interiors swing yellow, windows blow out, and the set loses consistency. Presets do speed and consistency well, but only after a baseline pass sets geometry, white balance, and exposure.
For photographers still building repeatable shooting habits, start with real estate photography fundamentals. Then use the workflow below to make presets predictable instead of random.
Real estate Lightroom presets and what they actually do
A preset is a saved set of Develop settings applied in one click. It usually stores global slider positions, tone curve choices, color moves, and sometimes a profile. That is useful for listing work because consistency matters more than one hero frame.
Presets also reduce decision fatigue. Instead of re-building the same contrast and color treatment for every room, a preset sets a repeatable baseline. That leaves time for the edits that actually change how a room reads, like window control and mixed-light cleanup.
The key limit stays the same across every pack. Presets remain global and blind. They do not know where the window is. They cannot lift a dark hallway without also lifting ceiling noise and corner shadows. They also do not correct wide-angle geometry or straighten verticals.
A good working mindset is simple: a preset is not an edit. It is a starting look that sits between a clean technical correction and a short finishing pass. For a broader walkthrough of the non-negotiables that happen before the look stage, see basic editing techniques for listing photos.
Why presets break on listing photos
Dynamic range breaks generic looks first. A bright window against a shaded interior pushes a global curve into a corner. Many presets either protect highlights and leave the room dull, or lift shadows and wash the window view.
Mixed lighting breaks color next. Kitchens often combine daylight, warm can lights, and cooler under-cabinet LEDs. One white balance cannot neutralize every zone at once. A preset that looks clean in a daylight living room can turn that same kitchen into a yellow and green tug of war.
Color spill adds another layer. Green lawn bounce can tint walls, and wood floors can warm everything. Many lifestyle presets push vibrance and saturation because mood sells in portraits. Listing photos sell accurate, legible space, so those pushes read as fake.
Geometry closes the loop. Wide lenses bend lines, and verticals converge fast in small rooms. No preset fixes perspective. If verticals stay off, the photo still reads amateur even with a pleasing tone curve.
The baseline pass before any preset
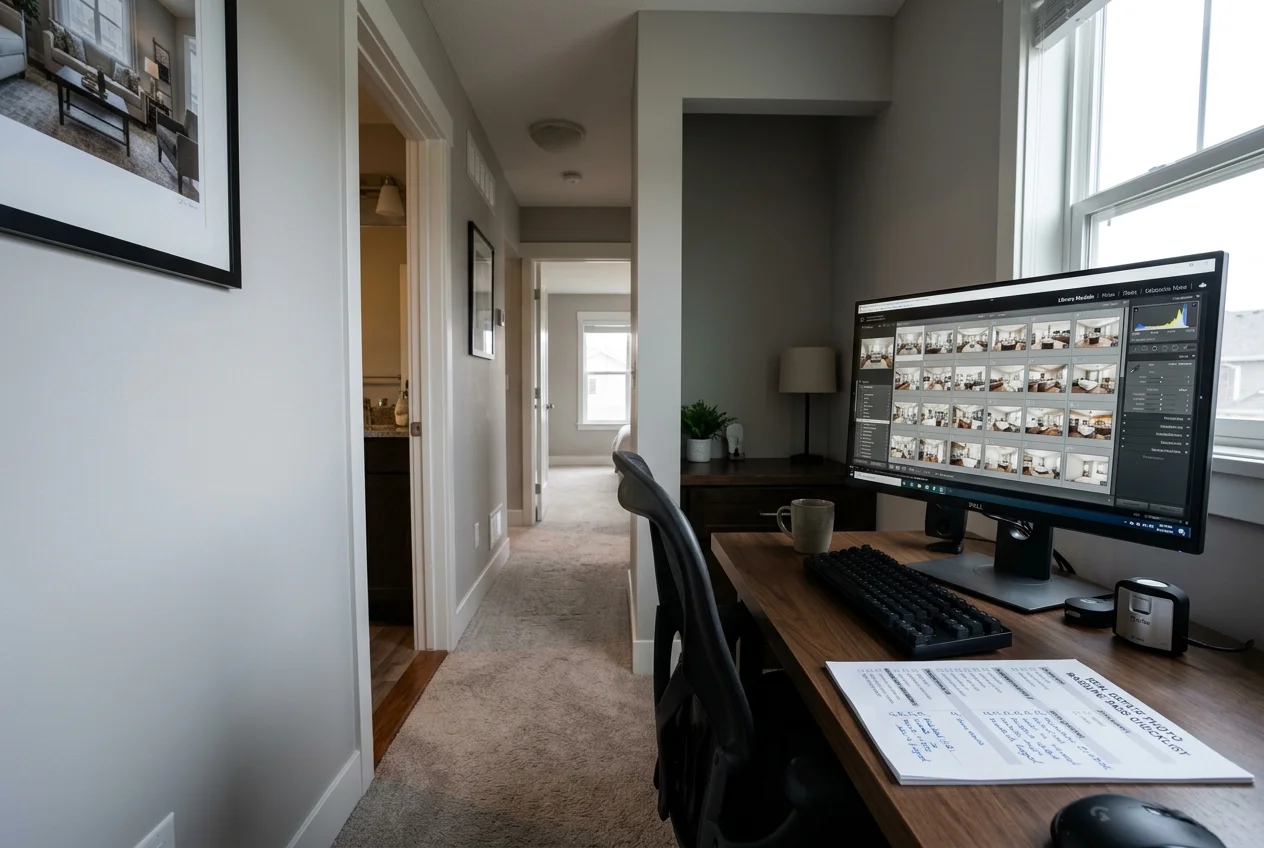
Presets become predictable only after a repeatable baseline pass. The goal is not perfection, it is consistency: the same inputs produce the same preset result.
Start with file type and merge choice. A preset reacts differently to a single RAW frame than to an HDR-merged DNG because the tonal distribution changes. That difference matters most in windows and white walls. Keep the approach consistent within a set, and use an HDR approach only when the scene demands it, as outlined in an HDR bracketing workflow.
Set the profile early. Profile mismatch is the most common reason a preset looks nothing like its sample images. If a vendor built a look on one profile family and the file opens on another, every downstream slider behaves differently. Lock the profile choice first, then continue.
Correct lens and geometry before style. Enable profile-based lens corrections and remove chromatic aberration. Then straighten verticals with Transform or Guided Upright. A preset applied before vertical correction bakes a look onto geometry that is about to change.
Neutralize white balance off a real neutral surface, not the brightest wall. White trim, a countertop edge, or a light switch plate usually works. After that, normalize exposure across frames in the same room so the preset reads the same from angle to angle.
Preset options worth trying for listing work
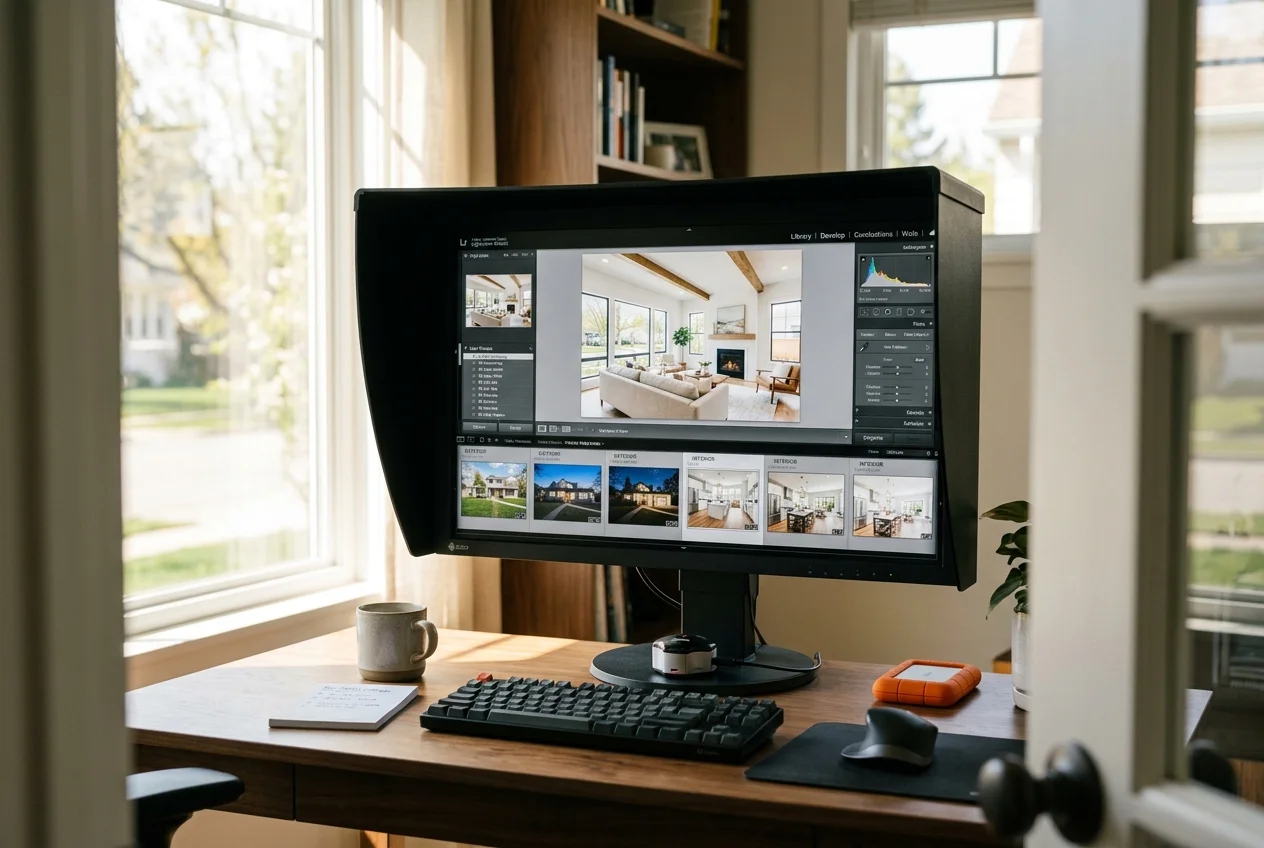
Preset shopping gets easier when the decision starts with use case. A pack only matters if it matches the type of files and lighting that show up every week.
Photographer-built real estate packs: options like Nathan Cool Photo presets and Cole Connor exterior and interior presets tend to aim at clean interiors and recoverable windows. These packs often avoid the heavy matte shadows and strong color casts seen in travel packs. They are best treated as learning tools and starting points, not as a permanent one-click solution.
Interior and property style packs: options like LuxeLens Interior Design and Real Estate and PresetPedia real estate collections suit photographers who want an editorial interior finish while keeping walls believable. These can work well for bright homes with consistent daylight, where a controlled color treatment carries across a full gallery.
Free starting points: FixThePhoto free real estate Lightroom presets can help diagnose what the files need before spending money. If a free look fails in a predictable way, that failure often points to a baseline issue, not a pack issue.
AI-assisted auto-editing: Imagen AI differs from presets because it learns an editing style and applies it per image, not as a fixed global recipe. That can help when lighting varies wildly across a shoot. The trade-off is less direct control over which exact sliders drive each frame unless the profile gets trained carefully.
A personal preset built from one finished edit: most working photographers end up here. A custom preset matches the camera, lens, and taste actually used on paid shoots. It also removes the endless search for a pack that matches a specific kit.
How to install and apply presets across Lightroom
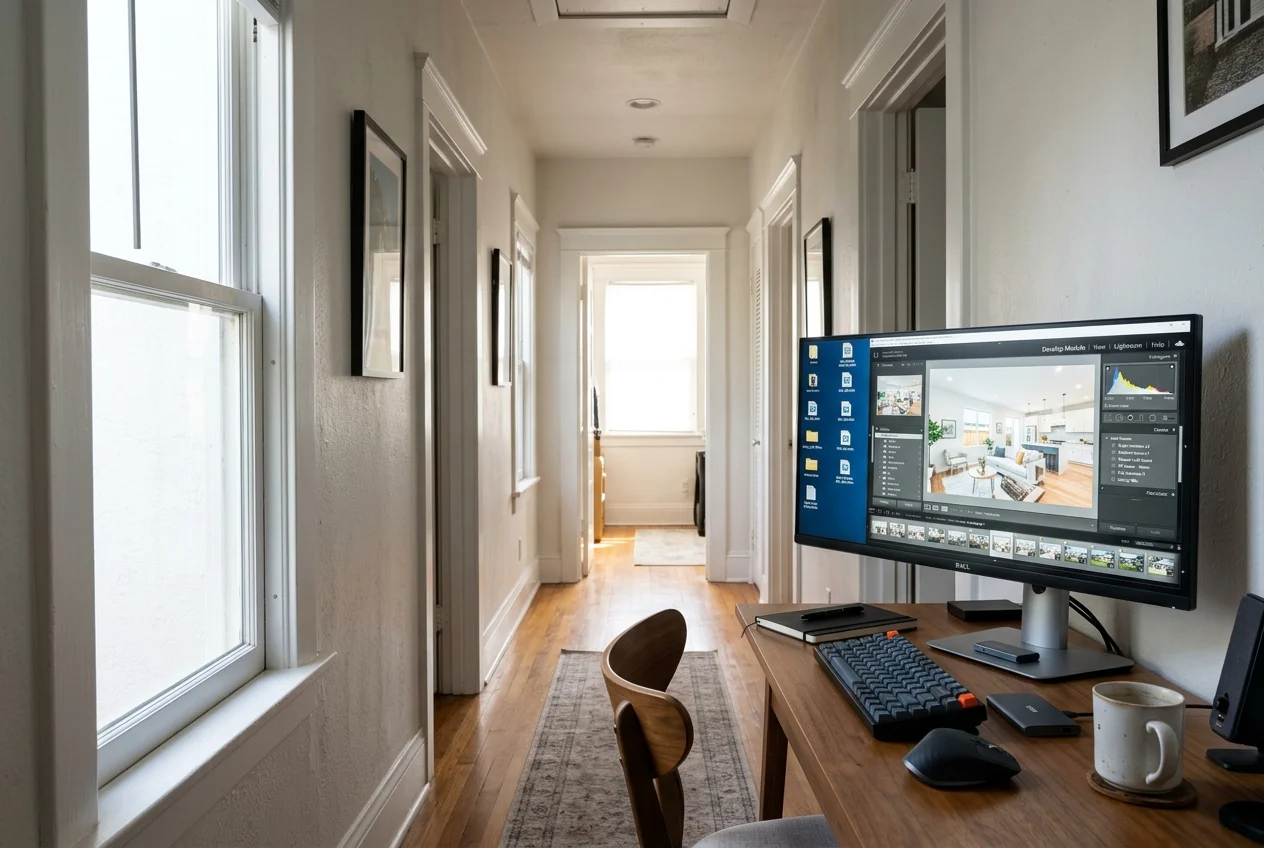
Preset installs fail for boring reasons. Files stay zipped. XMP presets get mixed up with profiles. DNG samples land in the wrong place and never get turned into a saved preset.
File format drives the install path. XMP is the modern desktop preset format. DNG is a sample image that carries settings, often used to move a look into mobile by copying settings from the DNG and saving them.
A clean install also needs a deliverable rule. A finished delivery contains exported JPEGs only. Save the working materials for revisions: RAW files, the catalog, and XMP sidecars.
Unzip and sort the download
Unzip the folder, then separate presets from profiles and sample DNGs. Keep a single folder per vendor so reinstalling later takes seconds.
Install in Lightroom Classic
Open the Develop module, use the Presets panel plus icon, then import the XMP presets. Restart Lightroom Classic if the preset list does not refresh.
Install in Lightroom desktop
Open the Presets area in the Edit panel and import XMP presets. Keep sync turned on so the same presets appear on other devices under the same Adobe account.
Install on Lightroom Mobile
Let synced presets arrive from desktop, or import the vendor DNGs into the library. Copy settings from a DNG, then save those settings as a new preset inside the mobile preset list.
Apply on import only after the baseline pass
Apply a preset on import only when a shoot uses consistent lighting and a consistent profile choice. Otherwise, apply after lens corrections, Transform, and a neutral white balance.
Save a working preset from a finished edit
Create a preset from a fully finished interior, then exclude crop, spot removal, Transform, and local masks. Exclude white balance and exposure when rooms vary, so the preset stays reusable.
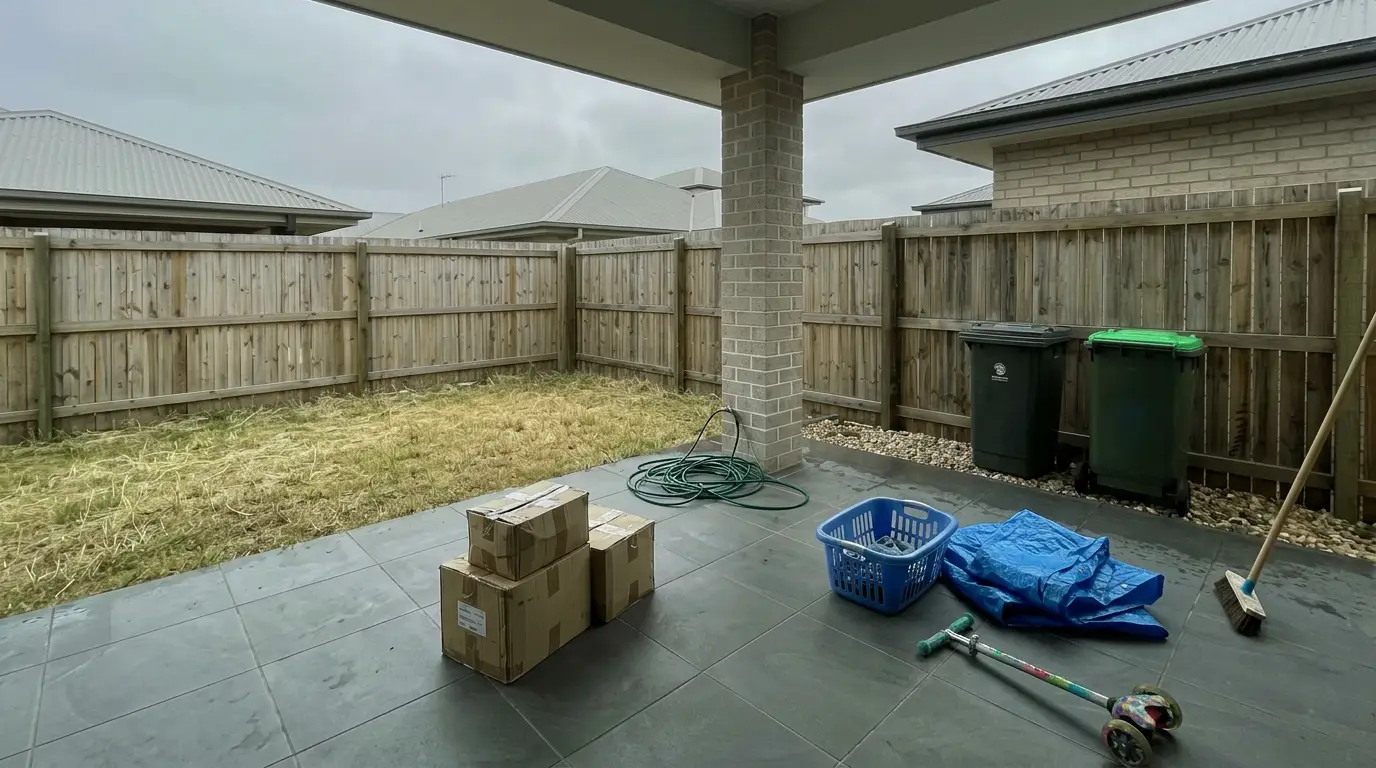
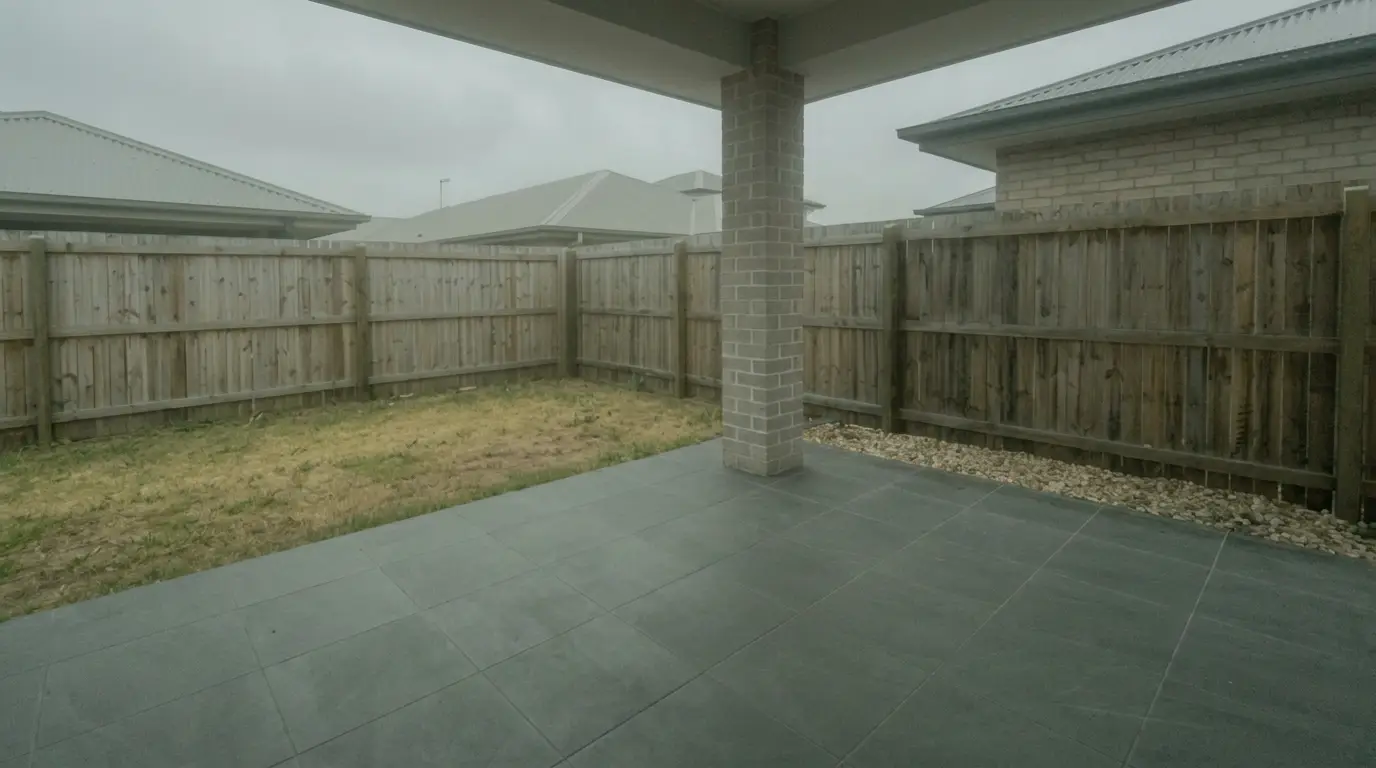
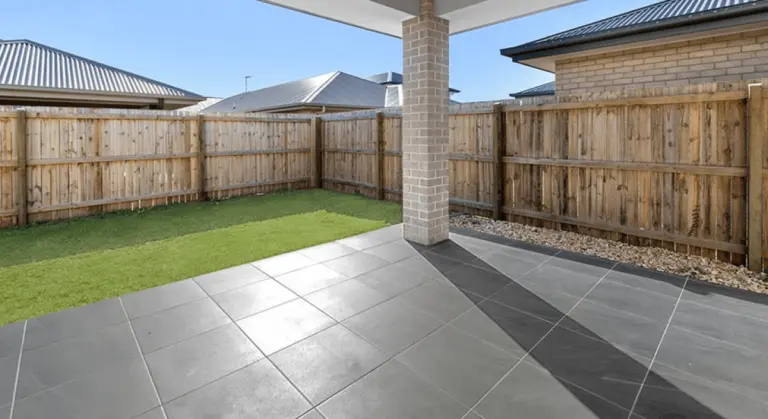
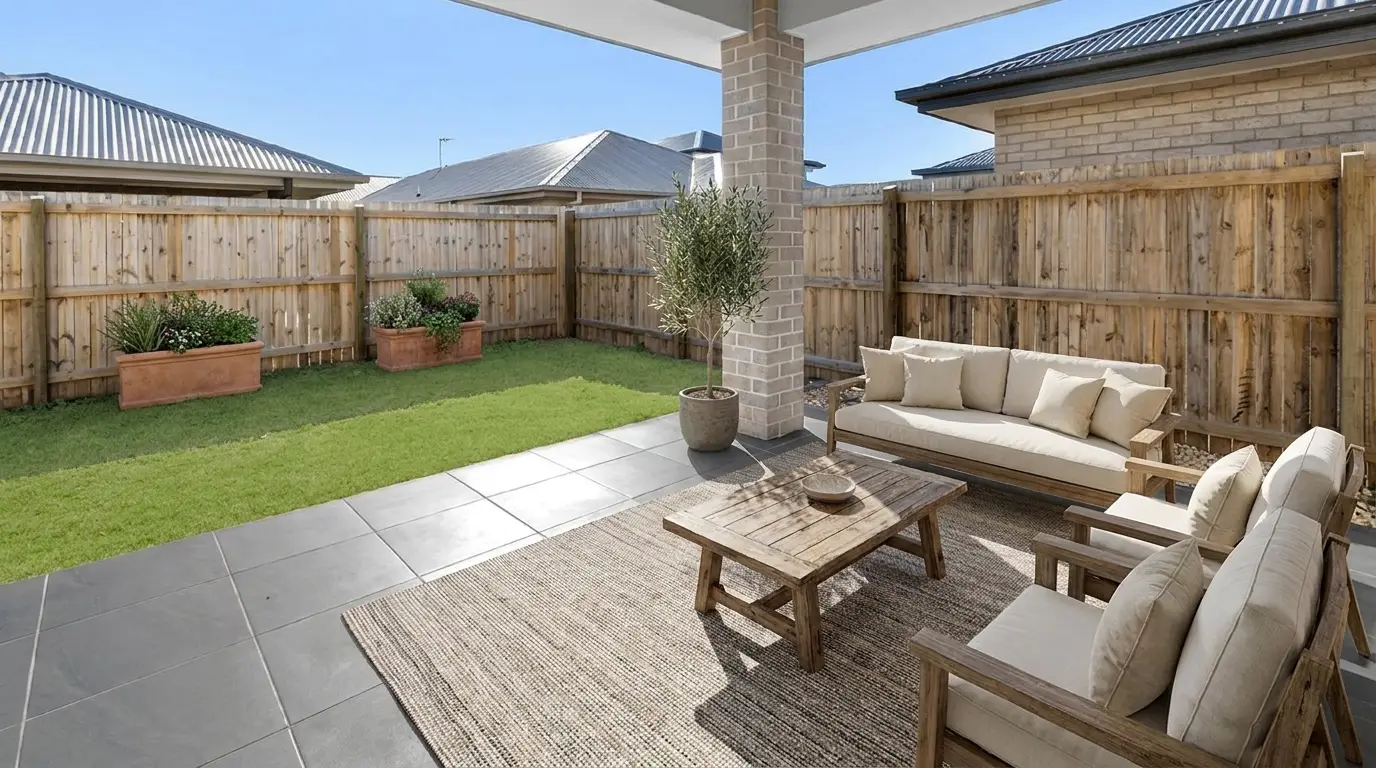
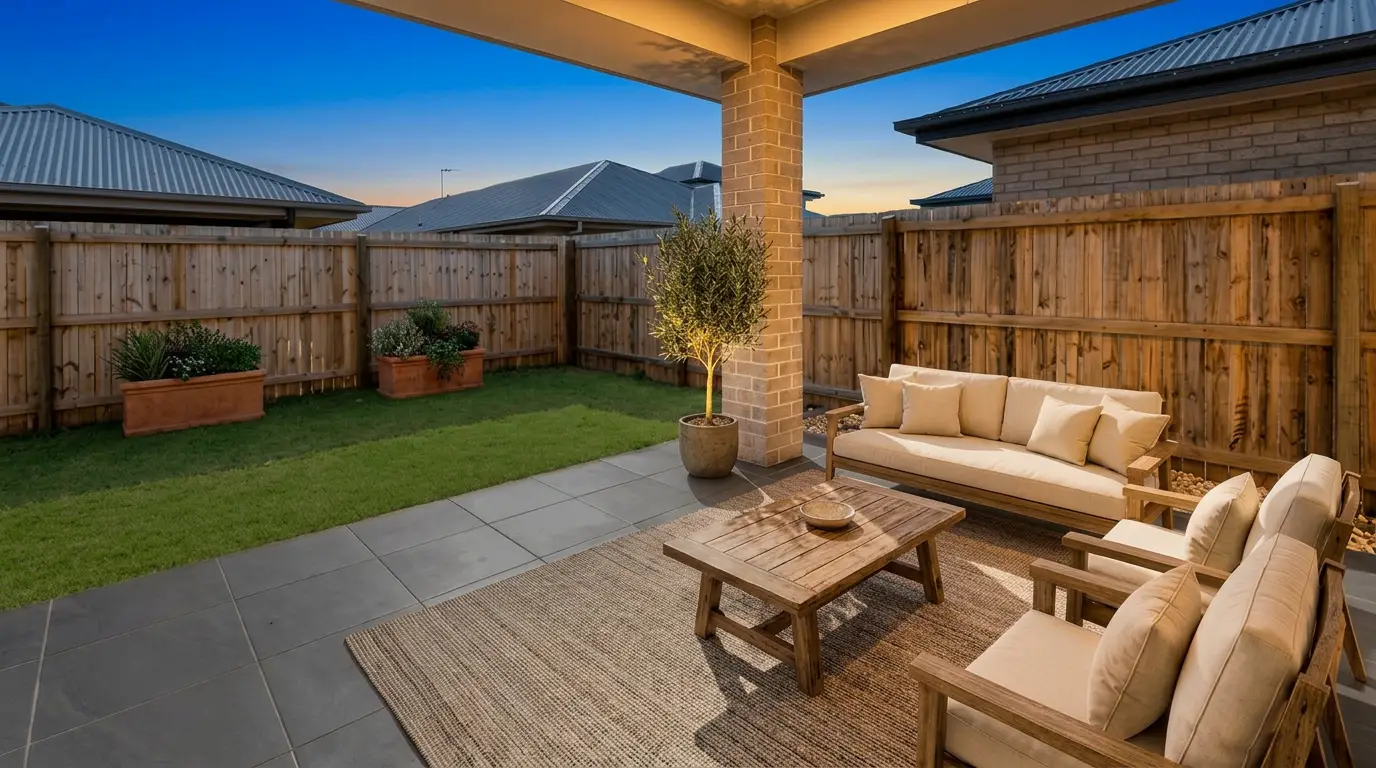
Get listing-ready photos in seconds
Clutter, exposure and twilight handled in one pass. All 11 tools on one account. Free trial credits, no credit card.
Start editing freeChoosing a preset by scene and keeping a whole shoot consistent
Selection rules work best when they start with the problem, not the preset name. Each scene has one main risk, and the wrong look amplifies it.
Overcast exteriors: pick a neutral look that adds contrast without pushing warmth. Overcast light already runs cool, so extra warmth can turn siding and concrete unnatural.
Golden-hour and true twilight: avoid heavy warm presets that can look staged. A preset cannot manufacture dusk or turn midday shadows into a clean evening scene. If the goal is a true dusk gallery, a dedicated capture plan matters more than any look.
Bright interiors with blown windows: start with a low-contrast look that protects highlights. Finish with a masked window pull. Global highlight recovery alone often makes the room gray.
Dim interiors with lamps on: protect lamp highlights first, then lift the room. If the preset lifts shadows hard, noise becomes obvious and ceilings can shift color. When that happens, follow the controls in grain and noise in interior shots.
Batch consistency is the real deliverable. Group frames by room and light condition, edit one reference frame, then sync settings to the group. Avoid syncing crop or Transform across different focal lengths, because that quietly ruins edges and framing.
A clear delivery window also reduces stress. Most listings benefit from next-day delivery within one day so agents can go live quickly. A two-day window fits shoots with HDR merges, heavy mixed light, or large sets that need careful masking.
| preset element | include in a reusable preset | leave out and adjust per photo |
|---|---|---|
| tone curve and contrast | yes, for a consistent look | no, only when a room needs a different mood |
| color and HSL | yes, as a starting palette | no, when green spill or wood bounce dominates |
| sharpening and noise reduction | yes, if ISO stays similar | no, when one room was shot at much higher ISO |
| lens corrections | yes, when the same lens is used weekly | no, when multiple lenses or phones mix in |
| Transform and crop | no, geometry varies by composition | yes, set per frame to keep verticals natural |
Preset settings that stay consistent versus those that vary per frame.
Export choices should stay simple. Use sRGB JPEG for consistent portal color. Keep file naming consistent so the gallery order reads like a walkthrough. Send invoices and fee details outside the image deliverable, not in the exported set.
Keeping results MLS-ready and knowing when presets stop
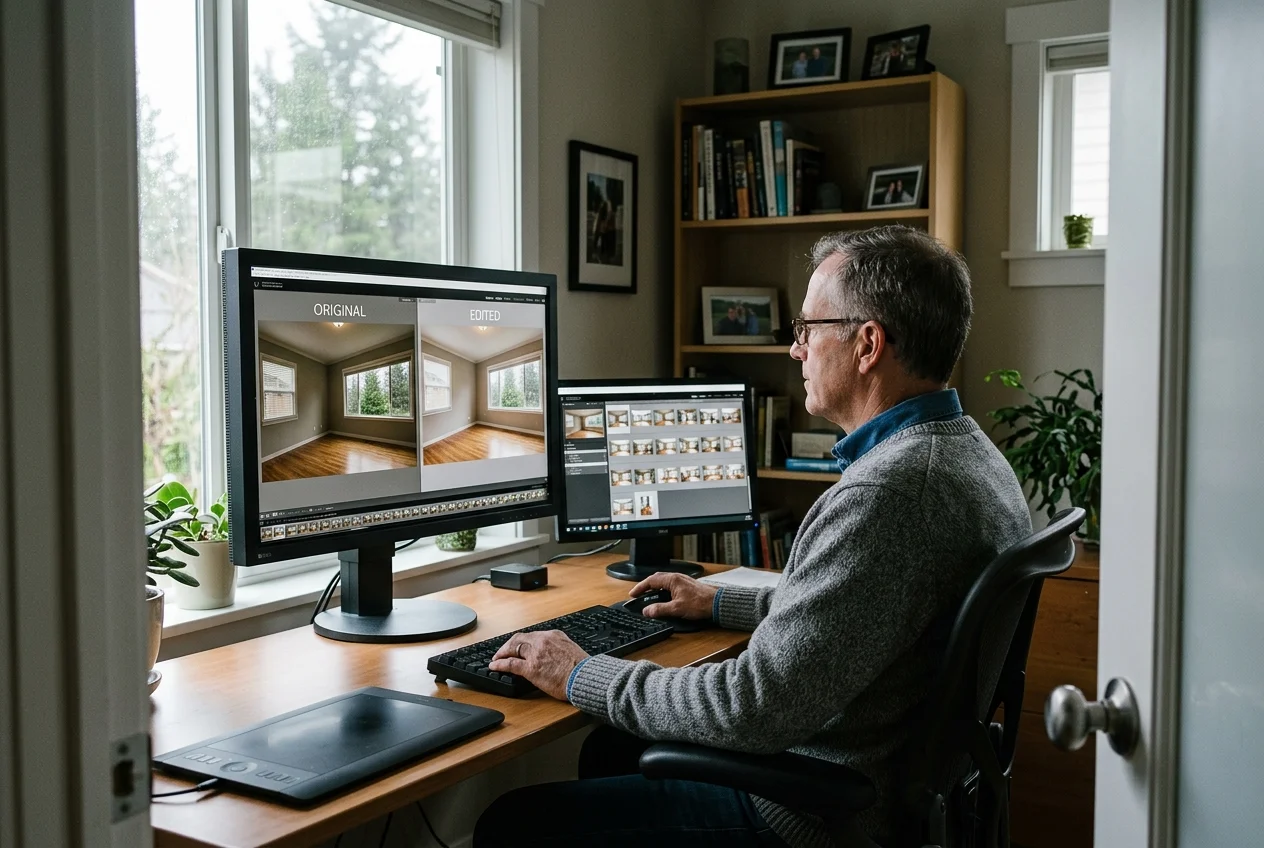
Listing photos carry a trust burden. Walls need to stay the color they are. Floors need to keep their real tone. Window views should remain real, even when they get darker.
Heavily pushed saturation creates problems at showings. Green lawns turn neon, warm cabinetry turns orange, and buyers feel misled when the space looks different in person. A quick check against the mistakes that sink listing galleries helps keep edits on the marketing side of honest.
Presets also have a hard boundary. They cannot remove clutter, replace a flat sky, change day into dusk, or stage an empty room. They also struggle with complex mixed light where one global white balance fails.
Those jobs need different tools. One option is AI HomeDesign for AI real estate photo editing tasks that sit outside Lightroom presets, including photo editing, virtual staging, and virtual renovation in one place, across eleven tools, with free regenerations and pricing from $0.24 a photo. The output keeps fixtures and structure intact, which is what most MLS photo policies require.
When AI edits enter the workflow, disclosure needs to stay clear. Use plain language that matches what was done: “Virtually staged” for added furniture, and “AI-enhanced photo” for edits that change sky, lighting, or removal beyond basic tonal correction. Keep the original file set archived so any question about accuracy has an easy answer.
For a visual standard of where tasteful enhancement ends and over-editing begins, compare against before-and-after editing examples.
Frequently asked questions
Are Lightroom presets good for real estate photography?
Yes, as a starting point for speed and consistency. A preset can apply the same tone curve and color treatment across a full gallery in one click. It cannot fix converging verticals, blown windows, or mixed lighting by itself. The best results come from lens corrections, Transform, and a neutral white balance first, then the preset, then masks.
What is the best Lightroom preset for real estate photos?
The best choice is the preset that matches the camera profile and lighting style used on paid shoots, while staying neutral on walls and floors. Packs built by working real estate photographers often start closer to that goal than mood-driven film looks. A reliable path is testing a free pack, then building a custom preset from one finished interior edit.
How do presets work in Lightroom Mobile?
Mobile can use synced presets from Lightroom desktop on the same Adobe account, or it can build presets from DNG samples. With the DNG route, import the DNG into the library, open it, copy its settings, and save those settings as a new preset. This keeps the look available inside the mobile preset list.
What is the difference between XMP and DNG presets?
XMP is the modern preset file format used on desktop. It installs directly and shows up in the Presets panel. A DNG is an image file that contains a set of Develop settings, often used to move a look into mobile. The settings get copied from the DNG and saved as a preset inside Lightroom Mobile.
Should white balance be included in a real estate preset?
Most reusable real estate presets work better with white balance excluded. White balance changes by room, bulb type, and time of day, and a preset that overwrites it can turn half a house yellow or green. A safer approach is setting white balance off a neutral surface per room, then applying the preset for tone and color style.
What disclosure should be used for AI-edited listing photos?
Use clear, plain labels that match the edit. For added furniture or decor, use “Virtually staged.” For edits that change sky, lighting, or remove objects beyond basic tonal correction, use “AI-enhanced photo.” Many MLSs have local rules on labeling and acceptable edits, so agents and photographers should check the local MLS photo policy before publishing.