Bad real estate photos are usually the result of poor lighting, shooting before decluttering, using the wrong lens settings, not using a tripod, and over-processing. In this guide, we will explore how these affect your photos and how you can avoid them. Let’s begin!
Mistake #1: Poor Lighting


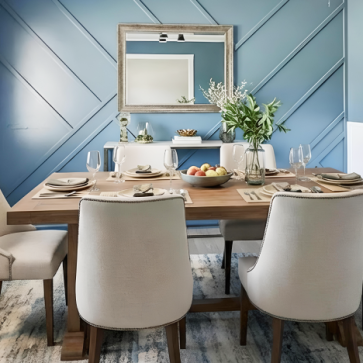
Proper lighting is everything in photography. Without it, the most beautifully staged homes will look too dark or too bright! So, before shooting any property, try bringing in as much natural light as possible to highlight the property’s best features. To do so, it’s better to shoot the interiors on a sunny day and around midday as that is when natural light is at its strongest and most evenly distributed.
With properties that don’t receive enough natural light, you can put mirrors on the walls, furnish the rooms with light-colored furniture, remove heavy window treatments, and use artificial lighting. In case, you fail to do so, make sure to enhance the lighting using real estate photo enhancement tools after taking the shots.
Mistake #2: Cluttered Spaces


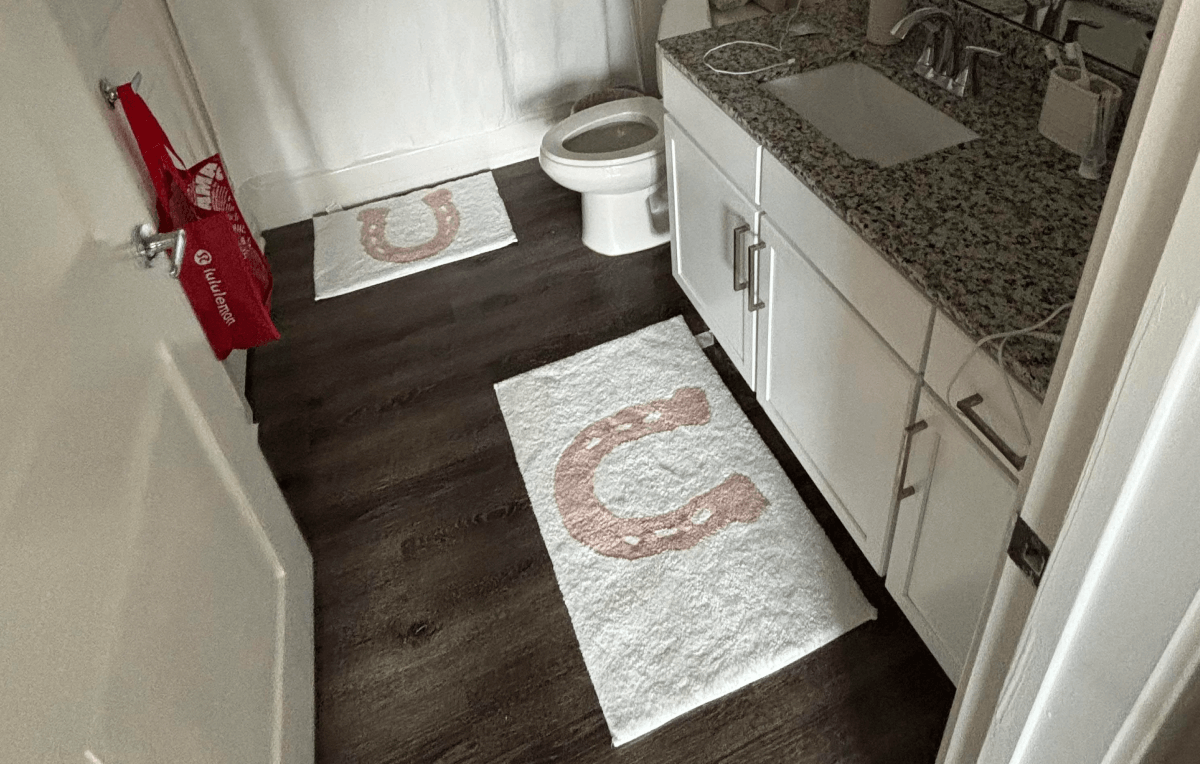
Clutter is another common problem in almost all bad real estate photos. Many photographers, especially the less-experienced ones, jump right into the shooting stage without first preparing the place! That is to say, they begin shooting without removing the unnecessary items that only distract viewers.
With clutter everywhere, the buyers’ attention will be drawn away from key features like the open floor plan, architectural details, or the design of the room. As a result, they might see the place as smaller or less inviting than it really is.
So, always clear all surfaces, and remove personal items like family photos, children’s artwork, or toiletries before shooting the property. For the best effect, you can put some flowers and plants in each room. This way, every room will look clean, spacious, and highly inviting.
While it’s crucial to declutter your space before shooting, if you forget, you can rely on AI HomeDesign’s item removal tool to remove unwanted objects from your photos. You can declutter your whole space with one click or remove certain items while keeping others intact.
Mistake #3: Using the Wrong Lens Setting


At other times, the space might be well-lit and decluttered but the photographer chooses the wrong lens. Therefore, the photos will appear tilted, blurry, or noisy and fail to accurately represent the property’s size and layout.
To avoid this, make sure that the lens setting you’re using is appropriate for the space you’re shooting. If, for example, you’re shooting a narrow space like a hallway or a bathroom, it’s better to use a wide-angle lens as it fits more of the space into the frame. For medium-sized rooms and interiors, on the other hand, you’d better use a standard zoom lens.
If you’re new to real estate photography or want to learn more about various lens settings, you can read this guide on choosing the right camera and lens for real estate photography.
Mistake #4: Not Using a Tripod!


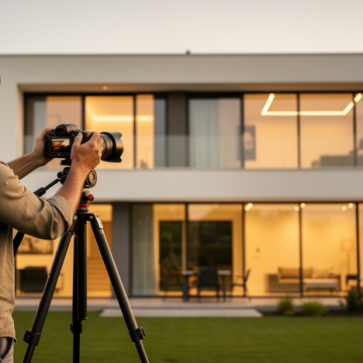
Sounds a bit picky, and yet the slightest shake can ruin an otherwise great shot, making tripods essential for professional-looking photos. No matter how much we try to keep our hands steady while taking those shots, there is always the possibility of a slight movement that can ruin the photo.
Besides, we are always advised to take several shots from the same room and then select the one that shows the rooms in their best light. Last but not least, for HDR photography where multiple shots are taken from the exact same vintage point, perfect alignment of the photos is more than necessary. It’s only by using a tripod that we can ensure consistency across our photos.
Mistake #5: Over Processing


Most real estate photos eventually end up on agents’ social media pages or multiple listings, where the goal is to attract buyers or tenants. Therefore, they should be aesthetically appealing. And that’s why we always recommend editing your photos to enhance their quality and appeal.
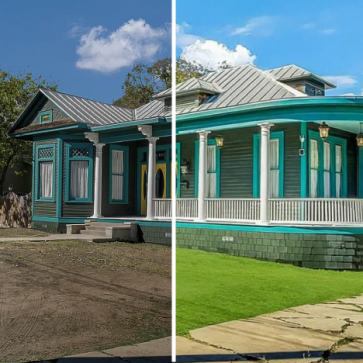
However, many misunderstand this and push the editing too far, resulting in images that look overly artificial or highly unnatural. Such photos are usually interpreted as misleading, hurting the seller’s credibility and turning off potential buyers.
In Closing
No agent or photographer wishes to take bad real estate photos. Everyone knows that such photos will have a reverse effect on house hunters discouraging them from pursuing the property further or making an offer.
But sometimes, out of haste or negligence, we overlook crucial details or skip essential preparation steps and our images fail to showcase the property’s true potential. To avoid this, try using the checklist provided in this blog and you should be fine.


