

Many listings compete in a crowded scroll of images where buyers decide within seconds which properties deserve closer attention. In that environment, strong visuals often start before the photographer even enters the home.
Preparation acts like the first edit of the photo set: it clears visual noise, organizes the space, and helps each room communicate its purpose.
Agents often rely on general advice such as “clean up before photos.” A structured preparation routine gives sellers clearer direction and provides photographers with cleaner material to capture. Many widely shared real estate photography tips focus on camera settings or editing techniques.
In practice, the condition of the space influences the final images more strongly than camera gear alone. The sections below describe a preparation process that agents can apply consistently across multiple listings.
Why Preparing a Home Before Shooting Matters
Listing photos serve one primary purpose: they help buyers make sense of the space. Before buyers read the description, check the square footage, or look at the renovation details, they look at the photos and try to understand the layout, condition, and feel of the home.
That process becomes harder when counters look crowded, furniture blocks the room, or the lighting feels uneven. Even a well-kept property can look darker, smaller, or less inviting than it actually is.
Preparation changes that. Clear surfaces, simple furniture placement, and balanced light make each room easier to understand on camera. The photographer can then spend more time choosing strong angles and less time working around avoidable distractions.
Start With a Room-by-Room Decluttering Pass
Decluttering sits near the top of most home staging tips for selling because it helps buyers focus on the room rather than the furniture or artworks.
That said, rooms should not feel stripped down. They should feel clear enough for buyers to notice the layout instead of the distractions.
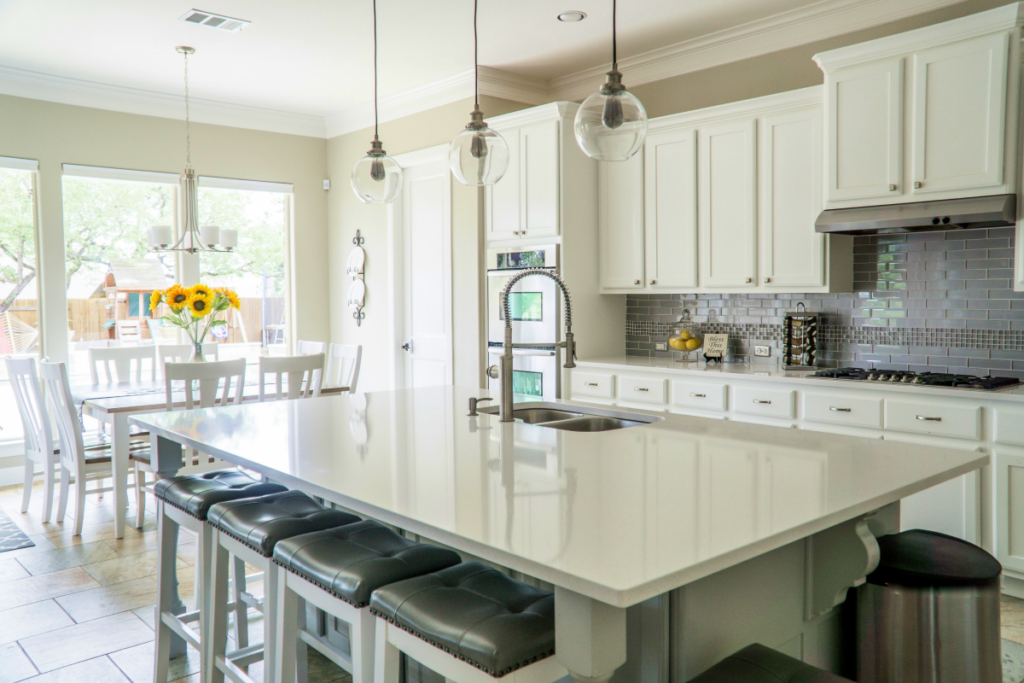
Certain rooms usually require extra preparation before photography. Kitchens benefit from clear countertops and aligned stools, bathrooms from spotless mirrors and folded towels, bedrooms from smooth bedding, and living rooms from open walking paths that reveal the layout.
Remove Personal Items and Visual Distractions
Family photos, school papers, and refrigerator magnets pull attention away from the room itself. A big part of staging a home to sell involves clearing those personal markers so the space feels easier for buyers to picture as their own.
The fact is that small items tend to stand out more in photos than they do during an in-person walk-through. For that reason, agents should remove objects that add visual noise before the shoot.
Clear Surfaces Without Making Rooms Feel Empty
Kitchen counters, shelves, and coffee tables benefit from a simplified arrangement. A bowl, a plant, or a neutral decorative piece often appears balanced on camera. Too many objects, on the other hand, break the visual rhythm of the room and create a cluttered look.
Store Cords, Bins, and Cleaning Supplies Out of Sight
Loose cables, laundry baskets, and plastic storage bins may fade into the background during daily life, but they stand out in listing photos. Removing them helps the camera stay on the room itself rather than on everyday clutter.
Adjust Furniture and Layout for Better Photos
The way furniture sits in a room can change the entire photo. Bulky pieces placed too close together often make the space look cramped and harder to follow. Small layout adjustments can help the room appear more open on camera.
Create Clearer Walking Paths
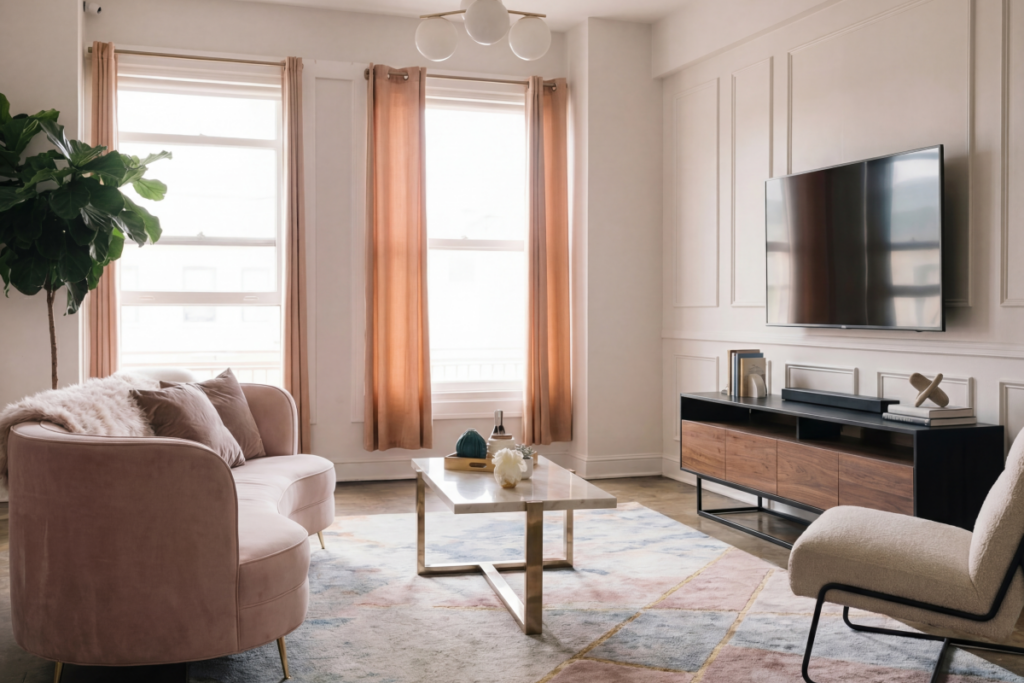
Small layout changes often make a bigger difference than most agents assume. Open walkways help the camera show how the room functions in practice. Moving a chair a few inches, removing a small side table, shifting an ottoman out of the frame, or pulling a dining chair back into place can open the view and reveal more floor area.
Make Small Rooms Easier to Read
Smaller spaces benefit from fewer furniture pieces. Removing one chair or side table often clarifies the layout in photos. The room then appears more functional in photos.
It also gives the eye a clearer path through the space, which helps the room feel less cramped. In most cases, a simpler arrangement makes the size of the room easier to judge.
Use Simple Staging to Define Each Room’s Purpose
Rooms photograph best when their function appears obvious. A desk and chair help a spare room read as an office. A small table and two chairs help an empty corner read as a breakfast nook. When the purpose of the space is clear, the whole listing becomes easier to understand.
Clean the Details Cameras Notice Fast
Cameras often pick up details that people don’t notice in daily life. That is part of the reason many real estate photography tips emphasize preparation before the shoot.
A faint smudge on a mirror, dust on a shelf, or water spots on a faucet may seem minor in person, yet those same details can become distractions once they appear in listing photos.
A short cleaning pass before the shoot helps remove that visual noise and keeps attention focused on the room itself.
Windows, Mirrors, and Reflective Surfaces
Fingerprints, dust, and streaks become much easier to see on mirrors, windows, and glossy finishes once natural light enters the room.
What looks clean at first glance can look dull or marked in a photo, especially when sunlight hits the surface directly. Clean those areas so light moves through the space more evenly and reflections look clear rather than uneven or distracting.
Kitchen and Bathroom Finishes
After living rooms and bedrooms, buyers pay special attention to kitchens and bathrooms. Polished faucets, clean countertops, and tidy appliances help these areas appear well-maintained, and this creates a sense of care and order for buyers.
Floors, Bedding, and Soft Textures
Vacuumed carpets, smooth bedding, and aligned cushions give the room a more settled look on camera. Buyers often read tidy fabrics and floors as signs that the home has been cared for.
That is why many home staging tips for selling properties pay close attention to soft textures and floor surfaces, even though they may seem minor before the shoot.
Prepare Lighting and Timing Before the Shoot
Lighting can change the entire mood of a photo. When the light feels even and natural, rooms look clearer, more open, and easier to understand. Harsh shadows or dark corners, on the other hand, can make the same space feel smaller or less inviting.
Preparing the lighting before the shoot helps the photographer capture the room closer to how it appears in person.
Open Blinds and Balance Natural Light
Natural light often adds depth and dimension to a room, blinds should remain fully open to allow natural light to fill the room evenly. This helps reduce heavy shadows and allows the camera to capture the space more clearly.
Replace Burnt-Out Bulbs and Match the Light Temperature
Bulbs with different color temperatures can create uneven tones in photos. Before the shoot, bulbs across the room should match in type and color temperature so lighting appears consistent in images.
Choose the right time of day for each property
Among practical real estate photography tips, timing mattersbecause it affects the image before camera settings come into play. A well-timed shoot usually leads to clearer photos and fewer lighting problems later.
Watch how sunlight moves through the property before confirming the shoot time. Strong midday sun can create harsh contrast near windows, while morning or late-afternoon light often gives the room a softer and more balanced look.
Handle Exterior Areas Before the Photographer Arrives
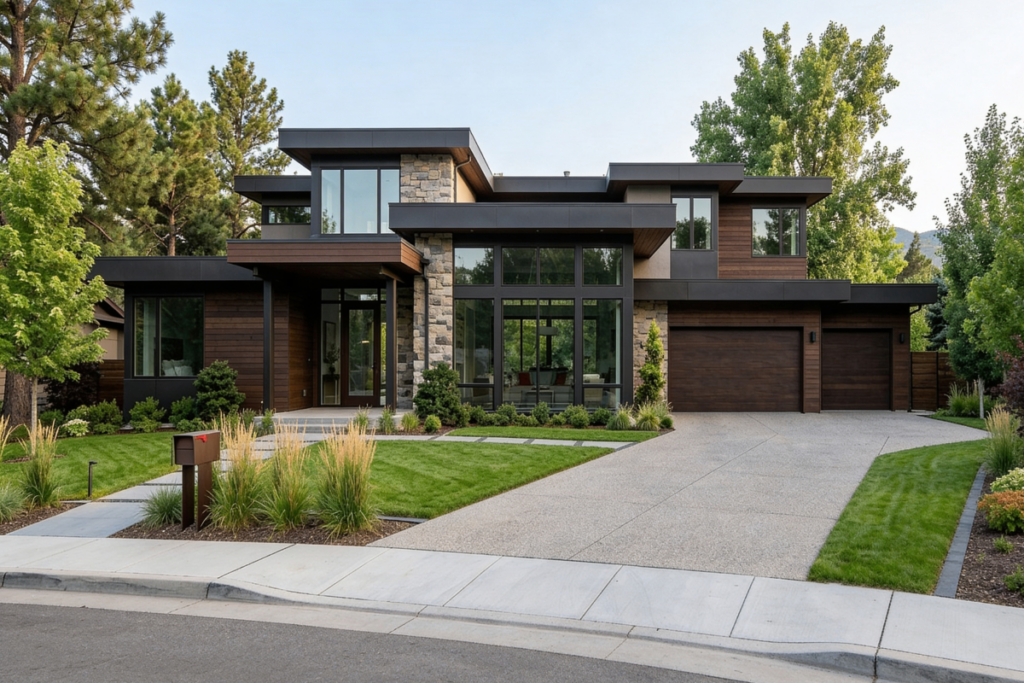
Exterior photos often give buyers their first look at a listing. Some of the most useful real estate photography tips apply outside just as much as they do inside, since simple steps that improve curb appeal can shape buyer perception before anyone reaches the interior photos.
When the front of the property looks clean and orderly, buyers approach the rest of the listing with a more positive impression.
Clear the Driveway and Tidy the Entry Area
Move cars, trash bins, and other visible distractions out of view so the driveway and front approach look more open. Then sweep the walkway, trim any visible branches, and straighten the doormat so the entrance appears clean and cared for.
Prepare Patios, Balconies, and Outdoor Seating
Straightened cushions and clear tabletops can make patios and balconies appear more organized. When these areas look orderly and ready to use, buyers find it easier to imagine them as part of everyday living.
What Agents Should Check Right Before the Shoot
A short walkthrough from the camera’s point of view often reveals small issues that escaped earlier preparation. Agents can perform this quick check just before the photography session begins.
| Final Pre-Shoot Check | Reason |
|---|---|
| Walk through the home from likely camera angles | Helps identify objects that interrupt the frame |
| Check mirrors and reflective surfaces | Prevents unwanted reflections |
| Turn on appropriate lights | Improves interior brightness |
| Confirm every room shows a clear function | Helps buyers understand the layout quickly |
| Open blinds and adjust curtains evenly | Helps natural light enter the room more cleanly |
| Remove small distracting items from counters and floors | Keeps attention on the space rather than clutter |
| Check bedding, pillows, and rugs | Prevents the room from looking uneven or unfinished |
| Hide bins, cords, and pet items | Reduces visual noise in the frame |
| Make sure toilet lids are closed and bath items are put away | Keeps bathrooms looking cleaner and more orderly |
| Review the exterior one last time | Catches parked cars, bins, or misplaced items before the first shot |
This final inspection works like a last rehearsal before a performance. Small adjustments at this stage often prevent distractions in the final listing images.
What Preparation Cannot Fix and When Editing Still Helps
Preparation improves the clarity of listing photos, yet some elements remain outside the scope of physical staging. Photographers and editors often correct lighting balance, minor distractions, or perspective distortions during post-production.
Professional real estate photo editing services often handle tasks such as exposure balance, color correction, and alignment adjustments. These refinements help maintain visual consistency across entire photo set.
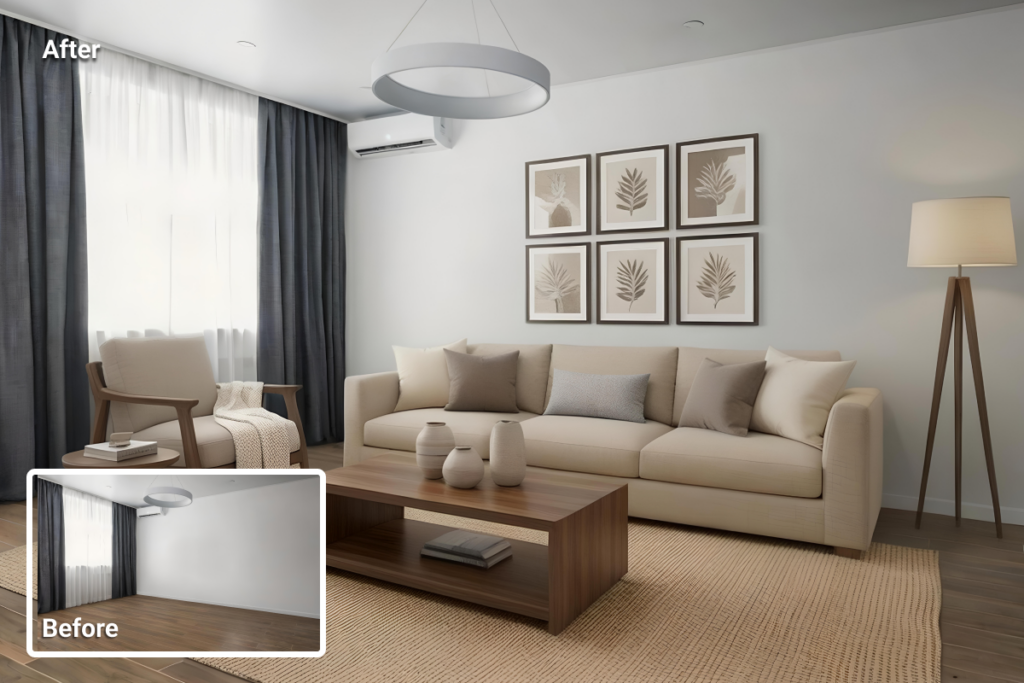
In some cases, AI virtual staging provides a practical option for empty or outdated rooms. Digital furniture placement helps illustrate how the space might function while avoiding the cost and logistics of physical staging.
AI HomeDesign reflects the broader adoption of AI in real estate, where visual media production increasingly combines preparation, photography, and digital refinement.
Final Checklist for Getting a Home Ready for Listing Photos
Agents often rely on a short preparation sequence that sellers can follow before the photographer arrives.
| Step | Action |
|---|---|
| Declutter | Remove personal items and extra objects |
| Simplify | Adjust furniture to clarify room flow |
| Clean | Focus on glass, surfaces, and floors |
| Light | Open blinds and check bulbs |
| Stage | Clarify each room’s purpose |
| Inspect | Walk through the home from camera angles |
| Shoot | Begin photography after preparation is complete |
Preparation rarely attracts attention once the listing appears online. Yet it shapes the entire visual story of the property. Clean rooms, clear layouts, and balanced lighting help photos communicate the space and condition clearly with little effort from the viewer.
Many well-known real estate photography tips focus on the actual shooting. In practice, the condition of the property before the shoot often determines how the listing ultimately looks in photos.
Agents who follow a consistent preparation checklist often find that listings move from the photo session to publication with fewer obstacles and stronger visual clarity.
Preparation usually starts 24–48 hours before the shoot. This gives enough time to declutter rooms, clean reflective surfaces, adjust furniture, and prepare lighting so the photographer can capture clear images.
Personal photos, laundry baskets, visible cords, cleaning supplies, and small clutter should be removed. These items often draw attention in listing photos.
Agents should do a quick walkthrough from likely camera angles. This helps catch small issues such as visible cords, cluttered counters, or items that interrupt the frame.
Remove extra furniture, clear surfaces, and open walking paths. A simpler layout helps the room appear more functional and easier to understand in photos.
Editing can correct lighting balance, remove small distractions, and improve visual consistency. Professional real estate photo editing services can also adjust perspective or polish images, but clutter and poor layout are better fixed before the shoot.


_ Top Picks for Every Budget")
