A matterport scan can look impressive on a listing page, right up until the invoice hits and the tour goes live on an empty, echoing house. That gap between “cool tech” and “useful marketing” is where most teams get stuck.
This guide breaks down what Matterport produces, what actually drives Matterport pricing, and how the setup workflow works in the field. It also covers the common blind spot: what to do after the 3D tour exists, especially for vacant or lightly furnished listings.
The goal is a clear decision: when to invest, when to outsource, and when still photos and editing deliver better value.
What Matterport Produces and Why Buyers Care
Buyers do not struggle to find listings. They struggle to understand space. A strong 3D tour solves that problem by letting viewers “walk” the layout, check transitions between rooms, and confirm whether a home fits real life.
Matterport captures a property as a digital twin. That scan data powers the interactive tour, the well-known dollhouse view, and measurements that can support add-ons like floor plans. Matterport also supports highlight reels and navigation aids that reduce the friction of clicking through a long home.
Agents often compare tours to video walkthroughs. Video builds mood, but it stays on rails. A 3D tour gives viewers control, which can help with homes that have tricky layouts, multiple levels, or limited natural light.
For the broader media stack that supports listing conversion, Matterport works best alongside strong still photography and smart distribution. A useful refresher on the non-3D basics sits in real estate photography tips. For a product-level overview of Matterport’s real estate use cases, Matterport outlines core outputs on its real estate page.
Choosing a Capture Method and Setting Expectations
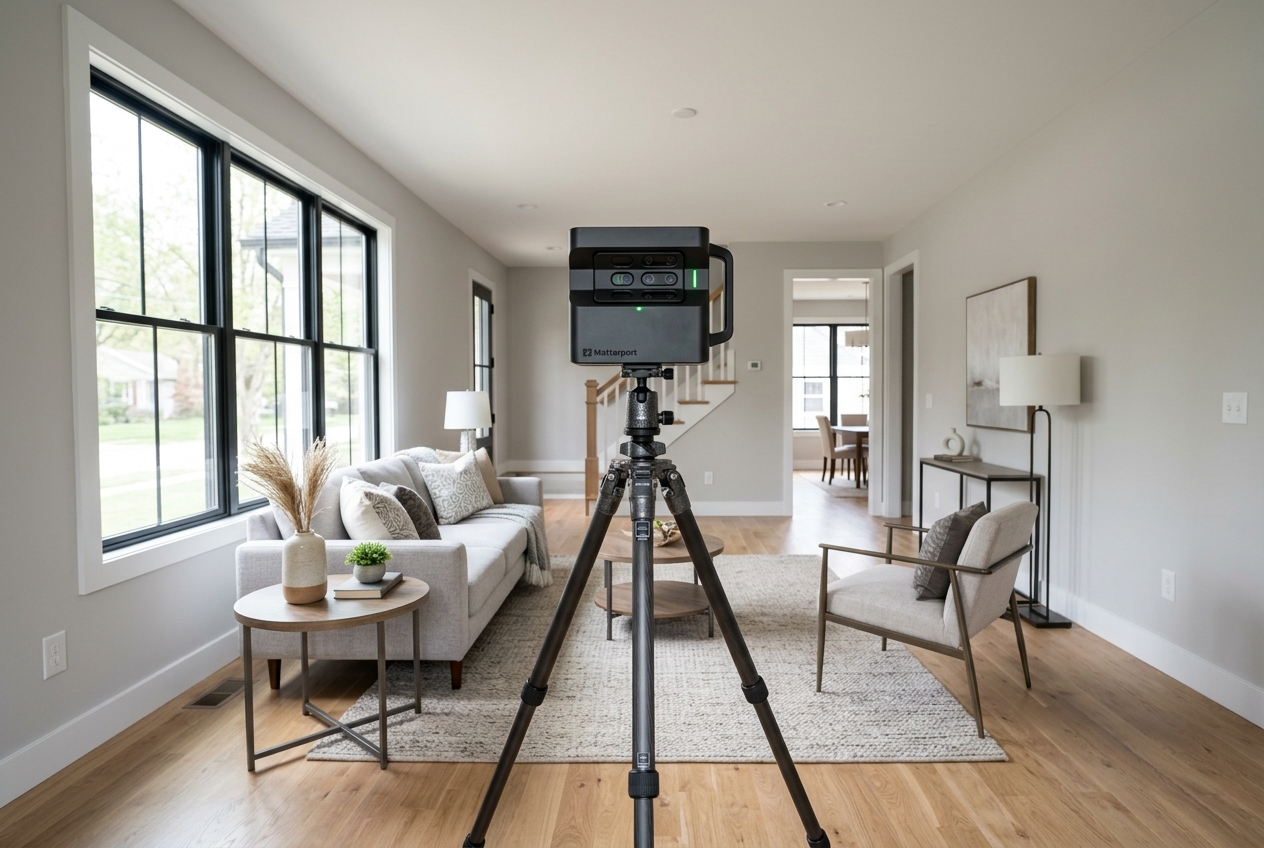
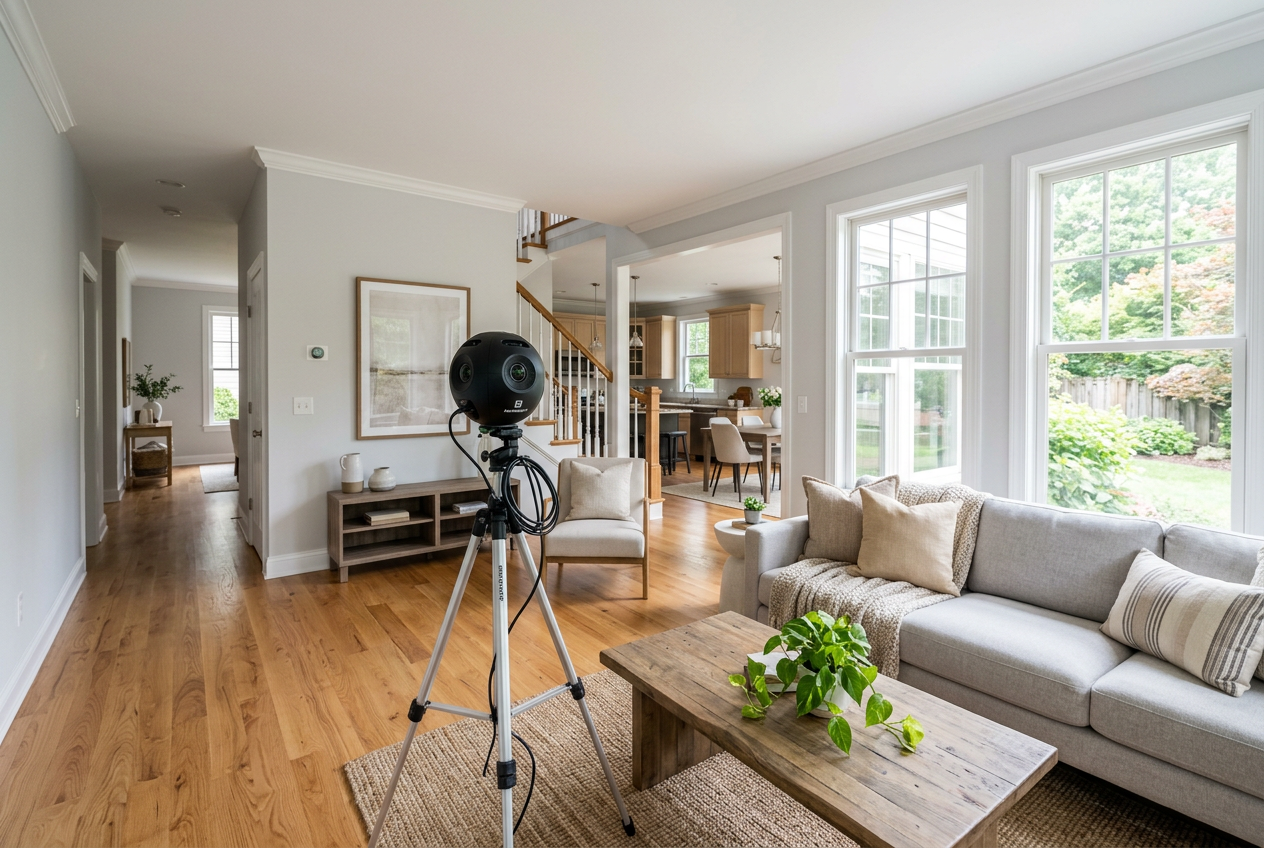
The first decision is not a subscription tier. It is capture quality. A tour that feels choppy, soft, or distorted can do more harm than good because it makes the home feel smaller and harder to trust.
Matterport supports a range of capture paths. Dedicated 3D cameras can produce the most consistent results and the cleanest transitions between scan points. Smartphone capture can work for testing the workflow or for listings where speed matters more than polish.
| Capture path | What it does well | What to watch | Best fit |
|---|---|---|---|
| Dedicated Matterport camera | consistent alignment, strong dollhouse view, reliable measurements | higher upfront cost, learning curve | luxury, larger homes, photographers offering tours as a service |
| Supported 360 camera | faster capture than many phones, decent quality for the price | alignment and exposure vary by model | agents who want a mid-range option |
| Smartphone capture | lowest barrier to entry, simple field setup | lower detail, more artifacts, weaker low-light results | trial runs, rentals, budget listings |
Camera choice connects to the rest of the photo kit. Agents and photographers weighing still-photo upgrades can cross-check trade-offs in best cameras for real estate photography.
Matterport also sits in a broader menu of visual formats. Some listings need a guided story more than a self-directed walkthrough. In those cases, a well-shot walkthrough can compete with a tour on attention and shareability. A practical overview of that lane sits in real estate videography.
Matterport Subscription Plans and the Hidden Hosting Question
Matterport plans change over time, so the most reliable approach is to choose a tier based on workflow, not on the price shown on a single day. The key plan levers usually include how many active spaces can stay live at once, what sharing and branding tools are included, and how the account handles older listings.
The “free” tier often functions as a trial. It can help a team learn Capture, processing, and publishing. It rarely supports ongoing listing volume because the live-hosting limit is tight.
The paid tiers generally ladder up on capacity and collaboration. A solo agent who keeps only a few active listings may stay near the entry tiers. Photographers who host tours for multiple clients typically need higher space limits and cleaner client handoff options.
Hosting creates the cost surprise. Teams can build a tour, close the listing, and then discover that keeping that tour publicly accessible still requires an active slot. Some accounts solve this with archiving and later reactivation. That approach still affects the per-listing math, because it turns tours into an ongoing inventory instead of a one-time deliverable.
Buyer interest data varies by market and property type, but virtual tour usage shows up consistently in consumer research discussions. A general, industry-facing roundup of reasons agents use tours appears in this overview.
Total Cost Drivers Beyond the Monthly Plan
Most teams underestimate cost because they focus on the subscription line item. The real decision uses total operating cost per listing, plus the internal time cost to capture and publish.
Upfront equipment cost can range from “already owned” for smartphone capture to “meaningful capital expense” for dedicated 3D cameras. That difference matters most for low-volume agents, where the hardware never amortizes cleanly across enough listings.
Capture time also behaves like a cost. A detailed scan takes planning, consistent overlap between scan points, and careful reshoots around reflective surfaces. That time often competes with showings, prep, and photo capture on the same appointment.
Outsourcing can convert fixed costs into variable costs. Matterport Capture Services and local providers let agents pay per property instead of owning hardware. That can make sense for occasional tours, for out-of-area listings, or for teams that want a predictable invoice.
Finally, listing media does not live in isolation. Many agents budget photography, tours, video, drone, and edits as one package. A useful benchmark on the broader spend landscape sits in real estate photography cost.
Planning a matterport scan From Arrival to Upload
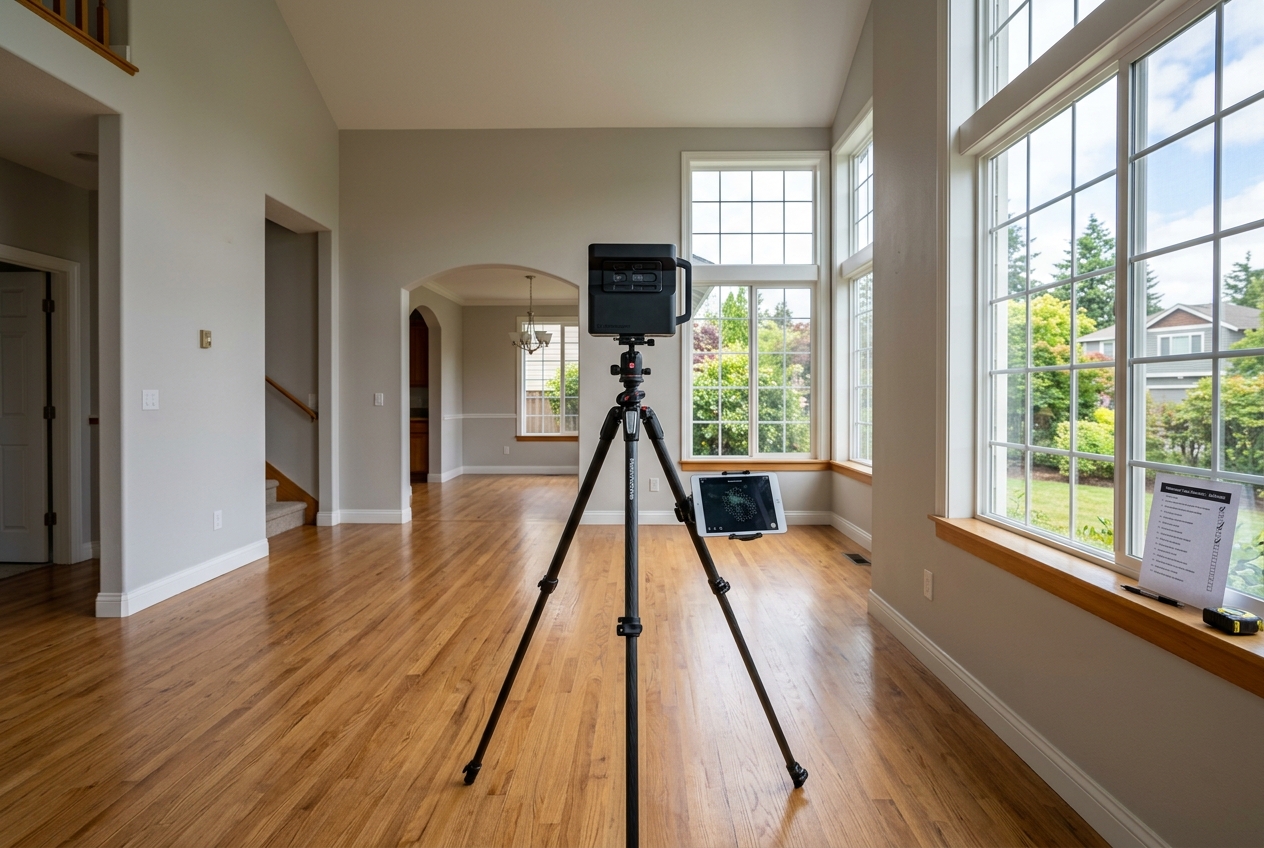
Tours fail more often from process mistakes than from camera choice. The fix is a repeatable workflow that protects alignment, exposure, and publishing quality.
A practical target is delivery within two days of the shoot. That window gives time for processing, a quality check, and minor edits, while still supporting typical listing timelines. Faster delivery can work, but it leaves little room for reshoots.
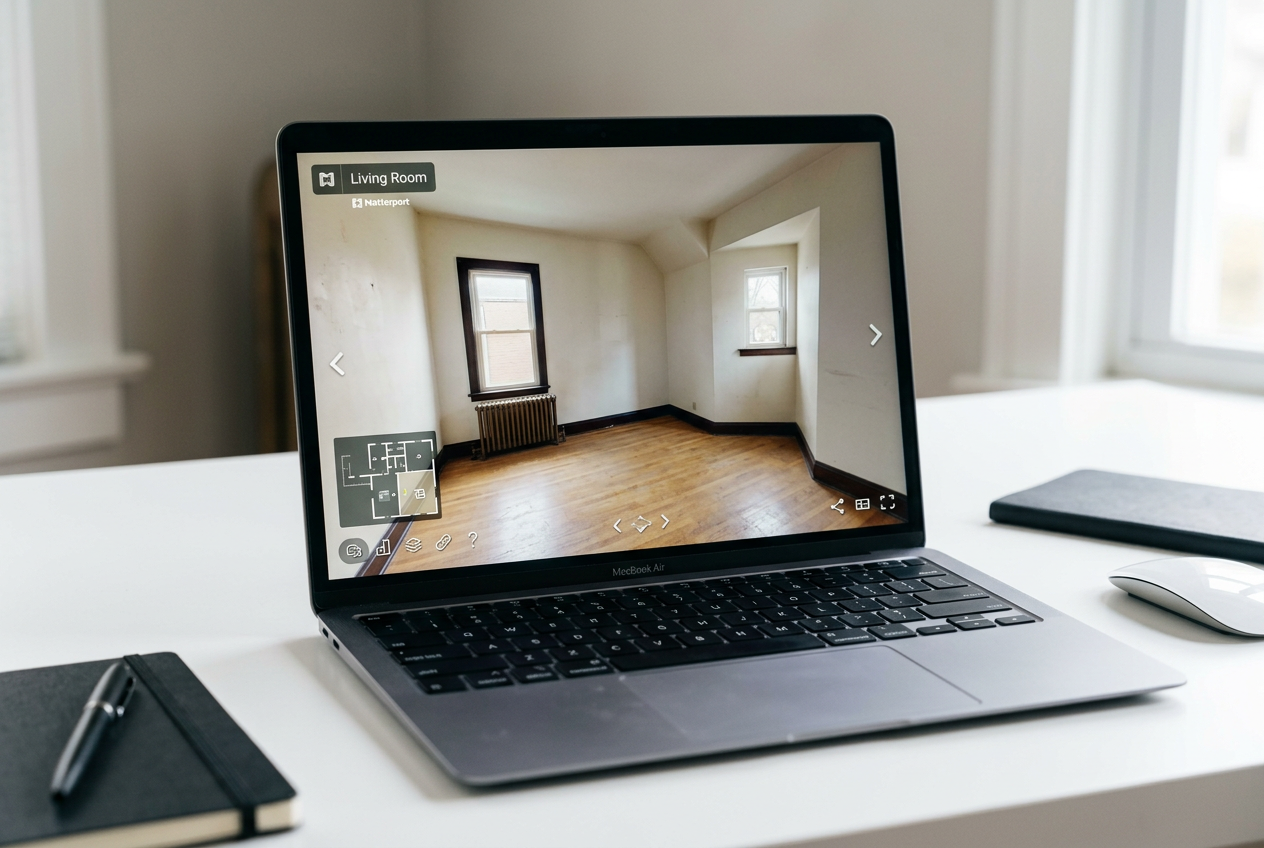
The deliverable package should stay simple: a live tour link, an embed option for the listing page, and a clean set of still photos. Save raw scan files, internal notes, and troubleshooting details for the production side. Those items do not help a seller decide, and they can create avoidable confusion.
Commission or fee figures also do not belong inside the public-facing media package. Those numbers belong in a listing agreement or a separate service menu. Public media should focus on the home, not on compensation.
Step one: Prep the home for scan continuity
Open blinds, turn on key lights, and clear floor clutter that forces detours. Keep doors either open or closed consistently across the property.
Reflective surfaces create the biggest slowdowns. Mirrors, glossy appliances, and shower glass can cause alignment errors. A quick towel over a mirror or a slight angle change often saves time later.
Step two: Map a logical scan path
Start at the front entry and scan in a loop that returns to the starting area. That pattern helps the model “know where it is” and reduces drift.
Agents and photographers can treat each scan point as a handoff. Each new scan should overlap sightlines with the prior one. Long jumps across open spaces raise the odds of broken connections.
Step three: Capture with consistent spacing
Place scan points closer together in tight hallways and near stair transitions. In large rooms, keep spacing consistent and avoid skipping corners.
Pets, ceiling fans, and moving people can introduce artifacts. A quick “all clear” pause before each capture makes a visible difference.
Step four: Upload and wait for processing
Upload on strong Wi-Fi whenever possible. Weak upload speeds create delays that look like “processing issues” but are really bandwidth problems.
Processing time varies with property size and detail, but many standard homes finish within about an hour. Agents can use that window to review still photos and confirm the shot list.
Step five: Edit, label, and publish cleanly
Trim stray scan points that landed outside the home. Check navigation, then add labels only where they help, such as mechanical panels, community amenities, or unique upgrades.
Publish with a simple naming convention that matches the MLS address. Keep the first-view starting position consistent across listings so buyers land in the most meaningful space.
Matterport vs. Zillow 3D Home for Listing Media
The comparison comes down to expectations. If the goal is “a basic walkthrough exists,” Zillow’s solution can cover the minimum bar. If the goal is “the tour itself sells the space,” Matterport usually produces the more polished experience.
Matterport’s strengths show up in how the tour feels. The dollhouse view, cleaner movement, and better sense of depth support layout understanding. That matters for split levels, condos with odd angles, and homes where photos flatten scale.
Zillow’s strengths show up in access and simplicity. It can be an easy add-on for agents who want a lightweight tour with little added workflow. That can fit price-sensitive listings where the marketing plan already prioritizes photos and open houses.
The practical risk is mixing a premium expectation with a budget output. If a listing looks luxury in photos and then delivers a low-detail tour, buyers may question the rest of the presentation. A more detailed breakdown of trade-offs appears in this comparison.
Why Vacant Tours Undersell Space and How AI Virtual Staging Helps
An empty tour answers “how big is it,” but it struggles to answer “what does life look like here.” That gap matters most for condos, smaller bedrooms, and awkward living rooms where furniture placement solves the mental puzzle.
Vacant scans also create a perception problem. Wide-angle capture can make walls feel farther away and rooms feel colder. Buyers may judge the home as less livable even while they understand the layout better.
A practical fix does not require staging the tour itself. Agents can pair the tour with staged still photos that show the intended use of key rooms. Those images carry the emotional load, while the 3D tour carries spatial credibility.
That workflow starts on site. The scan does not replace still photos. It should run alongside them with a consistent shot list and clean compositions. A specific field guide for capturing staging-ready stills sits in how to shoot a property for virtual staging.
When the listing also needs color correction, window pulls, or exposure cleanup, teams often add a separate edit pass. Options and decision points are covered in real estate photo editing services.
Disclosure matters. Many MLS rules require clear labeling for any virtually staged image. A practical standard is a visible Virtually Staged Watermark plus a written Disclosure line such as: “Disclosure: virtually staged photo. Furniture and decor are digitally added.” Local MLS Rules vary, so teams should confirm the exact labeling expectations before publishing.
Is Matterport Worth It for Real Estate Teams
Matterport earns its keep when it solves a real sales friction. The strongest cases share one trait: buyers need layout certainty before they commit to a showing.
Ownership tends to make sense for photographers and teams that produce tours frequently enough to spread hardware and subscription costs across many listings. Outsourcing tends to make sense for occasional needs, remote listings, or agents who want tours only for certain property types.
In mid-market listings, still photos often drive the decision to click, save, and schedule. That is where staging and photo quality can beat a tour on return, especially for vacant homes. A 3D tour can still help, but it is not always the first dollar that should be spent.
The right answer also changes in edge cases where the standard process breaks:
- Distressed sales: remove personal items and hazards first, then choose the lightest capture plan that stays respectful.
- Tenant-occupied homes: plan for privacy and limit tags that expose personal details.
- High-security properties: confirm what can be shown, and limit exterior capture when needed.
- Rural properties with outbuildings: decide if the tour covers the main home only, or if structures need separate spaces.
Teams that want a stronger visual stack can combine tours with aerials, especially for acreage, views, and large lots. A practical overview sits in real estate drone photography.
A simple rule of thumb helps: Matterport works best as the “layout proof.” Great photos, editing, and AI virtual staging work best as the “desire builder.” The most consistent wins come from pairing both roles on the same listing, instead of expecting one asset to do everything.
Frequently Asked Questions
How much does a Matterport 3D tour cost?
Total cost usually comes from four buckets: capture method, plan and hosting, time on site, and any add-ons like floor plans. Smartphone capture can keep the upfront spend low, while dedicated cameras and higher-capacity plans raise fixed costs. For occasional listings, many agents choose a per-property provider so costs stay variable instead of ongoing.
Can an iPhone create a usable Matterport tour?
Yes. Phone-based capture can produce a functional tour that helps buyers understand layout, especially for smaller homes and rentals. The trade-off shows up in detail, low-light performance, and alignment around mirrors and glass. Many teams use phone capture to learn the workflow, then upgrade to dedicated capture when tours become a repeatable service.
What happens to hosted spaces if a Matterport plan gets canceled?
Most platforms treat hosting capacity as a live inventory. When a plan ends or a tier downgrades, older spaces may become inactive or archived rather than publicly viewable. That can affect past listings that still need a live tour link for marketing or compliance records. A practical approach is to plan for offboarding and archiving rules before launching tours at scale.
Do buyers actually use 3D tours or mostly look at photos?
Many buyers still decide to click and save based on photos first. Tours tend to matter most after that moment, when a buyer wants proof of layout, flow, and room relationships. They can also help out-of-area buyers narrow choices before travel. The strongest results show up when tours support, rather than replace, a high-quality photo set.
Is Matterport better than Zillow 3D Home?
Matterport usually wins on polish and spatial presentation, especially with the dollhouse view and smoother navigation. Zillow’s option can win on simplicity and low friction for basic listings. The better choice depends on the listing’s expectations: premium homes and complex layouts often justify the higher-quality tour, while budget listings may only need a simple walkthrough.
How should virtually staged images be disclosed alongside a 3D tour?
Teams can keep disclosure clear and consistent across the listing. A practical approach is to add a Virtually Staged Watermark on each staged photo and include a written Disclosure line in the MLS remarks or media description. One example: “Disclosure: virtually staged photo. Furniture and decor are digitally added.” Specific MLS Rules vary, so agents should confirm local wording expectations.