Best Floor Plan Software for Real Estate in 2026 Ranked
Listing photos sell the feel of a home, but floor plan makers sell the layout. Agents lose buyer attention when room flow stays unclear, especially online where viewers scroll fast.
This guide ranks floor plan tools the way real estate teams actually use them: clean two-dimensional plans that export for the MLS, predictable costs per listing, and a workflow that fits showing schedules. For a broader tech stack beyond plans, see best real estate tools for agents.
The short version is simple: pick a scan workflow for accuracy, or a draw workflow for speed and control.
How Agents Should Judge Floor Plan Makers
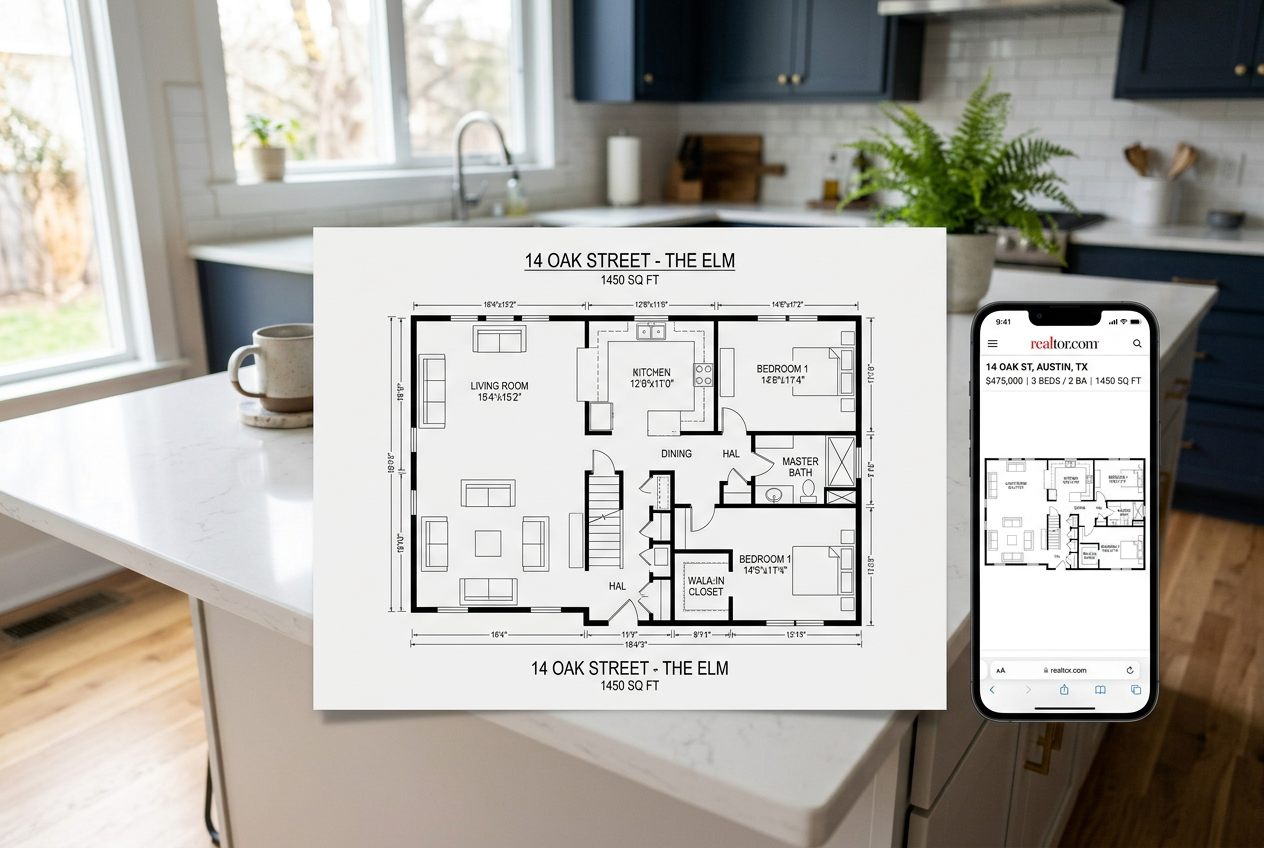
Clean output matters more than extra features. A listing plan needs clear walls, doors, and labels that read on a phone. Fancy textures rarely help, and they can distract.
Watermarks and blurry exports cause the most last-minute rework. Many free tiers add a watermark or restrict export quality. That can block MLS use, even when the drafting experience feels fine.
Export options drive downstream speed. Most MLS systems accept a PDF or an image file. Some teams also want a CAD-friendly file when a designer, builder, or insurance partner needs it. Branding matters too. A simple header, a logo lockup, and consistent fonts keep brochures and flyers aligned.
Ease of use should match the people doing the work. A solo agent may value a fast learning curve. A brokerage may value permissions, templates, and predictable sharing.
Scan to Plan vs Draw From Measurements
Scan to floor plan workflows shine when accuracy carries the listing. Older homes, additions, and split-level layouts create angles that agents hate to redraw. A scan captures the as-built condition and reduces guesswork.
Reality capture also helps when a team needs more than a plan. Virtual tours, tags, and notes can support repair lists, marketing, or insurance conversations. That said, scanning adds a field step and can require specific hardware.
Draw-from-measurements tools win on speed and flexibility. A tape measure, a laser measure, and a basic sketch can produce a plan in the same workday. Drafting also helps when the goal is clarity, not architectural-grade documentation.
The decision often comes down to control. Drawing lets agents simplify labels and keep the plan focused on buyer understanding. Scans excel when every inch matters, or when the property has complex geometry.
Draw-First Tools for Fast Listing Plans
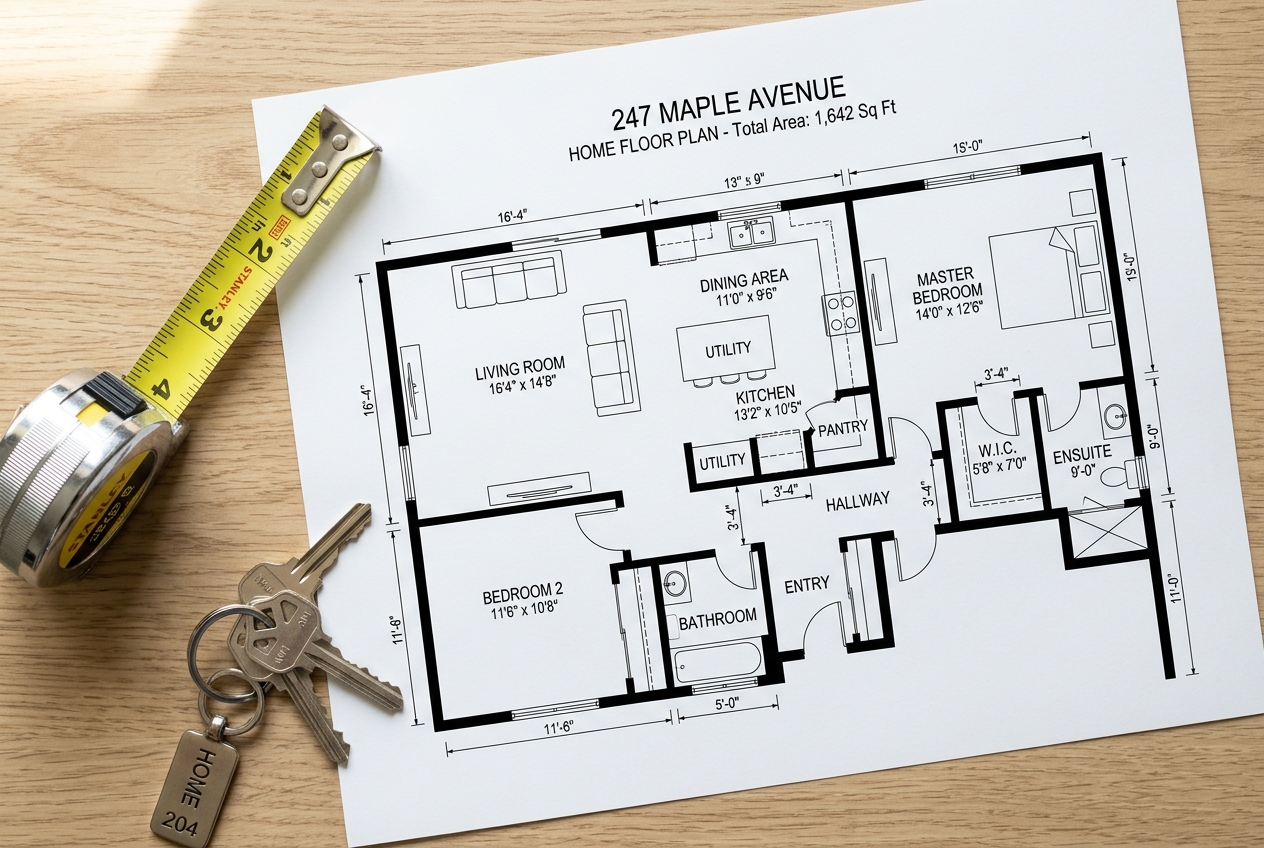
Draft-first tools fit most listing coordinators. They work well for standard homes, condos, and rentals where the plan clarifies flow and room relationships. Agents can measure, draft, label, and publish without waiting on a third party.
These tools also fit teams that want consistent branding. Templates and repeatable styles help a brokerage keep output uniform across agents.
The tools in detail
RoomSketcherTop pick
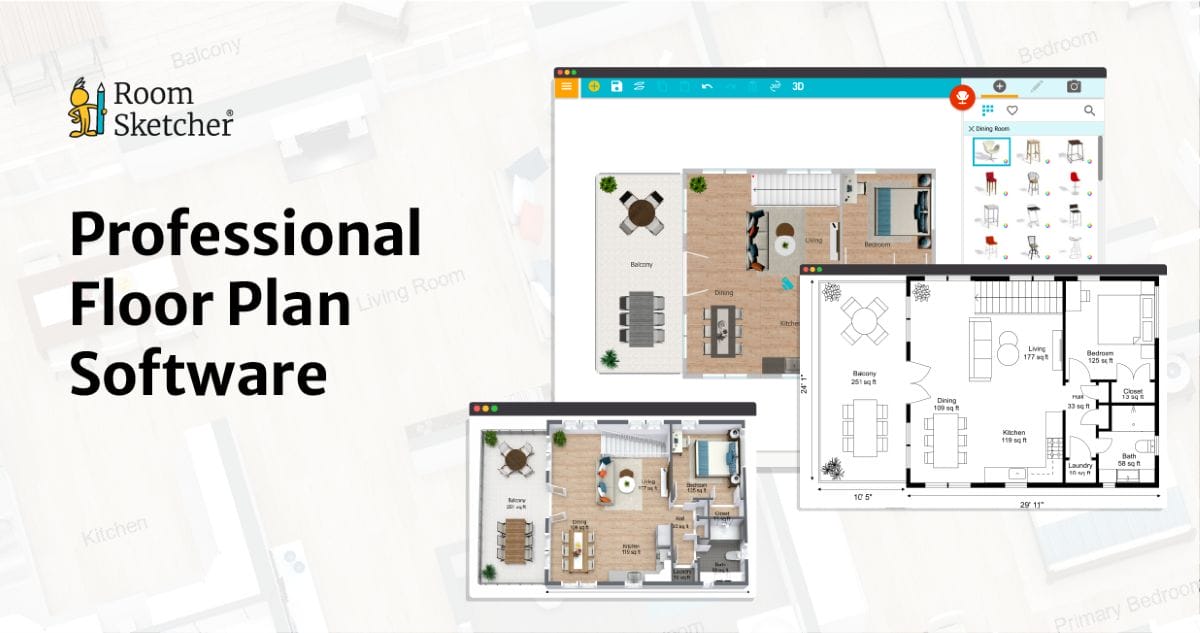
RoomSketcher focuses on clean plans that read like real estate marketing, not construction documents. The interface is approachable for non-CAD users, which helps when a listing coordinator handles plan creation between showings.
Pricing follows a free-to-paid path with an annual subscription. The free tier can help teams test the drafting experience. Paid access better fits MLS posting because it typically expands export and presentation options.
Pros and cons depend on workflow. Teams that want fast two-dimensional output usually like it. Teams that need strict as-built documentation may prefer a scan-first approach.
- Pros: clean listing-style output, easy learning curve, built for galleries.
- Cons: accuracy depends on measurements and drafting habits.
Floorplanner
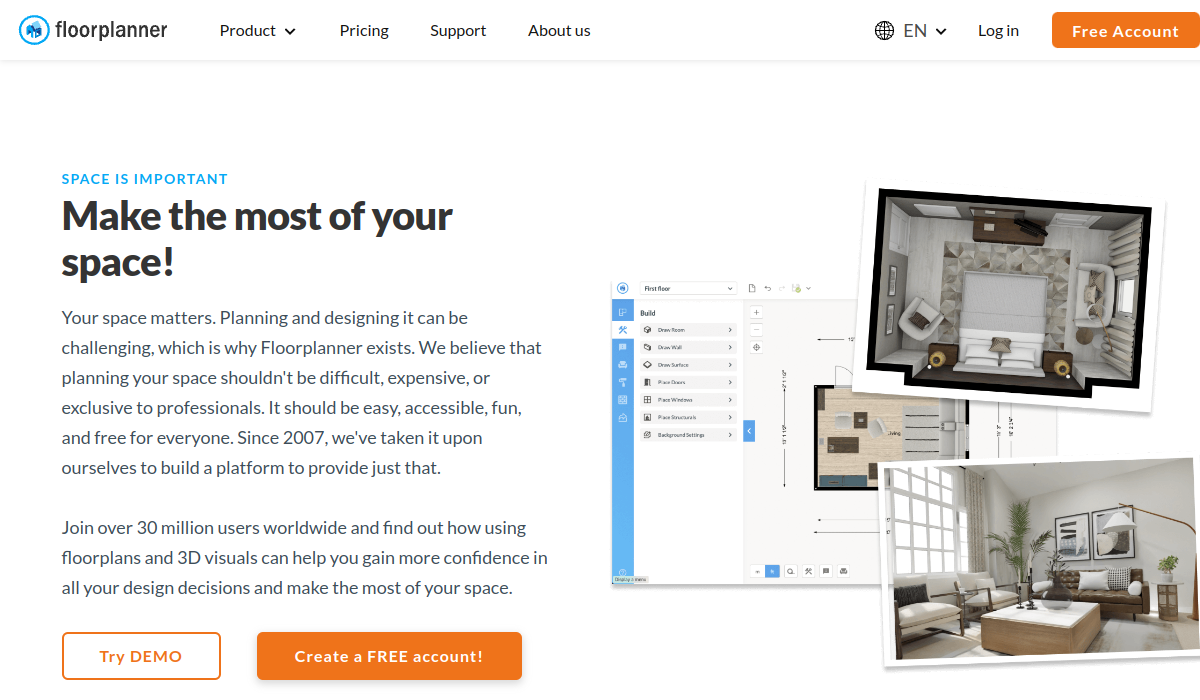
Floorplanner fits agents who want browser-based drafting without installing software. It also supports a credit-based path for premium renders and exports, which can be useful when only a few listings need upgraded visuals.
Paid plans start at a low monthly price, with the entry tier starting at $14 per month. The free tier is available, but sources note watermarks and low-resolution export limits on free outputs.
This tool often works well for teams that value speed, link sharing, and quick edits. Credit-based upgrades can add cost if every listing needs premium outputs, so teams should map expected volume before relying on renders.
- Pros: fast web drafting, flexible upgrades through credits, quick start.
- Cons: export limits on free use, credit costs can scale with output.

Matterport
Matterport stands out for reality capture that can generate plans from a scan. It is designed for digital twins and immersive property experiences, not only plan drafting.
For teams ordering schematic floor plans, Matterport states delivery within two business days. Pricing is subscription-based, and the public source text does not state a starting price.
This is a strong fit for accuracy-first documentation. It is often more effort than needed for a simple MLS plan on a standard home, especially when speed and low per-listing cost drive the decision.
- Pros: accurate capture, plan generation from scans, exportable assets.
- Cons: subscription details vary, scanning adds an extra field step.
Planner 5D
Planner 5D leans into beginner-friendly layouts and assisted design features. It works across web and mobile, which helps agents who start a draft in the field and refine it later.
Pricing includes a free tier and paid plans. Sources cite paid plans starting at $19.99 per year, with watermarks mentioned on free plan exports.
Planner 5D can help when a listing needs a more visual presentation alongside a basic plan. For strict MLS simplicity, teams may still prefer tools that prioritize two-dimensional clarity over visualization features.
- Pros: approachable interface, multi-platform access, visual-first outputs.
- Cons: free export watermarking, plan clarity depends on styling choices.

Space Designer 3D
Space Designer 3D targets a real-time workflow that moves between plan view and three-dimensional visualization. It also supports collaboration features, including permissions-based sharing, which can matter in a multi-person office.
The product is positioned as freemium, and public sources do not list a clear paid starting price. That makes it a good candidate for testing on one property before rolling it into a repeatable listing process.
It suits teams that want tighter collaboration and export flexibility. It may feel heavier than simpler drafting tools for an agent who only needs a quick plan.
- Pros: collaboration options, browser-based workflow, export support.
- Cons: pricing entry point not publicly listed, more features than some teams need.
What it really costs per listing
Pick a tool, set how many listings you do a month, and see the real per-listing cost.
Browser-Based Tools That Lean Into 3D
Some platforms blend drafting with more visual walkthrough options. That can help property managers, rental teams, and brokerages that publish plans across multiple channels, not just the MLS.
The trade-off is focus. A tool built for visualization can still produce a usable plan, but the interface may steer users toward renders and furniture libraries. Teams should confirm that two-dimensional exports stay clean and readable.
Scan-to-Plan for Accuracy
Scan-first tools fit listings where precision is the product. Think historic homes, unusual footprints, multi-unit assets, or any property where a buyer will ask for exact layout verification.
Scan workflows also support documentation needs beyond marketing. Asset records, renovation planning, and maintenance coordination often benefit from a captured model.
Workflow and Scenarios for Agents and Teams

A repeatable process beats a perfect plan. The goal is a clean, labeled export that matches the listing photos and publishes on time. A simple checklist also protects accuracy and reduces revision loops.
This workflow assumes a typical occupied home and a basic listing timeline. For complex layouts or investor-grade documentation, scan-first tools often reduce rework.
Capture measurements and a rough sketch
Start with a room-by-room sketch that includes door swings, window placement, and major fixtures. Measure exterior walls where possible, then confirm interior spans to catch offsets.
Log measurements in a consistent format. Errors often come from mixed units and rushed handwriting, not from the software.
Draft the plan and label for buyer clarity
Build the outer shell first, then add interior walls and openings. Add room names that match the listing description, not the owner’s personal labels.
Keep labels short. Over-labeling makes the plan harder to read on a phone.
Apply a simple brand template
Add a header that matches the brokerage style guide. Use one font family and a small logo lockup.
Avoid heavy textures and furniture clutter when the plan is destined for the MLS. Clean lines print better and compress better online.
Export for the MLS and the marketing kit
Export a PDF or an image file for MLS upload, then check readability after upload. Save a second copy for flyers and email, sized for easy viewing.
When a listing needs stronger visuals, pair the plan with staged photos from virtual staging software. Plans explain flow, while photos sell finishes.
Share, archive, and reuse what works
Store the exported plan with the listing photos and disclosures. Save the template settings so the next listing starts from a known baseline.
For team handoffs, connect plan files to a task pipeline inside real estate CRM software. That keeps the draft, approvals, and publish steps visible.
Different setups call for different tools. Budget-focused agents often do well with a draft-first platform that stays simple. High-volume teams usually value browser-based access and repeatable templates. Accuracy-first documentation fits scan workflows. Property managers often benefit from tools that combine plans with more visual context.
Floor plans also work best as part of a consistent listing package. A plan, strong photos, and clear distribution across channels support broader real estate marketing strategies.
Find your pick
Tap your situation for a quick recommendation.
Frequently asked questions
Most MLS listings only need a clean, labeled two-dimensional plan that helps buyers understand flow and room relationships. Three-dimensional views can help on landing pages, investor decks, and social posts, but they can also distract if the plan becomes cluttered. Many teams publish the two-dimensional plan everywhere and reserve visual walkthroughs for select listings.
Watermark rules often depend on plan tier. Several tools offer a free tier for testing, but sources commonly note watermarks or export limits on free outputs. Before relying on a tool, teams can export a sample plan, upload it to the MLS or portal workflow, and confirm the published file stays clean and readable.
Scan-first tools fit accuracy-first use cases, especially for older homes, irregular footprints, or multi-unit assets. Draw-from-measurements tools fit speed-first workflows, where a clear plan is the goal and perfect as-built documentation is not required. The right choice often depends on the property type and the timeline to publish.
Most MLS systems accept a PDF or a standard image file. PDF often prints cleanly for flyers, while image files can be easier for some portals and social posts. CAD-style exports matter only when a designer, builder, or third-party vendor needs a file that plugs into a drafting workflow.
Credits can make costs feel low at first because the subscription covers basic access. Expenses can rise when each premium export or render consumes credits, especially for teams that publish plans and upgraded visuals for every listing. A practical way to forecast spend is to map expected listing volume and decide which outputs truly need premium export settings.