Paint Color Visualizer App Picks for Interiors 2026
Picking paint from a chip is risky, and a paint color visualizer app can feel like the fix. The problem is that the color on a screen, the color in a room, and the color on a wall rarely match. Undertones shift, bulbs warm things up, and north light cools them down.
Paint tools also split into two categories that most roundups mix together. Some apps exist to tie a choice to a purchasable paint code from one brand. Others use AI to recolor an entire room photo in seconds. Both help, but at different stages of the decision.
For agents and stagers, these apps sit beside the rest of the real estate software stack used for prep and marketing. The sections below map each tool to the job, then walk through a workflow that shortlists fast and still confirms with a real sample.
Where each tool sits
Price against speed. Bottom-left is cheap and fast, top-right is pricey and slower.
The tools in detail
Remodel AITop pick
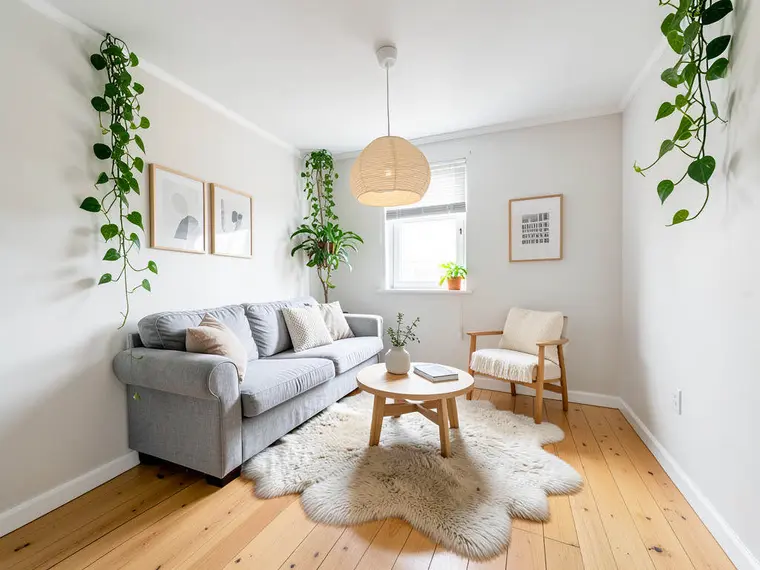
Remodel AI focuses on fast, coordinated room transformations that include paint changes across major surfaces. It suits the exploration stage, where a homeowner wants to see a direction across the whole room without spending time brushing edges.
Published access starts with a free tier of 3 designs and moves into paid plans at $29 per month for Pro and $49 per month for Premium. The same source states about 10 seconds per render, and positions the tool as available on iOS, Android, and web.
Pros:
- Whole-room repainting without manual masking.
- Free tier outputs are stated as full quality with no watermark.
- Recolors multiple surfaces in one pass, not just one wall.
Cons:
- The free tier disappears quickly during whole-house exploration.
Skip it if: the goal requires many iterations before a direction feels right.
Remodel AI plan details
View Remodel AI →
FacadeColorizer
FacadeColorizer positions itself as a fast AI paint simulator that covers both interior and exterior surfaces. The tool suits one-off projects where a single pack purchase is easier to justify than a subscription.
Its published trial terms include 1 HD render plus 3 free variations with no credit card required. Paid pricing starts with a $9.90 one-time pack, then lists higher tiers at $79 for Artisan, $199 for Pro, and $499 for Expert. The same source states 22 to 35 seconds per HD output on Wi‑Fi.
Pros:
- Multi-brand palettes, including major paint libraries and standard systems.
- Web workflow with a shareable link for collaboration.
- One-time entry pricing exists, which is rare among AI tools.
Cons:
- HD output can take longer than “instant” phone apps.
Skip it if: a project needs many rapid iterations in one sitting.
FacadeColorizer pricing and trial terms
View FacadeColorizer →
Sherwin-Williams ColorSnap
Sherwin-Williams ColorSnap is a free, single-brand visualizer designed to keep selections tied to Sherwin-Williams paint codes. It fits best after a shortlist exists and the goal is to lock the exact code that gets purchased.
The published source describes a manual paint-by-hand workflow where time varies based on the room photo. It also notes camera-based matching to the closest Sherwin-Williams paint and describes a library of 1,500+ colors, with access described for iOS, Android, and web.
Pros:
- Strong code fidelity for Sherwin-Williams buyers.
- Camera matching helps when trying to continue an existing wall color.
- Side-by-side comparisons help when neutrals feel too close.
Cons:
- Single-brand scope limits cross-brand shopping by design.
Skip it if: the decision still sits in the early exploration stage.
Sherwin-Williams ColorSnap overview
View Sherwin-Williams ColorSnap →
Benjamin Moore Color Portfolio
- Clean, simple interface for exploring Benjamin Moore colors
- Easy color browsing with a ‘color deck’ style view
- Includes app + desktop visualizer options
- Good for quick, general paint direction exploration
- Works best with mostly empty/decluttered room photos
Paint Color Visualizer
Paint Color Visualizer is a credit-based iOS app built around broad library access and quick surface detection. It suits shoppers who want to compare many brands without paying for a subscription.
The App Store listing states a free download that starts with 1 free visualization, then offers in-app purchase packs at $4.99, $9.99, and $24.99. The same listing also states results in seconds and positions the tool as able to auto-identify paintable surfaces across interior and exterior photos.
Pros:
- Multi-brand library with published paint-code detail.
- Credit packs avoid a monthly commitment.
- Recolors multiple surfaces at once, not only walls.
Cons:
- iOS-first access limits usefulness for mixed-device households.
Skip it if: the project needs consistent access across Android and iOS devices.
Paint Color Visualizer app listing
View Paint Color Visualizer →What it really costs per listing
Pick a tool, set how many listings you do a month, and see the real per-listing cost. Only the 3 tools that publish a monthly price are listed.
Brand apps vs AI visualizers which one belongs at which stage
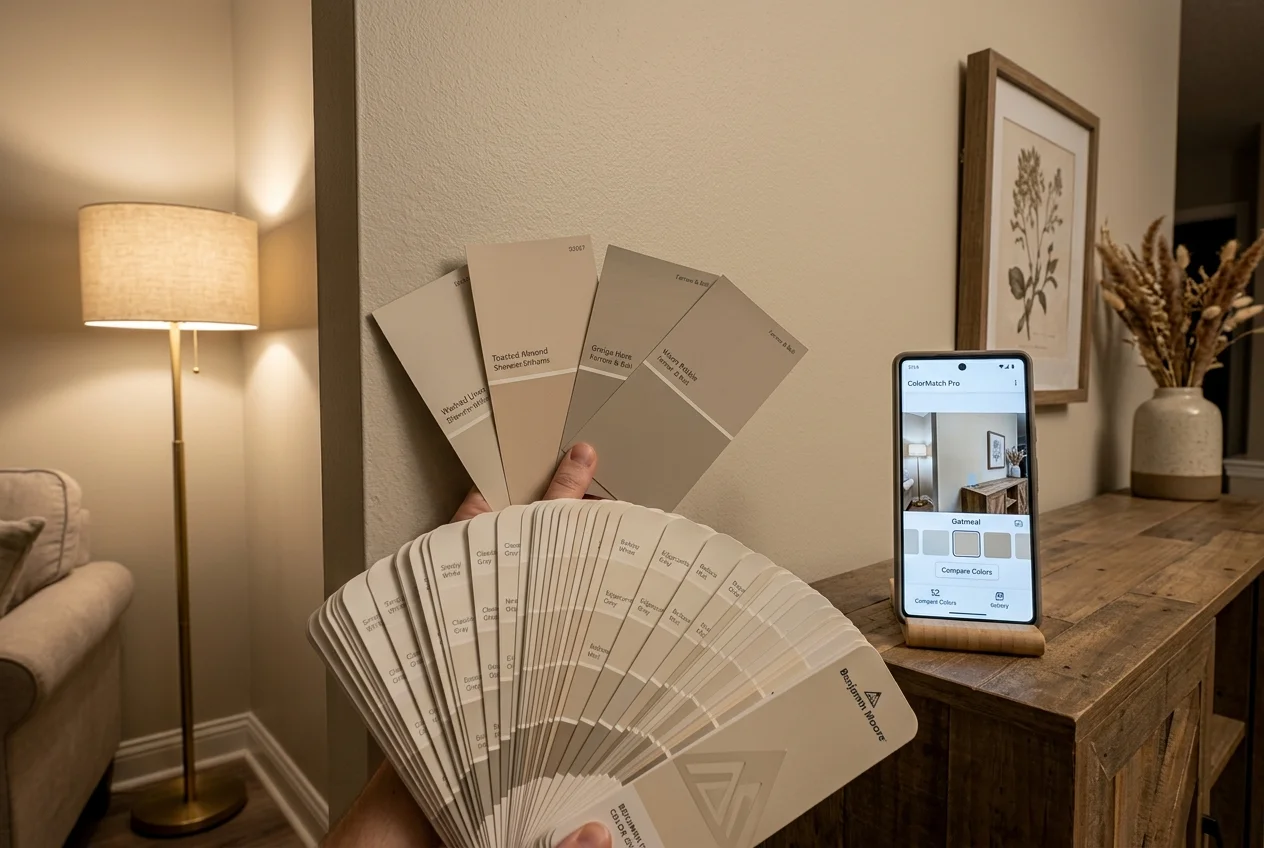
Brand apps win at the moment a buyer needs a code that can be purchased. That includes matching an existing painted wall, comparing two near-identical neutrals, or keeping the selection inside one manufacturer’s library so the swatch at the paint counter lines up.
AI visualizers win earlier. They repaint large surfaces fast, and they usually repaint multiple surfaces at once. That makes them better for exploration, especially when a homeowner wants to reject most options quickly and keep only the few that feel right at full-wall scale.
This is also the point where color-only tools stop helping. If the real question includes furniture, decor, or overall style, color will not solve it alone. That broader job fits AI room design tools rather than a pure wall recolor.
The best workflow usually uses both categories, in order. An AI render eliminates options fast. A brand app locks the final code for purchase. A physical sample confirms the choice in the real room.
For readers who want help picking families before picking codes, Sherwin-Williams offers guided exploration in its Color Expert tool. That kind of guided browse pairs well with visualizers, but it still cannot replace a real sample.
Picks for AI whole-room recolors
Paint decisions often hide a bigger question: “What would this room feel like if it was refreshed?” Whole-room tools handle that question better than a single-wall brush. They also suit agents and flippers who need a fast, buyer-friendly preview.
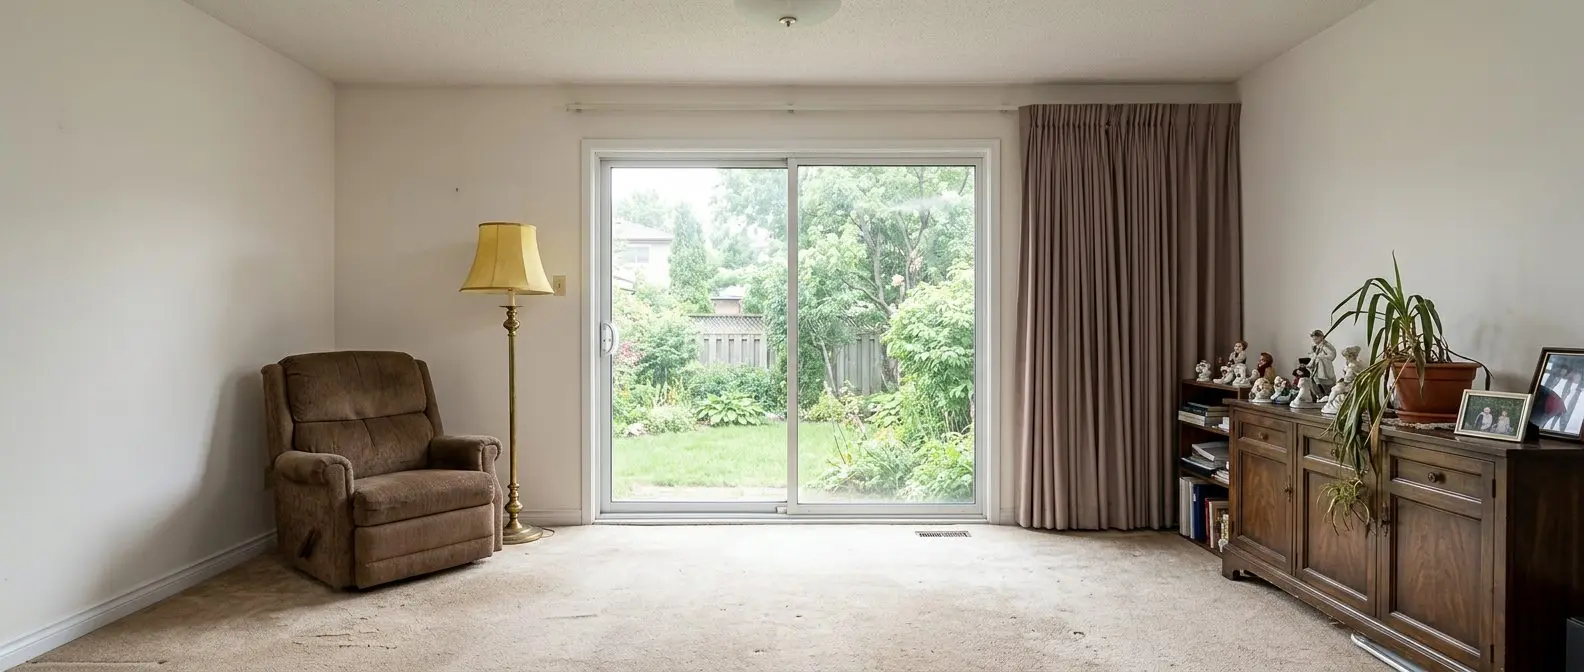
One discipline makes results easier to trust across any AI visualizer. Reuse one single base photo across every tool. That keeps the comparison focused on color choices, not on differences in exposure, lens distortion, or angle.
For renovation planning, a recolor often sits next to other upgrade decisions. That broader planning context fits tools that also preview floors, finishes, and other changes, which is why many investors pair recolor work with house flipping software instead of treating paint as a standalone decision.
Some readers also need a result that can move from planning into marketing with minimal extra work. That is where MLS-safe editing and consistent structure preservation matter.
AI HomeDesign
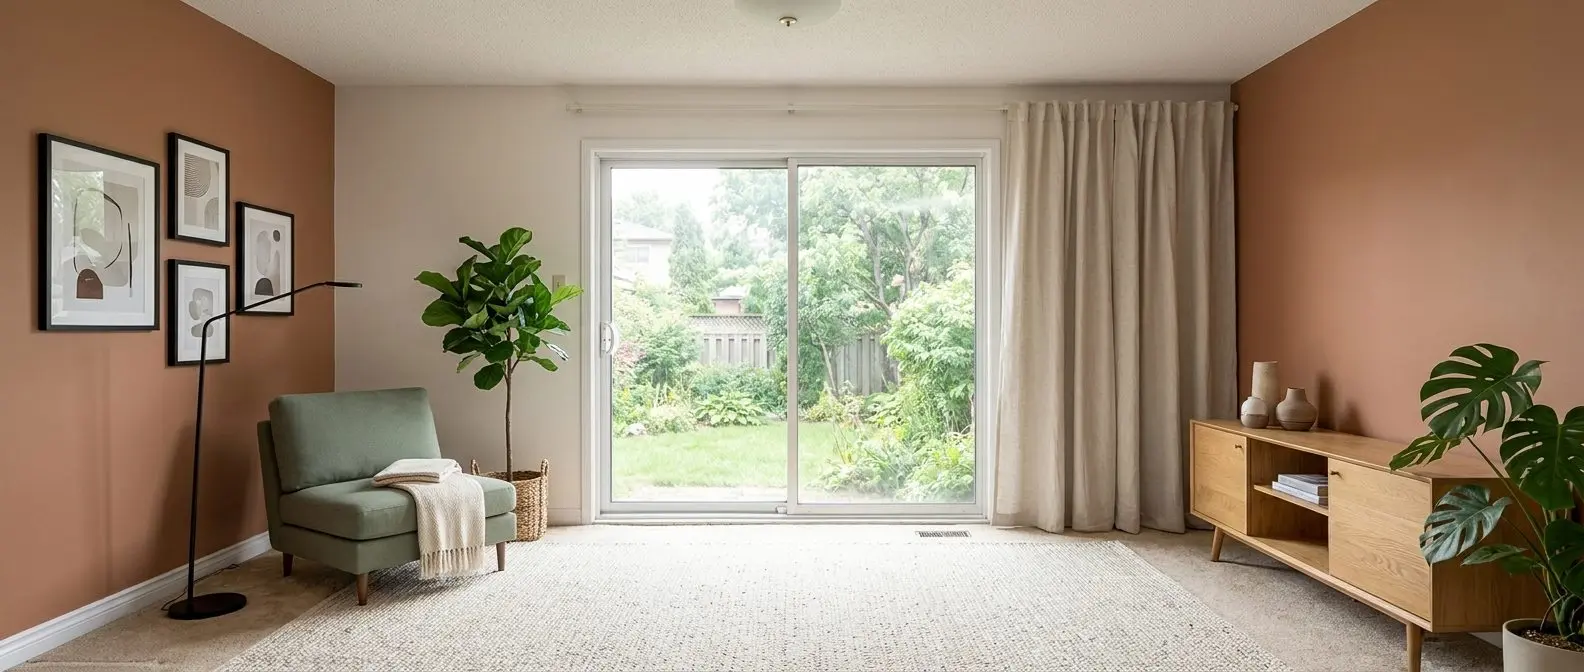
AI HomeDesign is an AI renovation and listing-photo toolkit that includes wall, floor, ceiling, and backsplash changes alongside photo editing and virtual staging. The most practical fit for this keyword is a paint change that is part of a bigger refresh, or a repaint preview that needs to stay usable as a listing image.
Pricing runs on a shared credit pool across plans, with published yearly-billed tiers at $19 per month for Pro, $29 per month for Pro Plus, and $49 per month for Enterprise. The platform also publishes per-photo pricing down to $0.24 per image, and includes free regenerations for variations. Free trial credits are available without a card, and trial downloads are watermarked.
Pros:
- Combines renovation previews with listing-focused photo outputs.
- Produces results in seconds, with multiple variations per room.
- Keeps images MLS-compliant by default by preserving fixtures and structure.
Cons:
- Does not exist to match a single manufacturer’s paint code.
Skip it if: the only need is to buy a specific brand code at the paint counter.
Redesign any room in a few clicks
10 styles and 30+ colour palettes, from one photo. All 11 tools on one account. Free trial credits, no credit card.
Start designing freePicks for multi-brand libraries and one-time pricing
Some projects resist subscriptions. A renter might need one room and one weekend. A homeowner might want cross-brand comparisons before committing to a single paint line. In those cases, multi-brand libraries and one-time packs can match the decision better than monthly plans.
These tools still need the same discipline as any visualizer. A clean base photo matters more than the library size. Clutter and mixed lighting do more damage to trust than a limited swatch deck.
Cross-brand exploration also has a built-in handoff. Once a homeowner chooses a direction, the final step still needs a real, purchasable code. That often means taking finalists into the closest brand library before ordering samples.
One more practical consideration shows up at the paint store. A web tool needs reliable connectivity, while a native app can work even when the store has poor service. That difference can decide which tool actually gets used.
Pick for paint-code accuracy in a single brand
A manufacturer tool usually becomes the closer, not the brainstormer. Once a homeowner lands on “warm white” or “light greige,” the next job is choosing the specific purchasable code that fits the room’s exposure and existing finishes.
That job rewards side-by-side comparison and small deltas. Slight undertone shifts matter more than dramatic hue swings. A single-brand library makes those comparisons easier because the codes share a consistent naming and swatch system.
Manual masking also makes more sense at this stage. A homeowner can tolerate slower brushing when the list is down to a few finalists. That same workflow feels painful when exploring a whole house.
For the final decision, this stage should still feed into physical validation. A code match on a screen remains a guess until it sits on a real wall under real light.
Shortlist-to-sample workflow to avoid a repaint
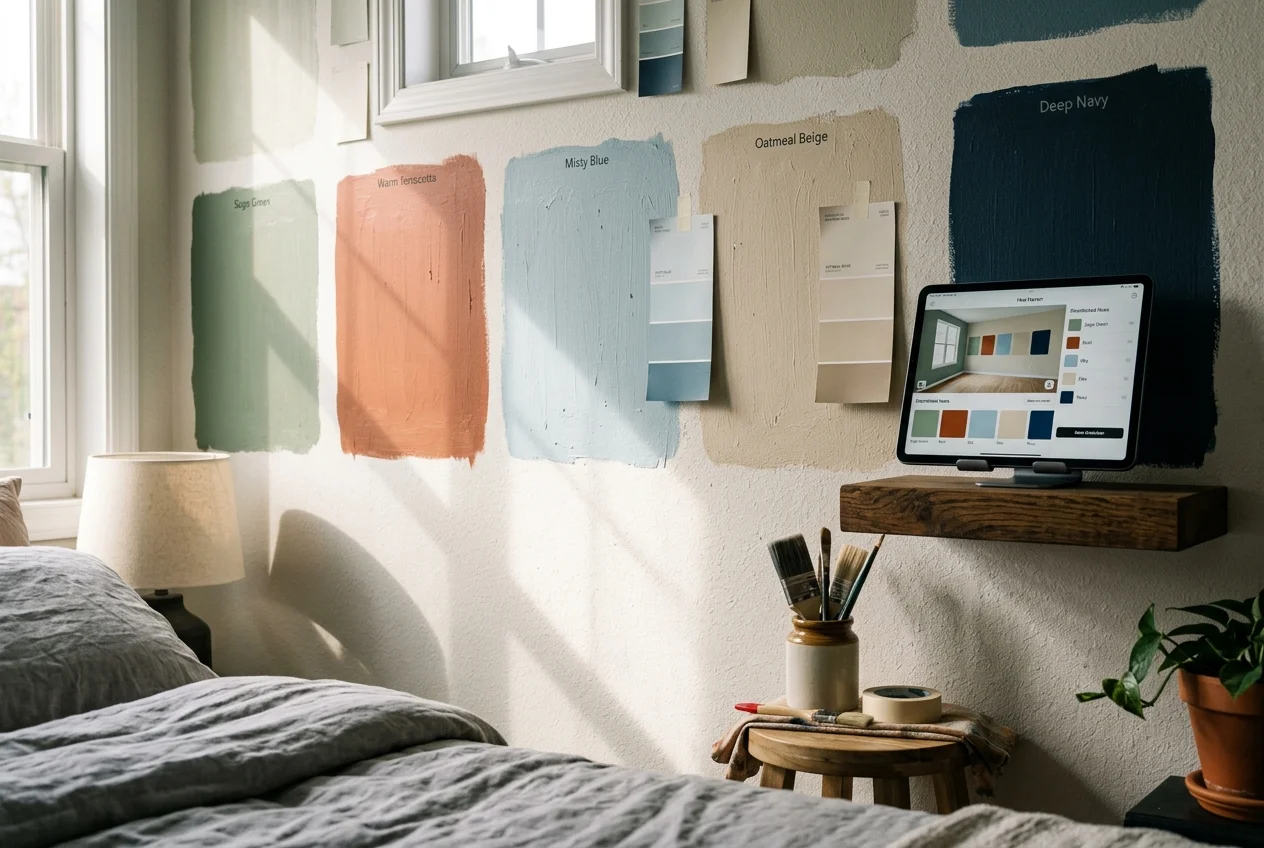
A good workflow treats visualizers as fast filters, not final judges. The goal is to eliminate most options quickly, then spend real attention only on the finalists. That saves both money and time.
This sequence also solves a common household problem. A partner, client, or contractor does not need a dump of every render. A short deliverable works better: the three finalists, their paint codes, and one sentence on why each made the cut.
Cost talk belongs outside the visualizer outputs. A photo render should communicate a look, not pricing. Contractor quotes, labor assumptions, or agent fees belong in a separate conversation so the images stay clean and reusable.
Plan for a simple timeline. Visualizing can take about an hour when the base photo is clean. Sample validation needs about two days, because the room needs daylight and nighttime checks.
Shoot one base photo and reuse it
Shoot in daylight, keep vertical lines straight, and clear obvious clutter. Save the original image and use that same file for every tool.
Use an AI tool to eliminate most colors fast
Run wide exploration first. Kill anything that feels wrong at full-wall scale, even if the swatch looked fine.
Lock the real paint code in the brand library
Take the three survivors into the manufacturer system tied to the paint that will be purchased. Confirm the closest code match before ordering paint.
Order physical samples and build a simple mood board
Order peel-and-stick samples or paint large boards. Track finalists alongside flooring and fabric choices in mood board apps so the palette stays consistent.
Decide sheen separately after the color is chosen
Pick finish after color. Treat sheen as its own decision, since most visualizers do not simulate it.
Where visualizers break and how to share renders
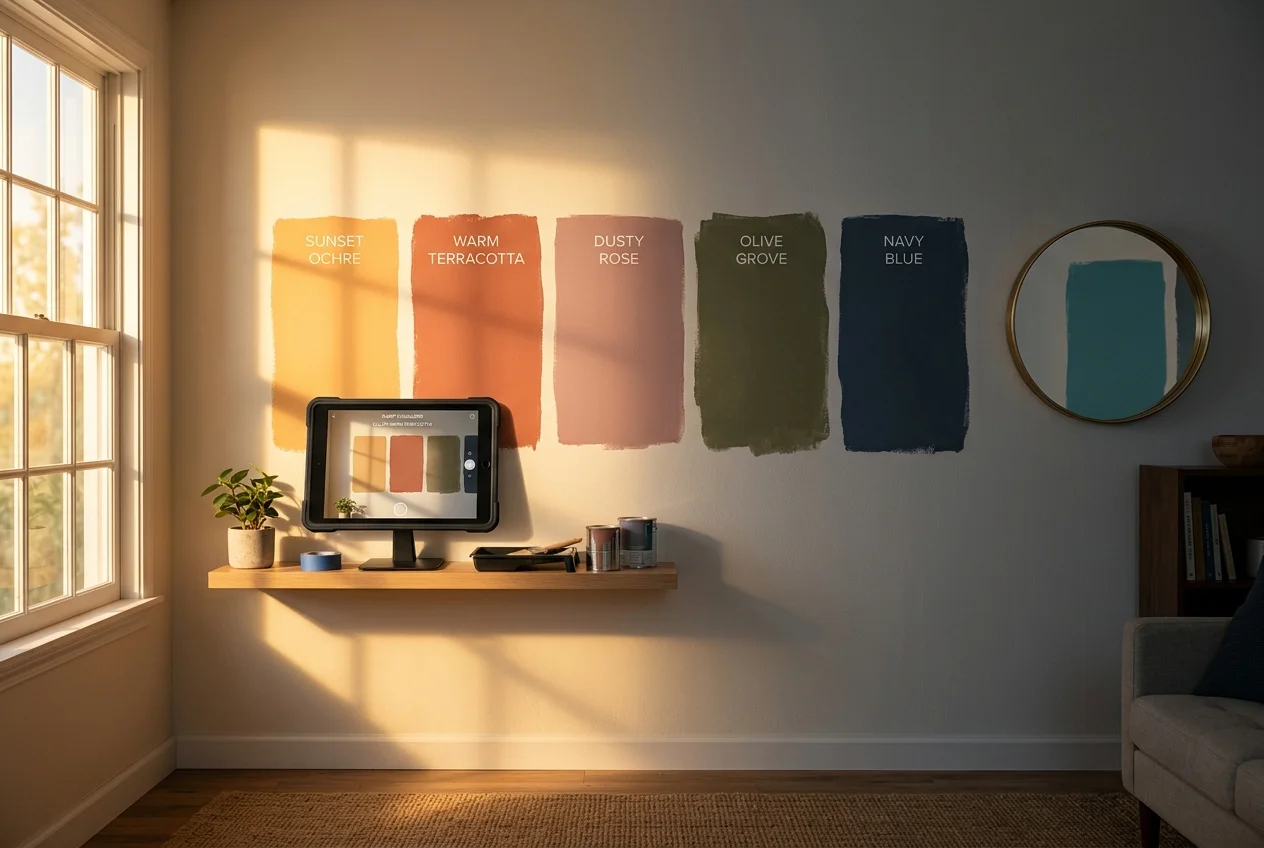
Most “bad renders” start with a bad photo. Dark rooms push color into muddy midtones. Mixed lighting creates a split personality wall, where half the paint reads warm and half reads cold. Reflections in mirrors and glossy tile can also get recolored, which instantly gives away the edit.
A simple shooting rule prevents many problems. Shoot at midday with blinds open, then turn on the lights that normally get used at night. Avoid flash, and avoid shooting directly into a window. A corner angle at chest height usually captures enough wall without extreme distortion.
Some surfaces break the standard approach even with good photos. Wallpaper, heavy texture, beadboard, and wood paneling can cause segmentation edges that look unnatural. High-gloss tile and glass often confuse recolors, which is why tiled baths often benefit more from broader bathroom design software than from paint-only overlays.
A quick reference helps diagnose the common room issues.
Privacy also deserves a quick check before uploading living room photos. A tool might process on-device or on a server. It might keep uploads for a period of time, or generate a public share link by default. Account requirements and retention terms should be confirmed in the tool’s own policy before uploading identifiable interiors.
If a recolored photo will be seen by buyers, label it clearly. A practical disclosure line is “virtually rendered to show potential paint color options.” Many MLS and brokerage rules treat an altered photo of a real room as a representation about that room, so agents should check local photo policy before posting. For listing media workflows, rules and labeling practices often mirror what appears in virtual staging software guidelines.
Find your pick
Tap your situation for a quick recommendation.
Frequently asked questions
Accurate enough to eliminate colors, not to choose one. Screen settings, room lighting, and paint sheen can all shift the final look, and most visualizers do not simulate sheen. Treat the render as a shortlisting tool. Then confirm finalists with a peel-and-stick sample or a large painted board checked in daylight and under the bulbs used at night.
Manufacturer tools are the simplest “free” answer because they cost nothing and tie choices to real purchasable codes. Sherwin-Williams ColorSnap is listed as free. Among AI options in this guide, Remodel AI lists a free tier that includes 3 designs with no credit card and no watermark, and FacadeColorizer lists a free trial with 1 HD render plus 3 variations.
Yes. Every tool covered here works from a room photo. Brand apps usually require manual masking, where the wall gets brushed or tapped before the color fill applies. AI tools use surface detection to recolor walls, trim, ceilings, and cabinets automatically. Reusing one single base photo across tools keeps comparisons focused on color, not lighting differences.
Some do. FacadeColorizer states it can handle interiors and exteriors in the same workflow, and Paint Color Visualizer states it can identify paintable surfaces in both interior and exterior photos. Exterior previews still need careful photos. Direct sun blows out hue, and deep shade can make the same paint read much darker than it will in average light.
Costs range from free brand tools to paid AI plans. Paint Color Visualizer lists in-app packs starting at $4.99. FacadeColorizer lists a $9.90 one-time entry pack and higher tiers after that. Remodel AI lists paid plans starting at $29 per month. AI HomeDesign publishes credit-based pricing that can work down to $0.24 per photo, with a free trial that produces watermarked results.
Yes when the edited image is public-facing marketing. A recolored room photo is a digital rendering of a real space, so it should carry clear disclosure text such as “virtually rendered to show potential paint color options.” MLS and brokerage rules vary by board, so agents should confirm local photo policy before uploading edited images to MLS portals or third-party listing sites.