

Listing photos influence how long a buyer studies a property and how accurately the space is understood before a visit. Most problems stem from a small set of technical issues such as tilted vertical lines, blown-out windows, uneven color temperature, and focal lengths that distort room proportions.
This guide shares real estate photography tips that explain common photography terms and show how to control these variables through equipment choice, camera settings, composition rules, lighting decisions, a repeatable on-site workflow, and a structured editing process.
Gear Checklist for Real Estate Photography
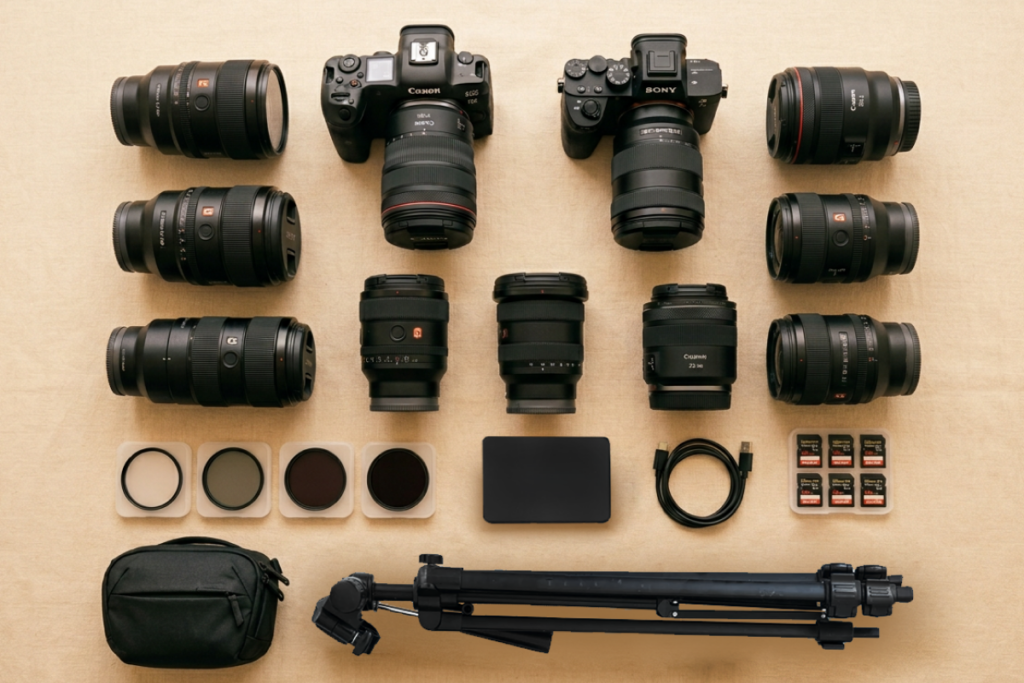
Reliable gear reduces retakes and keeps framing consistent across rooms. It also helps maintain level composition and stability during slower shutter speeds at low ISO. Here are the core gear pieces that matter most for real estate shoots, with a brief note on what each one supports.
Camera body
Choosing among the best cameras for real estate photography depends less on brand and more on clean dynamic range, reliable bracketing, and consistent color performance.
A camera with manual exposure control and strong dynamic range supports interior work. Full-frame bodies perform well in low light, while APS-C models remain suitable when exposure bracketing is applied.
Lens and focal length
The best lenses for real estate photography control distortion and keep vertical lines straight at wide focal lengths. A wide-angle lens helps fit the room into the frame, but the focal length still needs discipline to keep proportions believable. Start with these focal length ranges, then adjust slightly based on room size and how well the lens controls distortion.
- Full-frame: 16–24mm
- APS-C: 10–16mm
Keep in mind that extremely wide lenses bend vertical lines and stretch walls. Conversely, using a focal length that is too narrow can compress space and reduce the sense of openness.
Modern smartphones can also handle basic interior work when there is sufficient light, and the camera remains level. Shooting real estate photos with iPhone 17, which is equipped with three rear lenses and solid HDR processing, advanced HDR processing can be a practical option for smaller listings. However, phone images perform best when the goal remains realistic scale and clean geometry rather than ultra-wide coverage.
Tripod
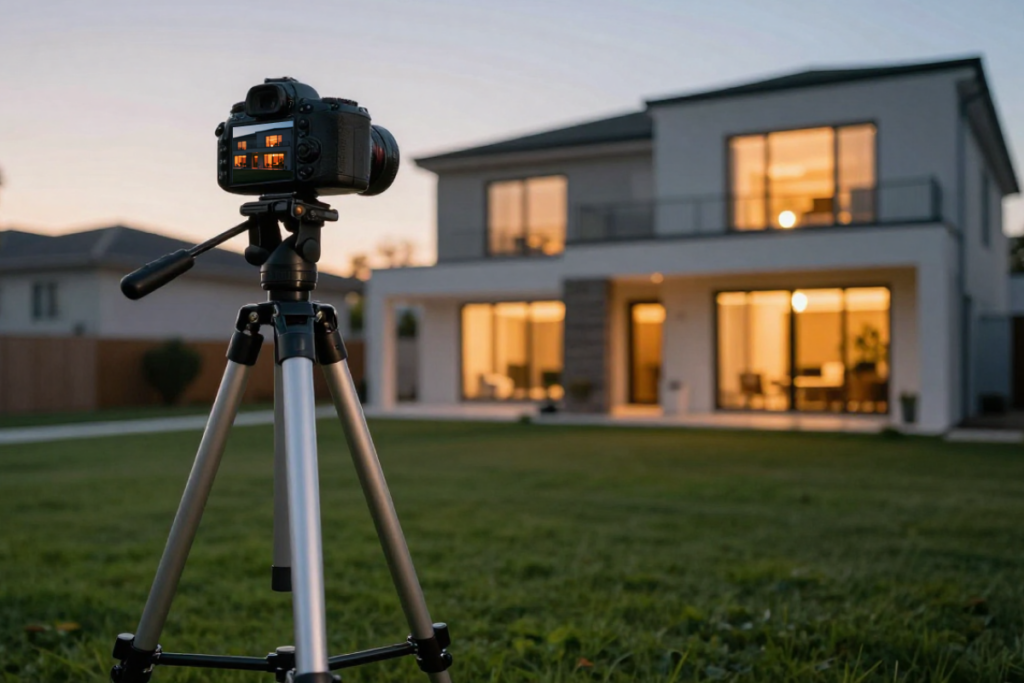
A tripod keeps the camera level and allows slow shutter speeds at low ISO. It also maintains consistent framing across bracketed exposures.
Flash
Flash becomes useful when natural light alone cannot balance bright windows and darker interior areas. A single speedlight, bounced off a wall or ceiling, reduces contrast between bright windows and shadowed areas. Bouncing the light keeps surfaces evenly illuminated and avoids harsh shadows or visible hot spots.
Drone (Optional)
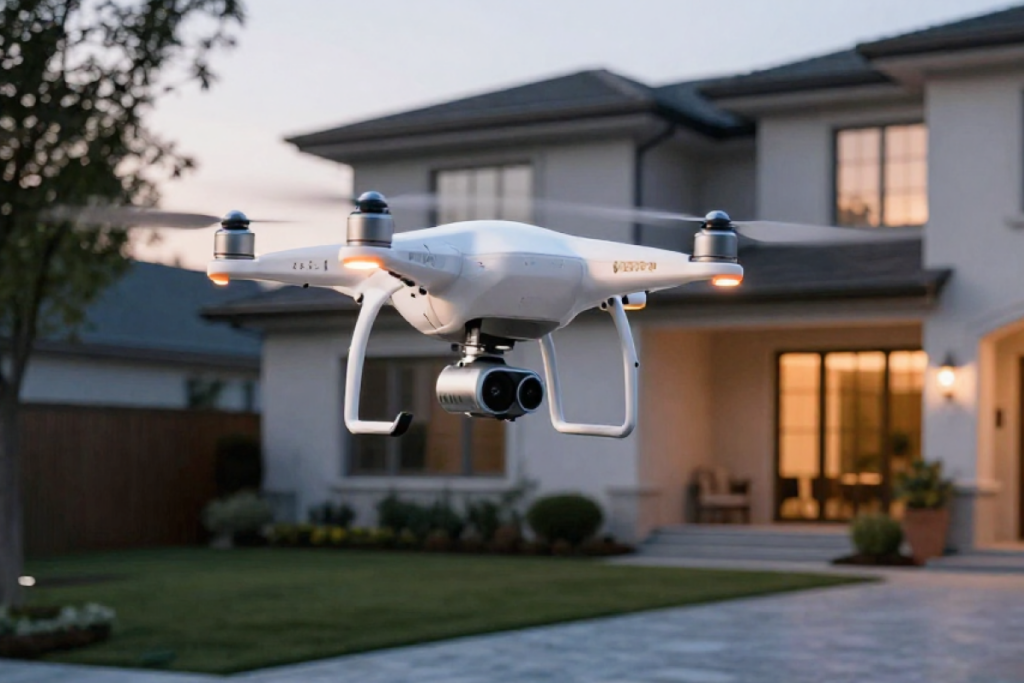
Although drone photography is not always required, it becomes valuable when lot size, roof condition, or surrounding streets add context to the property. It also shows property boundaries and access points that are difficult to capture from ground level. This aerial perspective works best for detached homes, large lots, and properties near parks, water, or major intersections.
Camera Settings for Interior Photography
| Setting | Recommended range / value | What it affects |
|---|---|---|
| Aperture | f/8 – f/11 | Depth of field and overall sharpness across the room |
| ISO | 100 – 400 | Noise level and fine detail in surfaces |
| Shutter speed | 1/2 sec – 1/15 sec (on tripod, adjust to ambient light) | Overall brightness and shadow detail |
| White balance | Daylight: 5200K – 5600K; Warm interior: 3000K – 4000K | Color accuracy of walls, floors, and ceilings |
| Exposure bracketing (HDR) | 3 – 5 exposures, typically –2 / 0 / +2 EV | Retention of highlight and shadow detail in one merged image |
Recommended camera settings for listing photos.
Manual camera settings produce predictable results. Manual control keeps every frame in a bracket set aligned. Interior scenes combine window light with darker surfaces, which causes automatic modes to shift exposure and color between shots.
Fixed settings prevent these variations and help the merged result appear balanced across the room. The ranges above serve as a starting point and can be adjusted based on light levels, room size, or window brightness.
Camera Settings for Real Estate Videography
Video requires a different setup than still photography because exposure and motion must remain stable throughout the clip. Fixed settings prevent brightness shifts while moving through the space and keep color uniform between rooms.
| Setting | Recommended value | What it affects |
|---|---|---|
| Resolution | 4K (preferred) or 1080p | Detail and cropping flexibility |
| Frame rate | 24–30 fps | Motion smoothness and natural movement |
| Shutter speed | 1/50 sec (for 24 fps) or 1/60 sec (for 30 fps) | Natural motion blur |
| ISO | 100–800 | Noise level in darker rooms |
| White balance | Fixed per room (match lighting type) | Color consistency across clips |
Recommended video settings for listing shoots.
Slow, steady camera movement works better than fast pans in small rooms. A simple walk-through path that follows doorways and major sightlines keeps the layout clear for viewers.
Basic editing and stabilization tools can assemble short property clips efficiently, and real estate video apps provide templates for titles, transitions, and basic color correction without requiring complex editing timelines.
Aperture
Aperture controls how much light enters the lens and how much of the room remains in focus. The ideal setting for most interiors is f/8 to f/11, as it keeps foreground and background sharp while maintaining lens clarity.
ISO
Set ISO between 100 and 400. Lower ISO reduces digital noise and preserves fine detail in walls, cabinetry, and flooring. Higher values should be avoided unless light levels make slower shutter speeds impractical.
Shutter speed
Shutter speed determines how long the camera sensor collects light for each frame. A tripod allows slower shutter speeds without motion blur because the camera remains still.
Exposure should match the ambient light level in the room. Adjust the shutter speed until walls and furniture look evenly lit without clipping highlights from windows or light fixtures. Typical interior shutter speeds range between 1/2 second and 1/15 second on a tripod, depending on available light.
White balance
Auto white balance changes color from frame to frame, creating mismatched tones when images are merged. Set a fixed white balance so walls, ceilings, and floors maintain consistent color across the bracket set. This also reduces correction time during editing.
- Daylight: 5200K–5600K
- Warm interior lighting: 3000K–4000K
Exposure bracketing (HDR)
HDR photography combines multiple exposures so highlights and shadows remain visible within the same frame. Capture 3–5 exposures per composition, typically –2 / 0 / +2 EV, and add additional frames when windows receive direct sunlight.
Real estate photography tips extend beyond camera settings. Framing, camera height, and room arrangement influence how large and functional the space appears. The next section covers composition techniques that define layout clarity and depth in each image.
Composition Techniques for Listing Photos
Composition determines how room size and layout are perceived. Small shifts in camera position can make the same room feel either cramped or open. Even slight adjustments can reveal more floor area, improve sightlines, and clarify how spaces connect.
These real estate photography tips cover camera height, wall selection, vertical control, corner placement, and framing choices that guide how viewers read the space.
Camera Height
Position the camera at 4–5 feet from the floor. Higher angles show excessive ceiling; lower angles exaggerate furniture scale. This height keeps vertical lines straight and reflects a natural eye level perspective.
Two-wall View
Frame images where two walls meet. This angle shows depth and floor area more clearly than a flat wall perspective. It also helps viewers understand how the room connects to adjacent spaces.
Vertical Line Control
Keep the camera level so the sensor remains parallel to the walls. Tilting upward causes converging vertical lines that require correction during editing. Straight verticals make walls look stable and prevent rooms from seeming distorted.
Corner Placement
Shooting from a corner reveals circulation paths and room connections. Step forward slightly if the door frames obstruct the view. Maintain sufficient distance from the nearest wall to avoid exaggerated perspective on furniture edges. This position also shows how the room opens into adjacent areas without cutting off visible floor space.
Spacing and Framing
Maintain small gaps between furniture and frame edges. Complete shapes help viewers interpret scale and placement without distraction. Clean edges also reduce the need for aggressive cropping during editing.
Selling Points
Identify elements that influence buyer perception, such as large windows, built-in storage, fireplaces, or outdoor access. Frame these features within the wider room view. Keep them visible without allowing them to dominate the composition or block circulation paths.
Many of the issues covered here appear frequently in poorly executed real estate photos and reduce how clearly a space is understood within a property listing.
Lighting Strategy for Real Estate Interiors
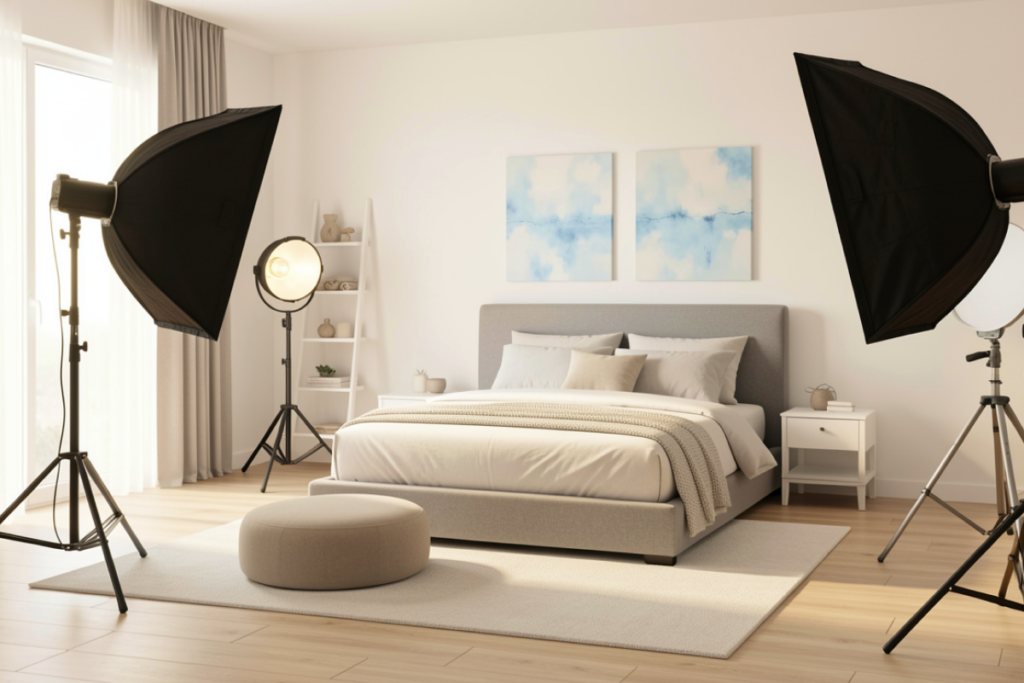
Light direction and intensity determine how textures, wall color, and room depth appear in the final image. These real estate photography tips focus on managing window light, interior fixtures, and exposure balance so surfaces look even and natural across the frame.
Time of Day
Schedule interior shoots when daylight enters primary living spaces. Exterior photos often perform best near sunset when sky color adds depth.
Window control
Direct sunlight creates bright patches on floors and walls that can exceed the camera’s dynamic range. Partially closing blinds or diffusing the light spreads illumination more evenly across the room. Exposure bracketing then preserves both the interior tones and the exterior views in the final image.
Interior Lights
Turn on all fixtures to add depth and reduce dark corners. Use bulbs with similar color temperatures so walls and ceilings maintain a consistent tone from room to room. Mismatched lighting can introduce color casts that require additional correction during editing.
On-Site Shooting Workflow
A repeatable process reduces missed angles and uneven coverage. It also keeps room order, camera height, and exposure patterns uniform across the property. The steps below outline a simple sequence that can be followed in every shoot. These real estate photography tips describe a structured workflow that supports consistent coverage across properties.
Decluttering
Shooting a property for virtual staging requires empty rooms with no furniture or personal items so digital furniture can be placed with accurate scale and alignment.
Even when the property is physically staged, remove personal items, visible cables, small appliances, and floor clutter. Clean reflective surfaces and align furniture, open blinds to introduce natural light, and switch on all fixtures before framing each shot. If an unwanted object appears in a captured frame, it can later be removed with AI HomeDesign’s item removal tool without reshooting the room.
Room Order
Follow a consistent sequence. Moving through the property in the same order each time prevents missed rooms and keeps lighting conditions easier to manage. It also helps maintain consistent camera height and exposure settings across the full listing.
Photograph the property in a fixed order: living areas first, followed by the kitchen, then bedrooms, bathrooms, and finally the exterior. This sequence keeps daylight levels more stable indoors and reduces exposure shifts between rooms.
Coverage for Each Room
Each room needs three core frames: a wide view that shows the layout, a transitional view that shows how the room connects to the next space, and one feature frame when the room has a clear selling point (built-ins, view, fireplace, upgraded finishes).
Photograph the room from at least two positions to avoid flat angles and to keep a backup option if reflections, glare, or color shifts appear during review.
Basic Editing Workflow
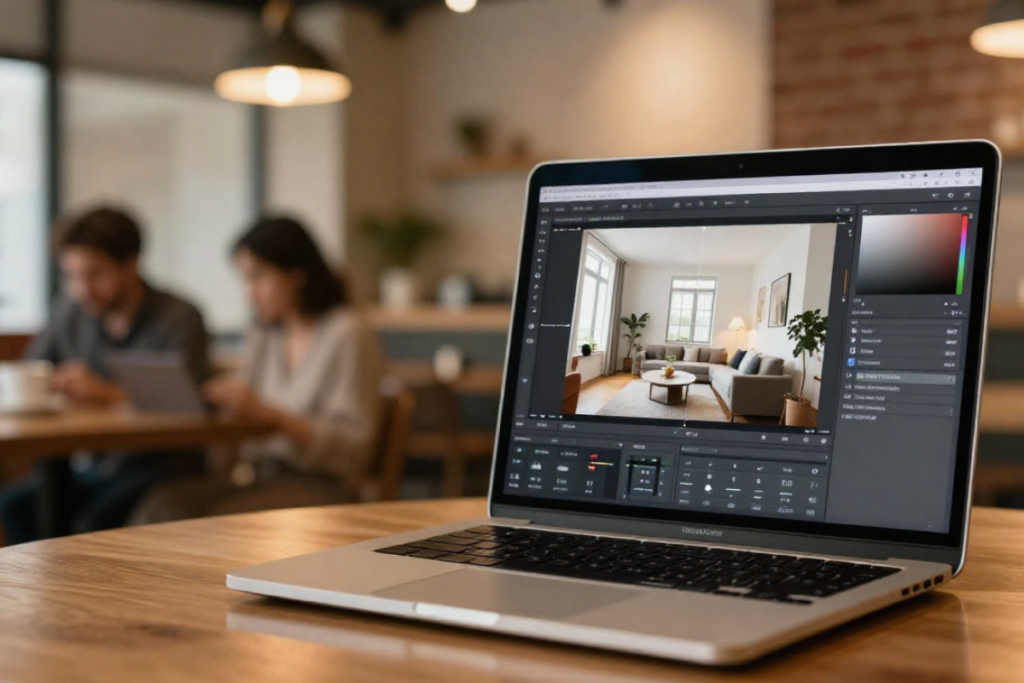
Editing turns a solid capture into a clean listing set by balancing exposure, correcting vertical lines, and fixing color shifts from mixed lighting. Use the steps below as a structured order of operations.
Core steps:
- Merge bracketed exposures
- Correct vertical lines
- Match white balance across rooms
- Reduce noise at low ISO
- Apply moderate sharpening
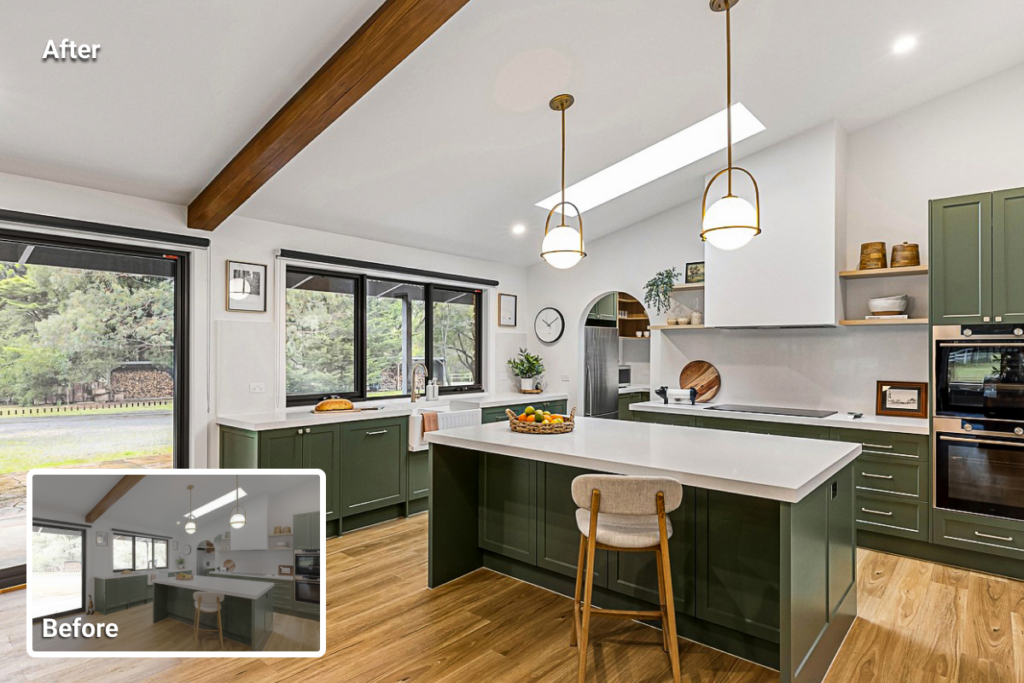
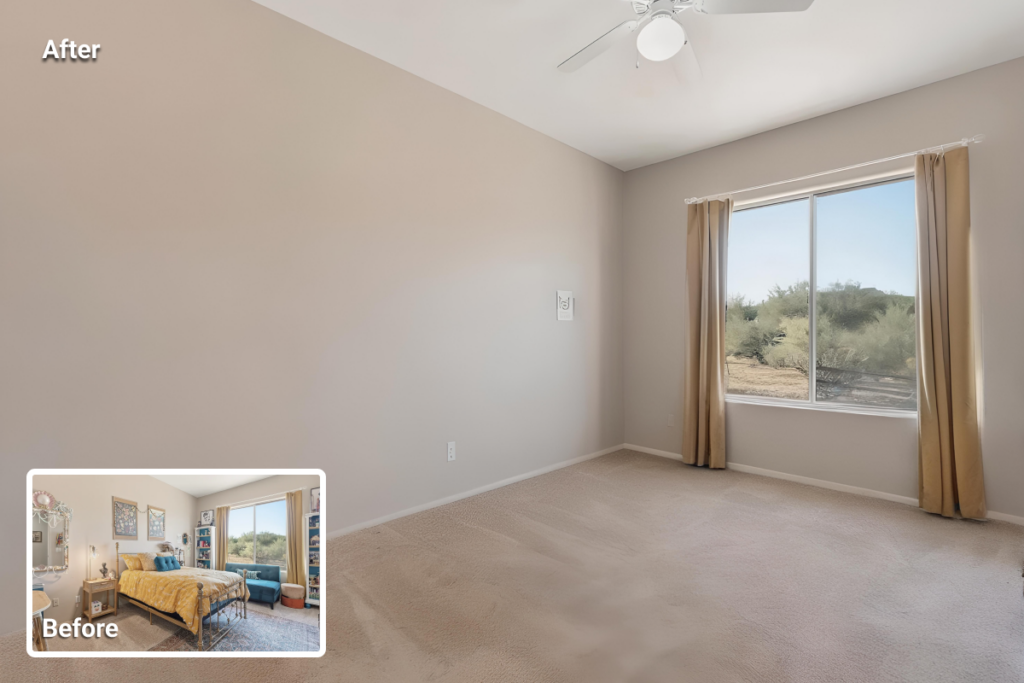
Real estate photo editing before and after examples make it easier to judge how much correction is appropriate without making a listing photo look unnatural.
Batch editing saves time on large photo sets, especially when similar exposure and color adjustments apply across multiple rooms. Apply global corrections first, then fine-tune only the images that still show window glare, color casts, or uneven brightness.
An alternative for photographers is to outsource editing or use AI-driven tools to handle repetitive adjustments like exposure balancing, perspective correction, and basic color cleanup across a full photo set.
Outsourcing to reputable real estate photo editing companies offers predictable quality and reduces time spent in post-production, while AI-driven tools can accelerate routine corrections when fast turnaround is required.
Real Estate Photo Shoot Checklist
This checklist summarizes the main real estate photography tips for on-site use. It keeps the shoot moving in a clear order, from room preparation to bracket capture to final exports. Use it as a quick reset between rooms when pace or lighting conditions change.
Pre-Shoot
- Charge batteries
- Format memory cards
- Pack camera, wide lens, tripod, flash
On Site
- Declutter rooms
- Turn on all lights
- Open blinds for daylight
- Set manual exposure and fixed white balance
Shooting
- Use a chest-height tripod position
- Capture 3–5 bracketed exposures per composition
- Photograph at least two angles per room
- Keep vertical lines level
Post-production
- Merge HDR frames
- Correct perspective
- Match color temperature
- Export files with consistent naming and sizing
How to Price a Real Estate Photography Project
Beginner photographers often struggle to set a rate that reflects both shooting time and editing workload. The cost of real estate photography should account for total hours on site, the number of final images, and any add-ons such as drone coverage, real estate agents headshot, or rush delivery.
Small homes with standard coverage require fewer angles and shorter editing time, while larger or multi-level properties increase both capture and post-production effort. Keeping travel, advanced edits, and licensing as separate line items helps maintain a clear base price and prevents undercharging.
Final Thought
These real estate photography tips work best when the process stays simple and repeatable. Strong listing photos result from small, controlled decisions rather than complex equipment.
As these habits become routine, attention shifts from technical setup to reading each space and selecting the most informative angle.
For the next shoot, focus on one improvement at a time, straighter verticals, balanced window balance, or clearer room connections, and maintain that focus across the full property. After several listings, the improvement becomes visible in both shooting speed and overall clarity.
FAQs
Aperture f/8–f/11, ISO 100–400, and bracketed exposures at –2 / 0 / +2 EV produce balanced interior detail with low noise.
A 16–24mm full-frame equivalent captures full rooms while maintaining straight walls and realistic proportions.
HDR requires less setup and works well for most interiors. Flash provides cleaner color and contrast but involves more positioning and test shots.
Small properties often need 15–25 images. Larger homes may require 30–50 images for full coverage.
Late afternoon to sunset produces even light and visible sky color while reducing harsh shadows on the building.

")
")
")
