Floor Plan Photography Workflow for Accurate Listings
In short
- Treat plans as measured: a floor plan is a defensible deliverable, not decoration.
- Separate the passes: finish measurement first, then shoot photos to avoid misses.
- Disclose and cross-check: state assumptions, flag unmeasured spaces, and reconcile against the exterior footprint.
Listings lose momentum when buyers cannot decode the layout from photos alone. Floor plan photography fixes that gap by turning the same site visit into a buyer-readable plan that matches the photo set.
Floor plans for realtors also cut down on the back-and-forth that happens after a showing request. A clear layout answers the questions that photos cannot, like bedroom adjacency, stair placement, and whether the kitchen connects to the main living area.
This guide lays out a repeatable capture sequence, the checks that make measurements defensible, and a simple way to package plans as a paid add-on beside listing photos.
Floor Plan Photography: What the Term Really Means

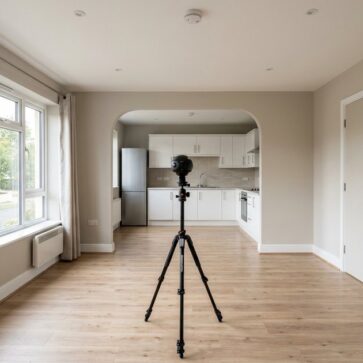
“Floor plan photography” rarely means photographing a printed plan. It means running an on-site capture pass that produces a measured drawing from the same appointment as the listing photos. The deliverable is a plan, even if a phone or camera does the capture.
Three capture routes cover most jobs. A smartphone scan uses LiDAR or computer vision to infer walls and openings from a walk-through. A 360 or 3D camera captures a tour pass that can output a plan as a byproduct. A laser measure plus hand sketch records explicit dimensions that a photographer can defend later.
The route matters because agents often ask for two things at once: a buyer-friendly plan and a publishable area number. Speed-first capture can satisfy the first ask, but defensible numbers usually require a second verification pass.
Floor plans also sit inside a broader listing deliverable. The same appointment often includes interior photos, exteriors, and sometimes a tour. For the wider context of shot coverage and lighting discipline, the real estate photography fundamentals guide helps frame where the plan fits.
By the end of this workflow, a photographer can run a consistent shoot-day sequence, apply cross-checks, disclose assumptions clearly, and price the add-on from timed work instead of guesswork.
Why Buyers Check Real Estate Floor Plans First
A photo set answers taste questions fast. Flooring, finishes, and daylight all read in a swipe. Layout questions take longer, and they often decide whether a buyer books a showing.
A plan resolves adjacency. It shows whether bedrooms sit on the same level, where the laundry lands, and how far the primary bedroom sits from the living area. That single view matters for families, roommates, and anyone planning quiet work space.
Flow also decides usability. Buyers use a plan to judge whether a couch fits without blocking a hallway, whether a dining table sits close to the kitchen, and whether a stroller route makes sense from garage to mudroom. Photos can hint at those answers, but angles can also hide pinch points.
A clear layout filters showings. Buyers who need a main-level bedroom can self-select before requesting a tour. Agents spend less time explaining the home over the phone, and sellers see fewer visits from buyers the layout never suited.
Plans help out-of-area buyers as well. A buyer can understand level changes and stair placements without guessing from wide-angle images. That lowers surprise at the door, which often protects the negotiation later.
Plan Types That Fit Real Listings
Different plan styles solve different problems. The right default is the one buyers can read on a phone, and the right upgrade is the one that reduces confusion on awkward homes.
2D black and white plans fit basic needs. They are fast to review and easy to post. They also avoid extra styling decisions, which keeps attention on layout.
2D color with fixtures adds practical context. A sink run, a tub, and a stove placement make a kitchen and bath easier to understand. That small layer of detail can reduce “where does the fridge go” questions on compact homes.
3D furnished plans work when the home is empty or oddly shaped. Furniture gives scale cues that a flat outline cannot. It also helps buyers understand long narrow rooms, angled walls, and open-to-below areas.
Interactive plans with photo hotspots make sense when the listing already includes a tour. A buyer can click a spot on the plan and see the matching viewpoint. That format pairs naturally with products like Zillow 3D Home tours where the plan supports navigation.
| plan type | best for | what to include by default | where it is overkill |
|---|---|---|---|
| 2D black and white | rentals, condos, straightforward single-level homes | room names, doors, windows, stairs, north arrow, disclaimer | luxury listings that need scale cues |
| 2D color with fixtures | most paid listing add-ons | fixtures, kitchen runs, bath fixtures, closets | ultra-simple layouts where speed matters most |
| 3D furnished | empty homes, irregular geometry, split levels | furniture for scale, ceiling notes, level labels | small homes where 2D reads instantly |
| interactive with hotspots | tour-first marketing, out-of-area buyers | hotspot markers tied to the tour, orientation notes | listings without a tour product |
Comparison of floor plan formats by use case and complexity.
Plan selection also sets expectations. A 2D plan aims for clarity and defensible labeling. A 3D plan aims for orientation and scale. Both still need the same capture discipline.
Choosing a Capture Method on Site

Capture method controls speed, accuracy risk, and how much dispute protection exists later. The best default is not one method. It is a decision rule that matches the job’s tolerance for error.
Smartphone scanning works for speed. It suits normal ceilings and simple rectangles. Scans commonly struggle in glass-heavy rooms, mirrored walls, and very dark spaces. Long narrow hallways can also drift, especially when the scan path doubles back.
360 and 3D camera capture sits between scanning and full manual measuring. It takes more setup discipline, but it can produce a tour and a plan from one pass. Hardware choice matters more here than in phone scans, so photographers often start with a review of 3D cameras built for property capture before offering the service.
Laser measure plus sketch stays the most defensible route for published numbers. Irregular geometry, thick walls, additions, and complex stair stacks all benefit from explicit measurement. This route also forces a photographer to decide what counts as measured space, which usually reduces later arguments.
A practical rule holds up in the field: scan for speed, laser-verify anything that will be published as a number, and always verify the longest wall run. That one check catches most drift before it becomes a dispute.
Scan-derived plans often come from a tour workflow, so it helps to treat the capture pass as a tour capture, not as a photo add-on. The Matterport scanning workflow guide shows the discipline that keeps scan paths consistent and reduces missed zones.
Minimum Viable Kit and Time Budgets
Equipment needs stay simple at the start. Accuracy comes from repeatable habits, not from a long gear list.
Starter kit: a laser distance measure, a short tape for door widths and tight runs, a smartphone scan option, and a clipboard or tablet for a field sketch. The laser does the heavy work, and the phone scan serves as a visual memory aid.
Working pro kit: a 360 camera, a leveling tripod with a marked capture height, a backup laser, and an exterior rangefinder for long runs. Consistent camera height and consistent scan direction do more for usable output than a higher-resolution sensor.
Full service kit: a tablet stylus workflow for clean field notes, a scanning platform subscription, and a cloud export step that supports revisions. This tier fits teams that sell plans on most listings.
Time budgeting should focus on the measurement pass alone, not the whole appointment. A common planning baseline is roughly 15 to 25 minutes under 1,500 square feet, 25 to 45 minutes for 1,500 to 3,000, and 45 to 75 minutes above 3,000 or on multi-level homes with extras. Photographers should time the first five jobs and set pricing from those logs.
For a broader kit baseline beyond plans, the gear checklist for a listing shoot article helps confirm the core camera, tripod, and backup items that protect the whole appointment.
Shoot-Day Order of Operations That Prevents Reshoots

Interleaving photos and measurements creates avoidable misses. A clean workflow runs two separate passes: a measurement pass that captures layout truth, then a photo pass that sells the space.
Start the appointment with a fast alignment talk. Confirm what the agent plans to market as living space, what will be excluded, and whether the agent expects a total area to appear on the plan. Clarify whether garages, covered outdoor space, and unfinished basements should appear as separate labeled areas.
Run the capture in a consistent direction on every level. Consistency prevents skipped closets, misread door swings, and missing half flights. A simple habit helps: finish a full level before moving to the next.
Print this sequence as a run card. Each step exists to prevent a specific class of dispute.
Walk the property with the agent
Confirm access, locked doors, and any no-go spaces. Mark spaces that require separate labeling, like an unheated bonus room or an unfinished basement zone.
Note the marketing intent. A plan for a rental often needs clarity over detail, while a plan for a premium listing often needs fixtures and orientation.
Sketch the exterior footprint first
Draw the outside shape and label obvious bump-outs. Treat this sketch as the boundary that every interior run must reconcile against.
Capture exterior runs early while doors and gates remain open. Exterior geometry becomes the best cross-check later.
Measure one level at a time, same direction
Pick a starting corner and move clockwise or counterclockwise on every job. Measure the longest wall run first in each room, then the perpendicular run.
Record closets, niches, and bump-outs as separate notes. Small shape changes often cause the biggest drafting errors.
Log openings while standing in the room
Mark each door and window position on the sketch. Add door swing direction and note sliding doors separately.
Use a room-by-room capture list to avoid memory work:
Capture stairs and level breaks explicitly
Mark direction of travel and the landing relationship. A split-level works best when each landing is treated as its own level zone.
Add headroom breaks and ceiling step-downs. These details prevent odd “missing floor” complaints on open-to-below spaces.
Reconcile before leaving the site
Compare room totals and wall runs against the exterior footprint sketch. Re-measure any run that does not reconcile with the boundary.
Photograph each sketch page or save the scan preview as an audit trail. That record helps resolve questions without a second visit.
After the measurement pass ends, start the photo pass. Keep the plan notes out during photos to avoid mixing tasks. A clean separation usually protects same-day delivery.
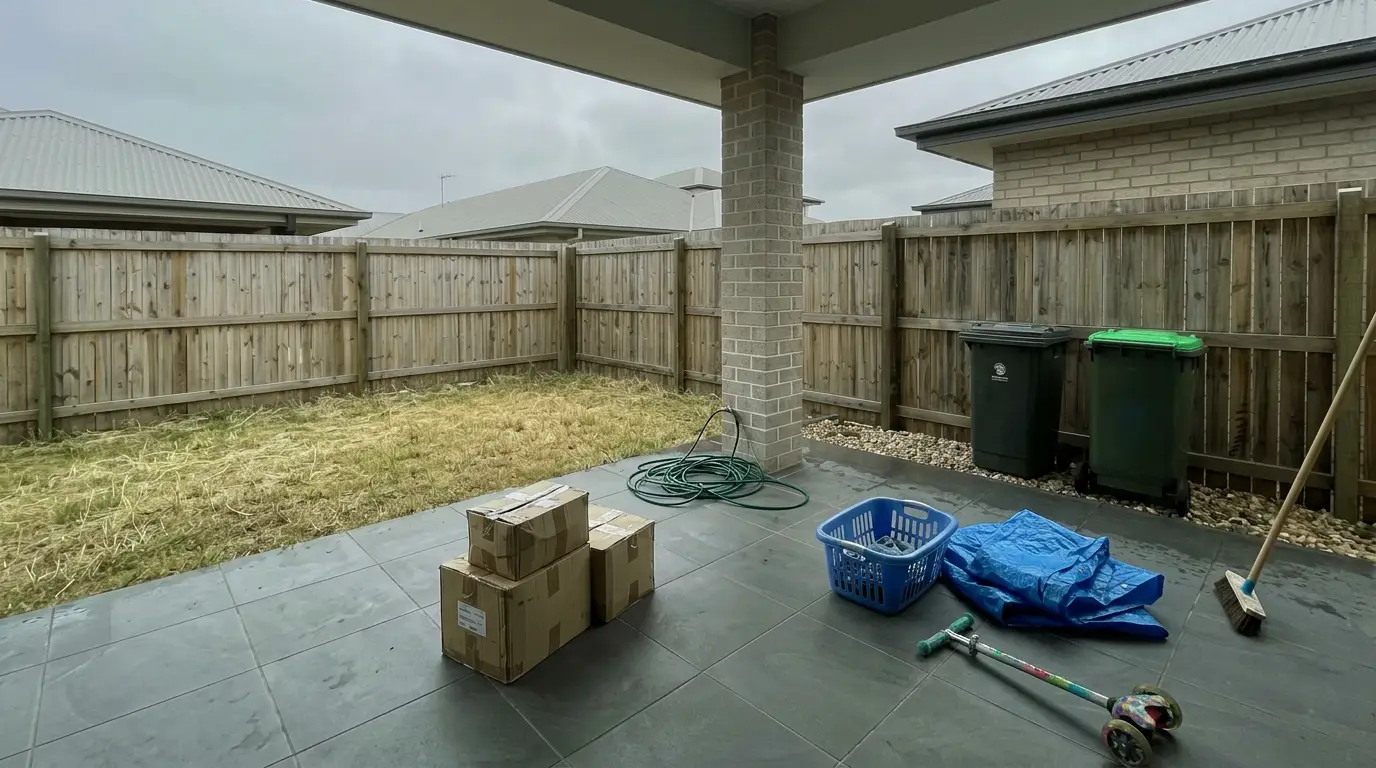
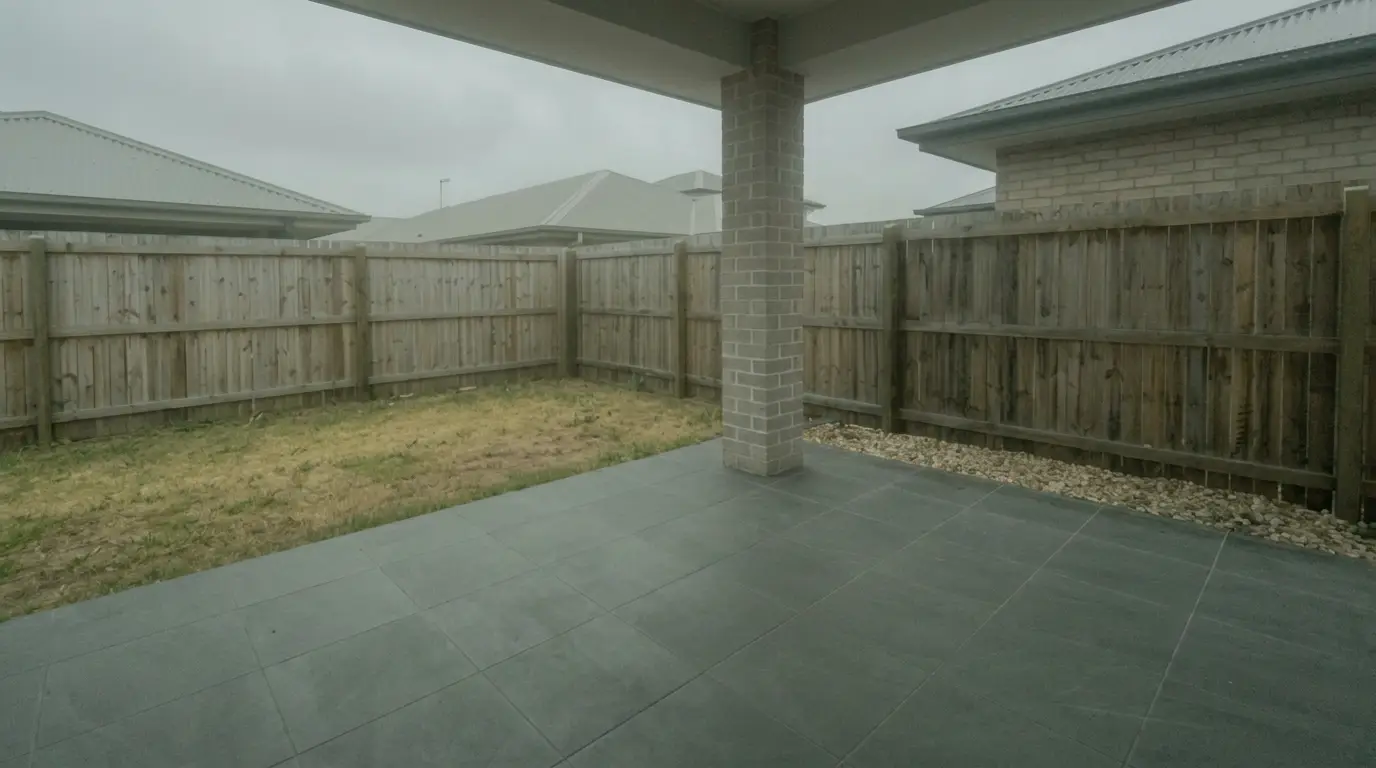
Get listing-ready photos in seconds
Clutter, exposure and twilight handled in one pass. All 11 tools on one account. Free trial credits, no credit card.
Start editing freeMulti-Level Homes and Problem Properties
Multi-level homes fail on labeling and conventions more often than on measuring technique. A clear plan stack makes the layout readable and reduces subjective disputes.
Separate each level as its own deliverable view. Keep orientation consistent across levels and include a north indicator on every page. Buyers should be able to align levels mentally without rotating a phone.
Split levels need honest segmentation. Treat each landing as its own level slice rather than forcing it into “main” or “upper.” Show the half-flight relationship with stair arrows that point to the next labeled level.
Area conventions vary by market. Below-grade space often appears separately from above-grade space, and unheated space can trigger arguments when it appears in a total. Plans should state the measuring convention used, then the agent can confirm what local MLS Rules expect before publishing a total.
Occupied or cluttered properties require a prevention step. Sellers who prep poorly often block wall runs behind furniture, which forces estimates. The fastest fix is an agent checklist sent before the appointment, like how to prepare the home before the shoot.
Some properties still fight back on site. Locked rooms, inaccessible attics, and crawl spaces should never become guessed dimensions. Mark those spaces as not measured, photograph the access point, and message the agent the same day.
Mirrored or repeated units also create traps. A mirrored unit can look identical in photos, but it reverses door swings and window placements. Each unit needs a fresh pass, even when the outline feels familiar.
From Draft to Delivery and Add-On Pricing

A buyer-friendly plan reads cleanly on a phone and holds up to questions later. That happens when the deliverable includes only verified facts, plus clear Disclosure where assumptions exist.
A good static plan includes room names, door and window marks, stair arrows, a north indicator, and a scale note. Dimensions should appear only where they were measured or verified. Total area can appear, but only when the chosen capture method supports a defensible number.
Some details belong off the plan. Keep internal notes, access photos, and the assumptions log in the delivery email or project folder. The plan should stay readable, while the audit trail stays available when the agent asks for backup.
Bad plans usually fail on readability, not effort. Two quick fixes turn a confusing plan into a buyer-friendly one:
- Bad: mixed level naming, no north indicator, unlabeled half flights, and random room labels.
- Buyer-friendly: consistent level labels, a north indicator on every level, stair arrows, and room names that match how buyers search.
Delivery timing drives perceived value. A practical benchmark is same day or next day delivery, because the listing timeline often stacks photos, copy, and pricing decisions into a short window. That target also prevents “publish first, fix later” mistakes.
AI editing and staging sit after the capture, not inside it. When the photo set needs cleanup, AI real estate photo editing can handle Image Enhancement, AI Item Removal, and virtual staging as a separate post step, with MLS-compliant output by default and pricing from $0.24 a photo.
Virtual staging also needs a clear Disclosure. Images should carry a Virtually Staged Watermark or a visible note that reads, “Virtually staged,” and any enhanced images should include a simple label like “Digitally enhanced.” Agents should confirm local MLS Rules for label placement.
Pricing works best when it matches timed workflow, not competitor rate cards. Flat add-ons protect small homes. Complexity tiers protect large and multi-level homes.
| pricing structure | what it protects | when it fits |
|---|---|---|
| flat add-on | small homes that still require setup time | typical single-level homes and condos |
| per level tier | extra time on stairs and separate deliverables | two-story and split-level homes |
| complexity surcharge | return trips and outbuildings | locked rooms, detached structures, second visits |
Common floor plan pricing structures photographers can quote consistently.
Two agent-facing scripts help the add-on feel natural without overselling.
First script: the plan reduces wasted showings by letting buyers self-qualify on layout. Second script: the plan gets bundled into the shoot so the agent makes one decision, not two. Service fees should stay off the plan itself and live on the invoice, because a floor plan is a listing asset, not a rate card.
A final run card fits on one screen:
Frequently Asked Questions
Is floor plan photography the same as taking photos of a floor plan?
No. Floor plan photography means the on-site capture pass that produces a layout drawing from the same visit as the listing photos. The deliverable is a measured plan, even when a phone scan or 360 capture provides the input. A photograph of a printed plan does not create defensible dimensions or consistent level labeling.
How accurate should floor plan measurement be for a listing?
Accuracy should match what gets published. If a plan will show a total area, the workflow needs a stated tolerance, a reconciliation check against the exterior footprint, and a disclaimer that the plan is not a survey. When only layout clarity matters, many teams omit totals and focus on consistent room labels, openings, and stairs.
Can a phone scan create a plan for a listing?
A phone scan can create a usable plan fast for simple layouts and normal ceiling heights. Scans can drift in glass-heavy rooms, mirrored spaces, and very dark areas, so a laser verification pass protects the longest wall runs. For irregular geometry or any plan that must carry publishable numbers, laser measuring remains the safer choice.
What should a delivered plan include for real estate floor plans?
Most client-ready plans include room names, door and window marks, stairs with direction, a north indicator, and a scale note. Dimensions belong only where they were measured or verified. A short disclaimer should appear on the plan, and any unmeasured or inaccessible spaces should be labeled clearly rather than silently estimated.
How should multi-level homes be shown on floor plans for real estate agents?
Each level should appear as a separate view with consistent orientation and a north indicator. Level names should match local buyer language, and split levels should treat each landing as its own labeled slice. Below-grade space and unheated areas should be stated separately when local conventions treat them differently, to avoid area disputes.
How should floor plans and virtually staged photos be disclosed together?
Agents should disclose each asset type on its own terms. Floor plans should carry a disclaimer such as “dimensions approximate, verify independently” and flag any not measured spaces. Virtually staged images should display a Virtually Staged Watermark or a visible “virtually staged” label, and digitally enhanced images should include a simple “digitally enhanced” label where MLS Rules require it.