Most listings now compete on speed. Buyers scroll fast, save faster, and book showings only after a listing earns trust.
A well-built zillow 3d tour helps on that first screen because it answers the biggest buyer question right away: how the home flows. The difference between a tour that gets skipped and one that holds attention rarely comes down to the app. It comes from prep, capture discipline, and what happens after publish.
The sections below cover device choices, a room-by-room capture workflow, editing and publishing, and a practical distribution plan.
How a zillow 3d tour Wins Buyers Before Showings
A 3D tour does two jobs at once. It helps serious buyers self-qualify, and it reduces confusion caused by wide-angle photos. That combination usually leads to better questions and cleaner showing traffic. The strongest benefit shows up early, when buyers decide what to save and share.
Zillow positions 3D Home tours and interactive floor plans as engagement features that can help a listing stand out in search and detail pages. Third-party marketing breakdowns echo that theme, with an emphasis on higher intent behavior like saves and shares, not just clicks. The key point for agents: a tour strengthens the listing’s story, but only if the tour looks clean and navigates well. Listings with Zillow 3D tours typically see stronger engagement signals.
Cost also matters. Zillow’s capture workflow removes the biggest barrier for many teams: software fees. The Zillow 3D Home app is free, which makes it a low-risk add-on for most residential listings. Budget then shifts to time, prep, and optional hardware.
One guardrail helps keep expectations grounded. A 3D tour can increase buyer engagement, but it does not guarantee a faster sale or a higher price. Pricing, condition, and exposure still drive the result. A tour simply improves the odds that the right buyers stay with the listing long enough to act.
iPhone vs. 360 Camera: Choosing the Right Setup
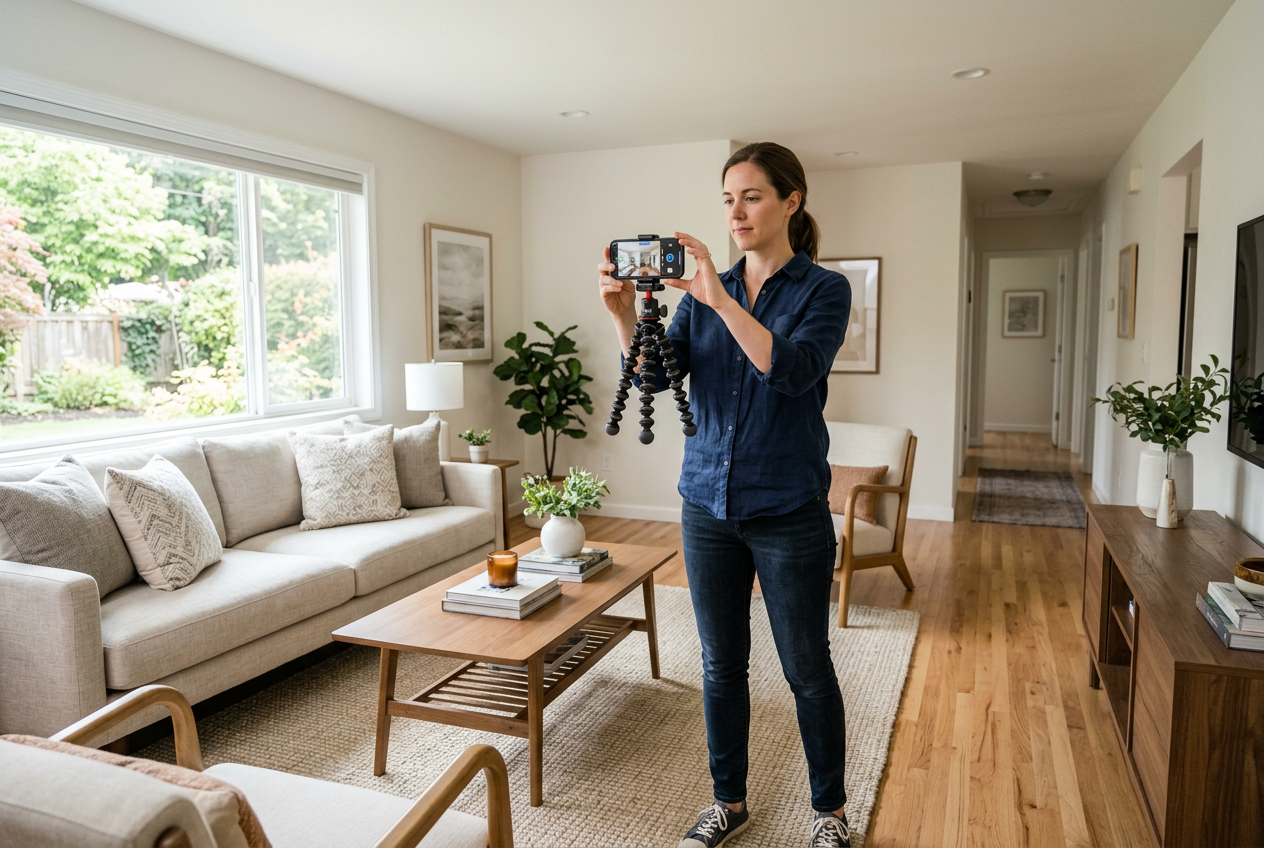
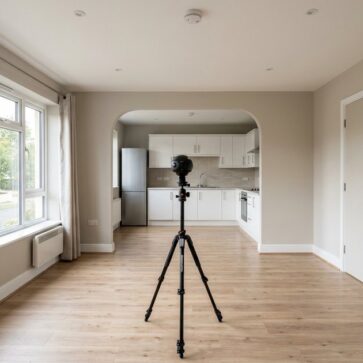
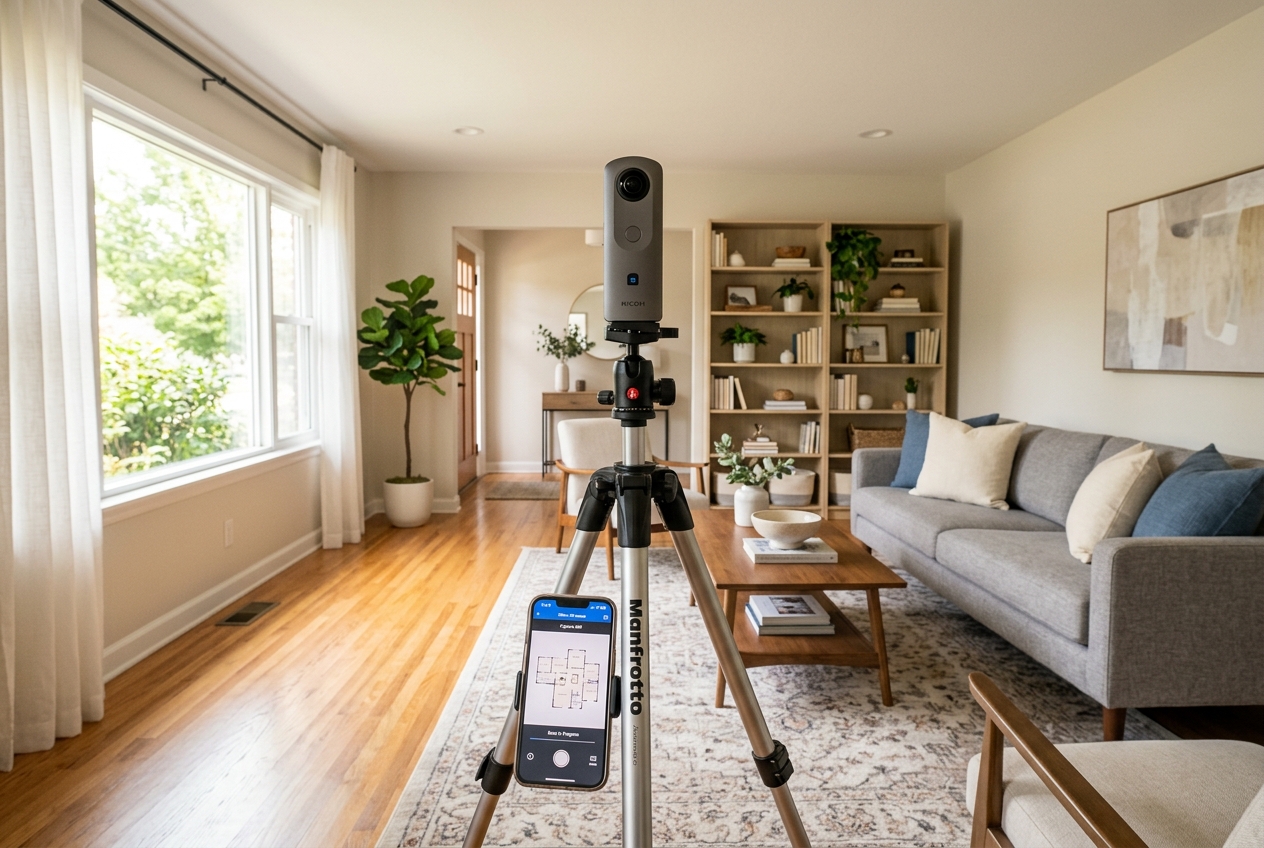
Device choice shapes everything that follows. iPhone capture keeps the workflow simple and accessible, but it rewards patience and steady movement. A 360 camera real estate tour setup speeds up capture because each pano becomes a single click, not a guided sweep.
Many teams start with a phone and switch later for volume or higher-end listings. That choice usually follows a simple pattern: lower price points and occupied homes get the phone workflow, while mid-to-upper tiers justify hardware for speed and consistency. For a deeper camera-only discussion beyond tours, best cameras for real estate photography can help agents align gear to listing type.
A common point of confusion involves “360 tours” versus Zillow’s 3D Home format. Zillow’s workflow focuses on creating a navigable tour plus an interactive floor plan experience inside Zillow. Other 360 tour platforms often emphasize branded tour links and different hosting options. A side-by-side explanation of Zillow 3D tours versus other 360 tour formats helps clarify the trade-offs.
| factor | iPhone capture | 360 camera capture |
|---|---|---|
| setup cost | low | higher upfront cost |
| capture speed | slower | faster |
| stitching consistency | depends on steady sweep | more consistent |
| best fit | entry-level listings, occasional use | higher volume, higher expectations |
Before the Shoot: Staging, Lighting, and Timing
Buyers forgive a dated finish faster than messy details. Clutter, harsh glare, and mixed bulb color make a space feel smaller in a tour than it does in person. Prep fixes that, and it costs time, not money.
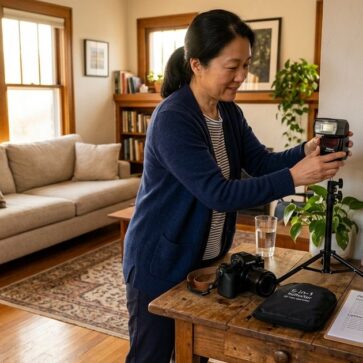
A practical workflow starts with “photo-grade” readiness, not “showing-ready” readiness. Counters should look empty, not usable. Cords should disappear. Extra stools and side tables should move out. For agents who need a fundamentals refresh across stills and tours, real estate photography tips sets a baseline that carries into any virtual tour real estate workflow.
Lighting makes or breaks Zillow tours. Window glare usually comes from shooting in direct sun, not from the camera. Overcast conditions or early and late day light often produce softer windows and more even ceilings. Every interior light should turn on, and every burned-out bulb should get replaced. Mixed color temperature bulbs in the same room create patchy, uneven scenes that feel worse in a 360 view.
A fast checklist helps keep the shoot on track:
- clear floors and corners so the room reads as open
- remove personal photos, pet items, and countertop appliances
- open interior doors to improve navigation, unless privacy requires closed doors
- turn on all lights and close toilet lids
- check mirrors for the photographer and camera reflection
- wipe smudges off stainless steel and glossy cabinets
Step-by-Step: How to Create a Zillow 3D Home Tour
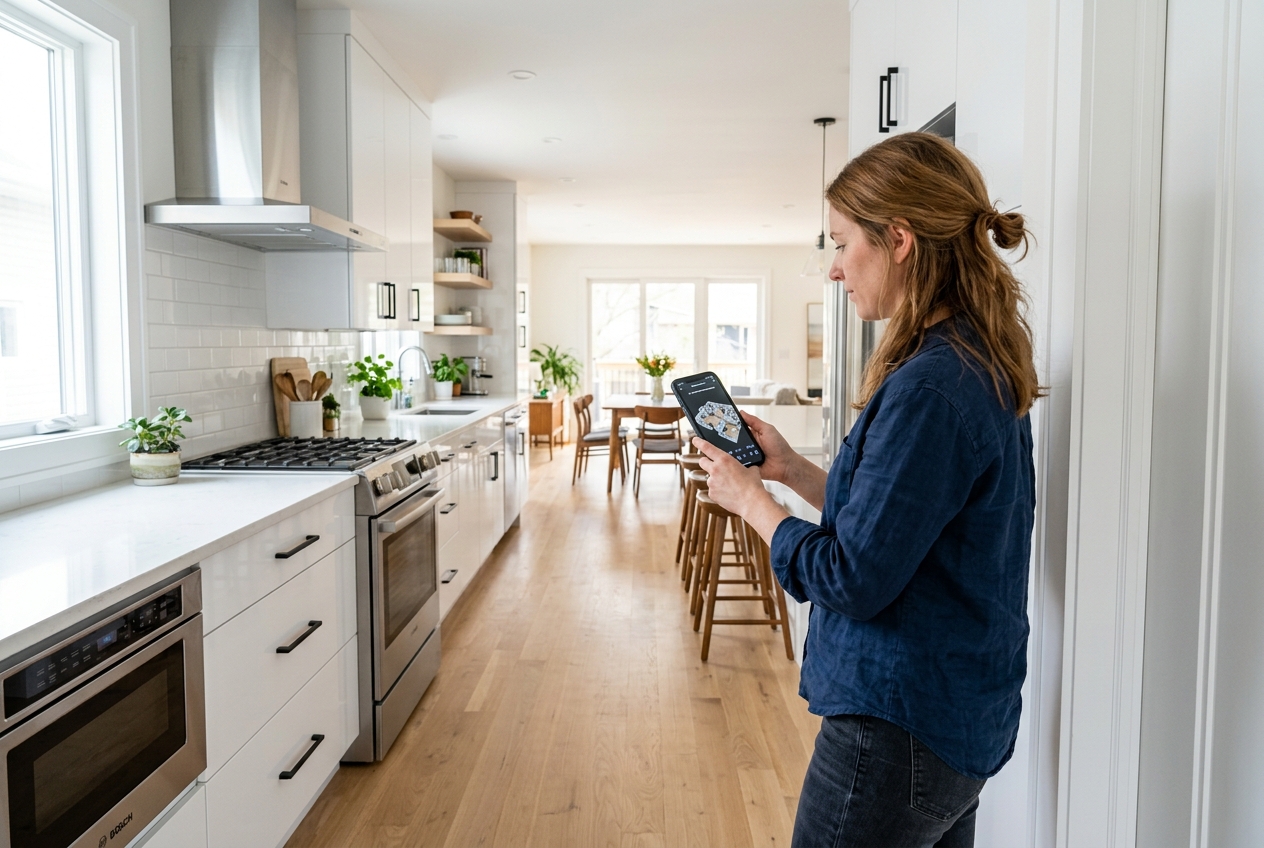
The capture process looks simple in the app, yet small mistakes compound fast. A room-by-room plan keeps the tour navigable, and it reduces reshoots. Connecting spaces matter as much as “hero rooms,” because hallways and doorways create the feeling of flow.
Agents can also avoid a common trap: chasing perfection in one room and rushing the rest. Consistency across the full walk-through usually outperforms a single great panorama. Straight vertical lines, even light, and steady camera placement build trust.
Before starting, confirm the basic constraints. The Zillow 3D Home app runs on iOS, so teams need a compatible iPhone or a supported 360 camera paired with a phone. Battery, storage, and a do-not-disturb setting prevent mid-tour interruptions.
A disciplined capture order helps: exterior first when light is best, then main living spaces, then bedrooms, then baths, then garage and backyard if needed. That sequence reduces backtracking and keeps the home staged.
Step one: Set up the tour in the Zillow 3D Home app
Install the app, sign in, and start a new tour. Assign a clear name that matches the address or internal file naming.
Choose whether to link the tour to an active listing or keep it private at first. Private tours work well for pre-market campaigns, office exclusives, and seller review before public launch.
Step two: Build a room map before capturing
Walk the home and choose pano spots. Aim for center-of-room placements in primary spaces, then add doorway placements that connect rooms.
Skip corners that exaggerate distortion. A center placement usually reads more natural, even in smaller rooms.
Step three: Capture with an iPhone and keep the sweep clean
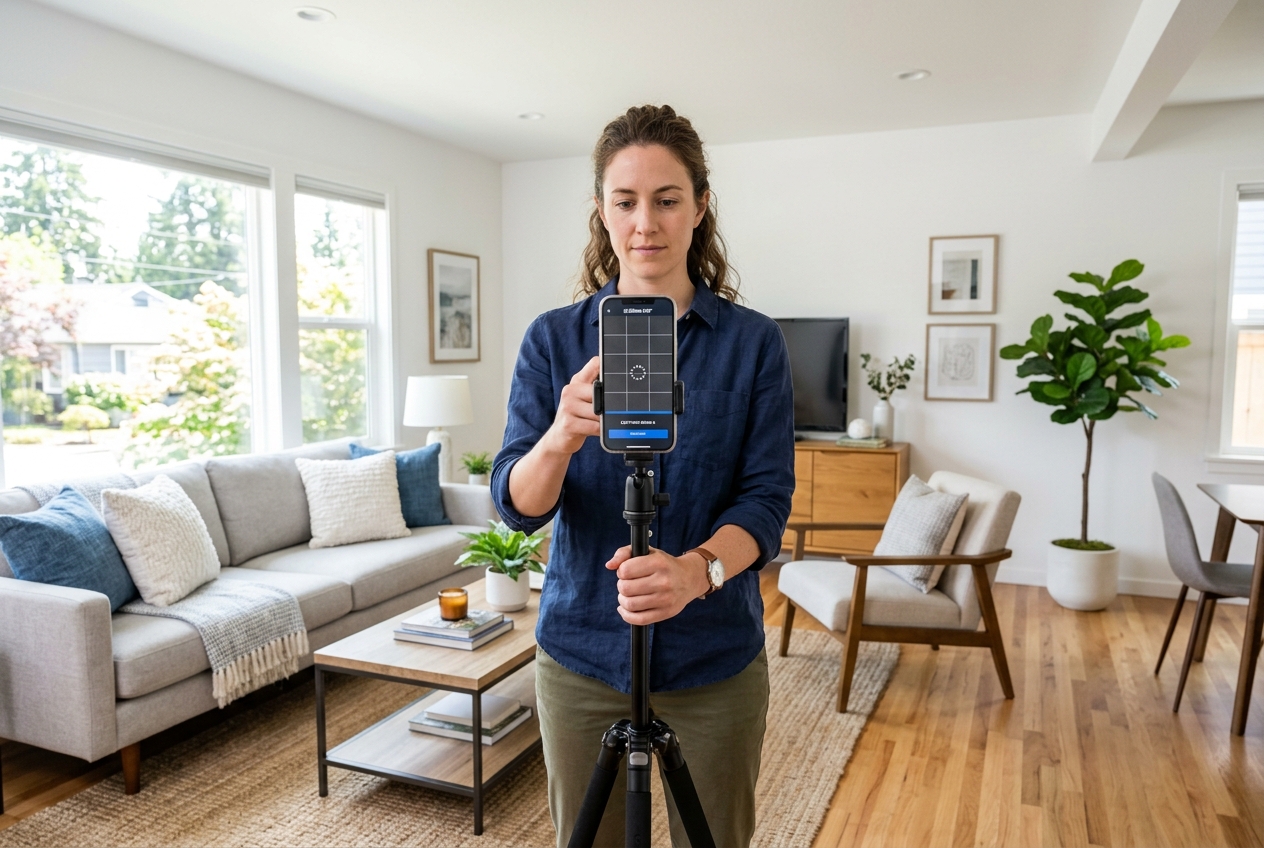
Hold the phone at a consistent height and move slowly during the guided sweep. Fast movement creates stitching errors and soft detail.
Phone capture quality improves when the phone already shoots clean stills. iPhone for real estate photography covers settings and handling habits that reduce blur across both photos and tours.
Step four: Capture with a 360 camera for speed and consistency
Place the camera near the center of the room and trigger it without standing next to it. Many teams trigger from the phone to avoid reflections.
Move the camera in a predictable path from room to room. That pattern helps agents spot missing connections before leaving the property.
Step five: Check each panorama on-site before moving on
Review sharpness, window glare, and visible clutter. Delete and reshoot any panorama that feels soft, because “fix it later” rarely works.
Pay extra attention to mirrors, glossy appliances, and glass doors. Those surfaces reveal the camera and crew fast.
Step six: Label rooms in plain language as the tour grows
Use room names buyers expect, like “primary bedroom” or “laundry,” not internal shorthand. Clear labeling helps the interactive floor plan feel usable.
If the home has bonus spaces, label the use, not the shape. “Office” reads better than “den” for many buyers.
Uploading, Editing, and Publishing
A tour should go live before the listing’s first traffic spike. That usually means capturing at least one day before the listing goes active. The buffer protects against processing delays, upload failures, and last-minute seller requests.
Processing time varies by device and tour size. Zillow notes that larger tours may take time to process, especially when the tour includes many panoramas. A practical planning assumption is up to four hours for tours with roughly ten to twenty panoramas. That timeline supports a simple operational target: shoot the day before, publish the same day, and enter the link into MLS fields as soon as the portal accepts it.
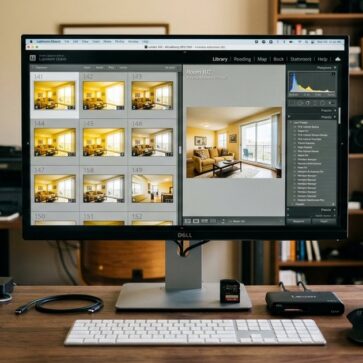
Editing matters more than most teams expect. After upload, agents can reorder panoramas, rename rooms, and remove weak shots. That cleanup step improves navigation and reduces the “why is the camera here” feeling that causes drop-off. The goal is a tour that moves logically, not a tour that includes every angle.
Publishing choices also change how the asset gets used. A tour linked to the Zillow listing improves discoverability inside Zillow. A private link can support pre-market interest or out-of-area buyers who want to screen the home first. When a listing already sits on Zillow, teams can still attach the tour after the fact, then refresh marketing posts so the tour becomes the new lead asset.
Troubleshooting Common Capture and Upload Problems
Blur almost always starts with low light or fast movement. Interior lights help, but timing matters more. When the sun hits windows directly, the camera fights exposure and detail gets muddy. A reshoot in softer light often fixes the issue faster than any edit.
Stitching errors often come from moving objects. Fans, pets, and people walking through a pano break alignment. The fix is simple: stop motion, reshoot, and keep the sweep consistent. If a room still fails, shift the pano spot away from mirrors or glass.
Upload failures usually trace back to weak connectivity or phone storage. Strong Wi‑Fi at the office or a hotspot with stable signal reduces retries. A full phone can also crash mid-upload, so clearing space before the shoot saves time.
Some properties create edge cases where the “standard” Zillow workflow does not fit:
- tenant-occupied homes where privacy limits bedroom and bath capture
- luxury listings where the seller wants a private tour link only
- rural properties where outbuildings add time and confuse navigation
- construction and renovation projects where unfinished areas need clear labeling
For complex, multi-level layouts or higher-end marketing packages, a different platform may fit better. Matterport 3D tours can be a better match when the listing needs premium navigation features or a more expansive capture workflow.
After Publishing: Get the Tour Seen Everywhere
Publishing is the handoff point, not the finish line. A tour earns value only when buyers actually see it. Teams can treat the link like a core listing asset and place it everywhere buyers already click.
Start with MLS placement. Many MLS systems allow a virtual tour field, and some also allow a link in remarks. Rules vary by market, so agents should check MLS Rules before posting. When portals strip links from remarks, a tour field or a property website often works better.
A clean “media deliverable” keeps the tour from getting lost in a text thread. A practical package includes the tour link, a QR code for flyers and open house signs, and a short note on how to view it on mobile. The package should not include commission splits, referral fees, or internal deal terms. Those details belong in an agent-to-agent or agent-to-seller conversation, not in a buyer-facing asset.
Promotion should match how buyers consume media:
- social posts that lead with the tour link, not a photo carousel
- email blasts to active buyers and showing agents with the tour above the fold
- open house invites that include a QR code to the tour
- short clips cut from screen recordings, paired with still photos
For broader distribution options, real estate video apps can help teams turn the tour into short, platform-native content. Agents building a full listing media stack can also add a walkthrough video plan through real estate videography.
AI virtual staging for supporting listing photos
A 3D tour shows the home as-is, which helps with honesty and flow. Still photos carry a different job: they create the first emotional hook in search results. Empty rooms, dated furniture, or awkward layouts can weaken that hook even when the tour is strong.
AI Virtual Staging can complement the tour by furnishing empty spaces in the flat photo set, so buyers understand scale and use. It should not change permanent features like window placement or remove defects that matter. Listing teams should also use clear Disclosure language any time virtual staging or AI editing changes what the image shows. A simple label many MLS systems accept is: Virtually staged. Digital furniture added. Another option is: AI-generated virtual staging. Image altered. Local rules vary, so agents should confirm required phrasing and whether a Virtually Staged Watermark is required.
Clean source photos matter most for this workflow. how to shoot a property for virtual staging covers angles and lighting that reduce rework when a team adds staged visuals. Tools such as AI HomeDesign can then create staged variations for listing photos while the Zillow tour stays true to the physical space.
Frequently Asked Questions
Is the Zillow 3D Home app free to use?
The Zillow 3D Home app is free to download and use, which makes it an easy add-on for most listings. The main costs come from time on-site, prep, and optional hardware like a 360 camera. Many agents start with iPhone capture and upgrade hardware only when volume or quality expectations rise.
Does an iPhone work well enough for a Zillow 3D Home tour?
An iPhone can produce a solid tour when the home has clean staging and even light. Phone capture usually takes longer and can show more stitching issues if the sweep moves too fast. For higher-end listings or busy weeks, a 360 camera often delivers more consistent panoramas with less effort on-site.
What makes a Zillow 3D tour feel navigable, not random?
Navigation improves when the tour includes connecting spaces, not just the “main rooms.” Doorway and hallway panoramas help buyers understand how rooms relate to each other. Logical ordering and clear room labels also reduce drop-off, because buyers can move through the home in a way that matches real walking paths.
Can a Zillow 3D Home tour be added after the listing goes live?
A team can publish the tour after the listing is already active, then attach it to the listing inside the Zillow workflow. After the tour appears, marketing should be refreshed so the tour becomes the primary click target in social posts and email. That update often matters more than the publish date itself.
What disclosure should be used for virtually staged or AI-edited photos?
Disclosure rules vary by MLS and state, so agents should verify the local requirement. A straightforward label many systems accept is “Virtually staged. Digital furniture added.” For AI edits, a clear line such as “Image altered” avoids confusion. If rules require it, add a Virtually Staged Watermark directly on the image.