Real estate photography equipment does not need to start with a room full of expensive gear. For beginners, the highest-impact items are usually a reliable camera, a wide-angle lens, a sturdy tripod, and a basic editing setup. These tools cover most early property shoots and help create sharper, brighter, more consistent listing photos.
The goal is to build a kit that handles real shooting problems: room coverage, straight verticals, low-light interiors, and cleaner final images. Lighting gear, drone equipment, and AI editing tools can come later once the core setup is working well.
This guide breaks down the essential real estate photography equipment for beginners, explains what each item does, and helps new photographers decide where to spend first.
Why Gear Choice Matters, But Is Not the Whole Story
Good gear helps, but it does not guarantee good real estate photos. A new camera body will not fix poor lighting, crooked verticals, weak composition, or rushed editing.
For beginners, the goal is to buy equipment that solves the most common shooting problems first. A camera body, wide-angle lens, sturdy tripod, and basic lighting setup can cover many early property shoots without creating an oversized kit.
Lighting deserves special attention. In many interiors, better lighting can improve image quality more than upgrading to a more expensive camera body. Even a simple bounced flash or controlled light source can help brighten dark rooms, reduce harsh shadows, and create cleaner listing photos.
That is the priority behind this equipment checklist: start with the tools that improve room coverage, stability, lighting, and final image quality before spending on advanced gear.
Essential Gear #1: Camera Body
Crop Sensor vs. Full Frame for Beginners
Beginners often spend too much on a camera body before choosing the right lens, tripod, or lighting setup. For real estate photography, that is not always the best order. A capable crop-sensor camera can be a smart starting point because it keeps the kit more affordable while still producing strong listing photos.
Full-frame cameras have real advantages. They usually perform better in low light and offer a wider field of view with the right lens. Those benefits matter for darker interiors, professional workloads, and photographers who already have strong shooting technique.
For beginners, though, the camera body is only one part of the setup. Composition, lighting, lens choice, stability, and editing often affect the final image more than the body alone.
| Factor | Crop Sensor / APS-C | Full Frame |
|---|---|---|
| Cost | Lower | Higher |
| Field of view | Narrower because of crop factor | Wider with equivalent lenses |
| Low-light performance | Good with proper exposure and support | Usually stronger |
| Weight | Often lighter | Often heavier |
For example, a crop-sensor camera paired with a 10–22mm wide-angle lens can cover many small bedrooms, bathrooms, and living spaces. A full-frame camera often uses a 16–35mm lens for a similar real estate workflow. Both setups can work well. The crop-sensor kit is simply easier to build on a beginner budget.
For model-specific options, this guide to the best cameras for real estate photography breaks down current picks by budget and use case.
Essential Gear #2: Wide-Angle Lens
The camera body captures the image, but the lens determines how the space feels to a viewer. For interior real estate photography, common starting ranges are 16–35mm on a full-frame camera or 10–22mm on a crop-sensor camera. These ranges help capture enough of the room without making the space feel unnatural.
A wide-angle lens is useful because it shows layout, scale, and room flow in one frame. But wider is not always better. If the lens is too wide, furniture can stretch, walls can curve, and rooms may look larger than they really are. That can make the photo feel less trustworthy.
Technique also matters. Keep the camera level, avoid placing large furniture too close to the edge of the frame, and leave room for perspective correction in editing. A good wide-angle lens should make the room clear and spacious, not exaggerated.
For example, shooting a small room at the widest end of a crop-sensor lens can capture more space, but it may also stretch the edges of the frame. Moving slightly back and using a less extreme focal length can keep walls, furniture, and room proportions more natural.
For model-specific options, compare current picks for the best lens for real estate photography by sensor size and budget.
Essential Gear #3: Tripod
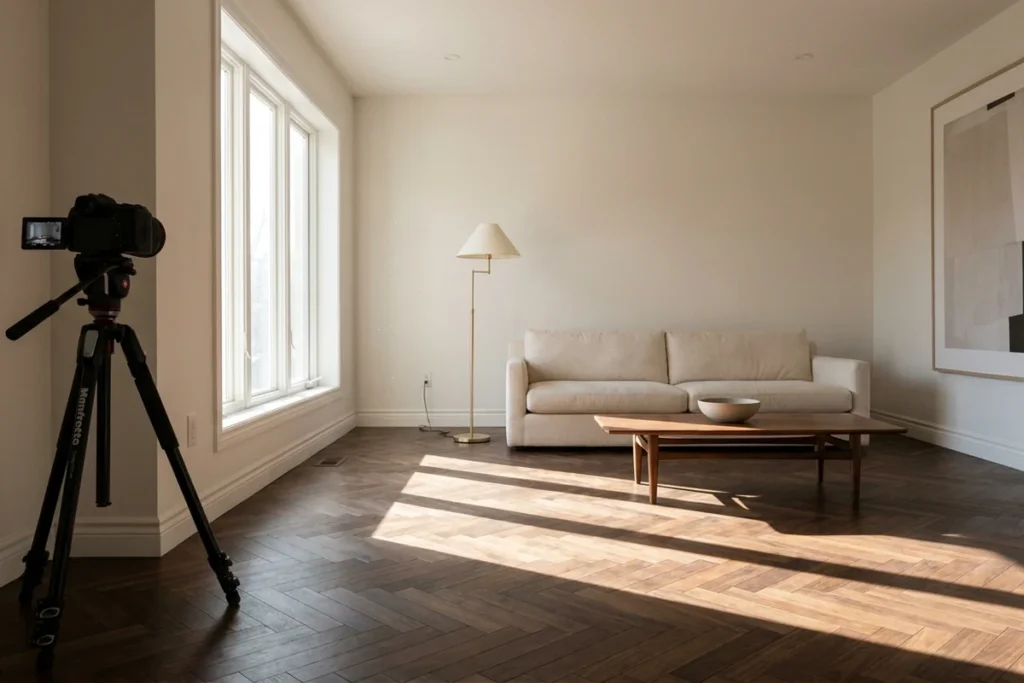
Blurry kitchen shots and converging vertical lines are two of the most common reasons a real A tripod is one of the most important pieces of real estate photography equipment for beginners. It keeps the camera stable, helps prevent blur, and makes it easier to keep walls, door frames, and cabinets straight.
Handheld photos can work in bright conditions, but interiors often need slower shutter speeds. Even small movement can soften the image. A tripod lets you use a lower ISO, a narrower aperture, and longer exposure without losing sharpness.
A tripod also helps with HDR bracketing. When the camera stays in the same position across multiple exposures, the images are easier to blend cleanly in editing. This is especially useful for rooms with bright windows and darker interiors.
Geared Head vs. Ball Head
The tripod head affects how easily you can level the camera. A ball head is fast and flexible, but small adjustments can be harder to control. A geared head is slower, but it allows more precise changes to tilt, pan, and rotation.
For beginners, a solid ball head is usually enough to start. As the work becomes more architectural or detail-focused, a geared head can make it easier to keep vertical lines straight and framing consistent.
Load Capacity and Height
Choose a tripod that can comfortably support your camera and lens. A weak tripod may shift slightly during longer exposures, especially with a heavier lens attached.
Height also matters. Ideally, the tripod should reach around chest height without relying too much on the center column. Raising the center column can make the setup less stable, especially during long exposures or bracketed shots.
Remote Shutter Release
A remote shutter release helps avoid small vibrations caused by pressing the camera button by hand. A two-second timer can also work for beginners.
For HDR brackets or flambient photography, a remote release or interval timer is useful because it keeps the camera still across multiple exposures. That makes the final blend sharper and easier to edit.
Essential Gear #4: Off-Camera Flash and Basic Lighting
Good lighting can improve real estate photos more than a more expensive camera body. Interior rooms often have bright windows, dark corners, mixed light sources, and uneven shadows. A simple off-camera flash setup helps control those problems.
Beginners do not need a complicated lighting kit at first. One speedlight, a wireless trigger, and basic bounce technique can already make interiors look cleaner and more balanced. As the workflow improves, a second flash can help with larger rooms or more difficult lighting.
How the Flambient Method Works
The flambient method combines flash and ambient light. The photographer usually captures one frame using the room’s natural light and another frame with flash added to brighten shadows and improve color. These frames are then blended in editing.
The goal is not to make the room look artificially lit. The goal is to keep the natural feel of the space while adding enough controlled light to reduce muddy shadows, color casts, and blown-out window areas.
A simple flambient workflow usually looks like this:
- Capture an ambient exposure for the room.
- Capture a flash exposure with the light bounced off a wall or ceiling.
- Blend the frames in editing software for a cleaner final image.
This takes practice, but it gives photographers more control than relying on natural light alone.
Natural Light vs. Off-Camera Flash
Natural light is easier for beginners because it requires less setup. It can work well in bright rooms, open layouts, and daytime shoots.
Off-camera flash takes more time to learn, but it creates more consistent results. It helps when rooms are dark, windows are bright, or wall colors create strong color casts. For beginners who want to improve quickly, lighting is one of the best skills to build after learning camera settings, lens choice, and tripod use.
Optional Gear: Drone Photography
Drone photography is useful for properties where the exterior matters as much as the interior. Large backyards, acreage, waterfront views, corner lots, rooflines, pools, and surrounding neighborhood context can all benefit from aerial photos.
For beginners, a drone is not essential for every real estate photography kit. It becomes more valuable when clients regularly list larger properties or expect aerial images as part of the marketing package.
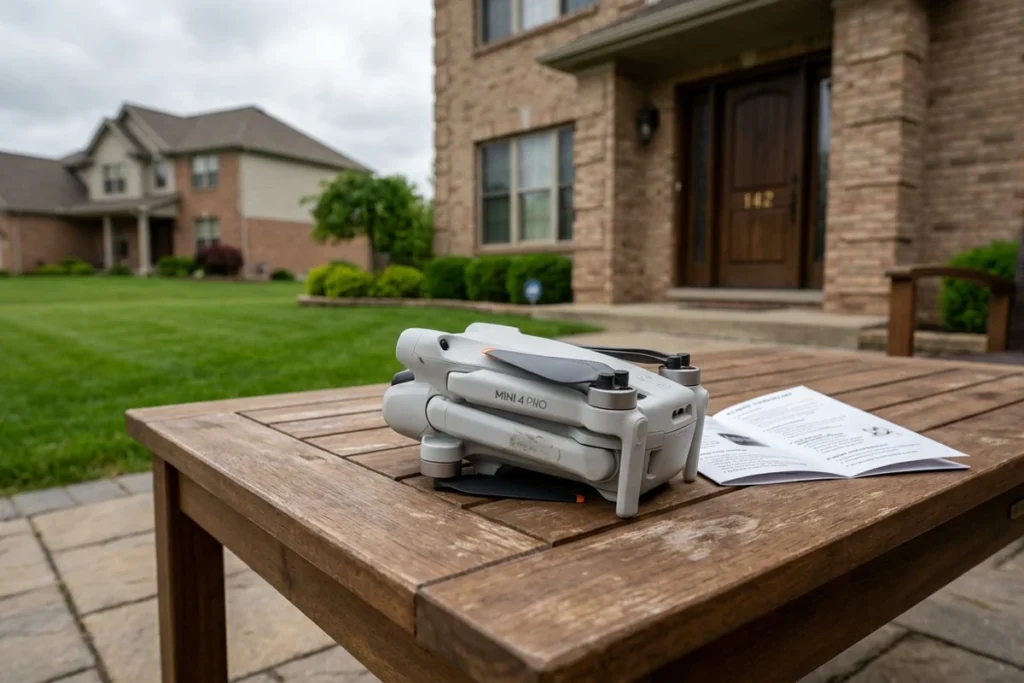
Sub-250g Drones and Regulations
Sub-250g drones, such as the DJI Mini series, are popular with real estate photographers because they are small, portable, and easier to carry between shoots. In some locations, lighter drones may have simpler registration or operational requirements than heavier models.
That does not mean they are regulation-free. Drone rules vary by country, region, airspace, property type, and intended use. Commercial real estate photography may also have separate requirements, even when the drone is lightweight.
Lighter drones are convenient, but they have tradeoffs. They may offer less wind resistance and smaller sensors than heavier models. Larger drones can provide stronger image quality and better stability, but they cost more and may involve stricter operating rules.
For many suburban property shoots, a compact drone can be enough for backyard views, exterior angles, and neighborhood context. Before buying, compare current picks for the best drones for real estate photography by camera quality, flight stability, battery life, portability, and local compliance needs.
Software and AI Tools for Post-Production
Beginners often capture a solid photo set, then lose time in editing. Real estate photo editing can include exposure correction, color balance, perspective correction, noise reduction, object cleanup, and final resizing for listing platforms.
A basic editing workflow is still important, but beginners do not need to master every advanced Photoshop technique before producing cleaner listing photos.
AI tools can help with repetitive or specialized tasks. For example, Day to dusk conversion can turn a daytime exterior into a warmer twilight-style image without scheduling a separate evening shoot. It should still be used carefully so the final photo looks polished, realistic, and appropriate for the listing.
Virtual Staging and Listing Visuals
Virtual staging is one of the most practical AI use cases for real estate photos. It can help vacant rooms feel more furnished and easier to understand online, especially when buyers struggle to read scale or layout from an empty space.
Platforms such as AI HomeDesign can support this workflow by helping agents and photographers create staged listing visuals without arranging physical furniture. For beginners, the value is not just cost savings. It is also speed, flexibility, and the ability to present a vacant room more clearly before the listing goes live.
AI tools can also support listing preparation tasks such as resizing, enhancement, and formatting. When photographers need to prepare real estate photos for MLS , the goal is to keep images clean, properly sized, and compliant with platform expectations.
AI adoption in real estate is growing, but the article should avoid overstating the numbers. RPR reported in 2026 that 82% of surveyed real estate professionals said they currently use AI, while NAR’s 2025 technology survey found many REALTORS® are still learning how emerging technologies fit their business.
The important point for beginners is simple: use AI tools to speed up repetitive editing tasks, but do not rely on them to fix poor capture. Strong photos still start with good lighting, stable framing, accurate exposure, and a clear post-production workflow.
When to Skip Expensive Gear
Overspending early is one of the most common beginner mistakes in real estate photography. A drone may look impressive, but it is not useful for every job. Urban condos, high-rise apartments, restricted airspace, and interior-only shoots may not need aerial photos at all.
The same applies to advanced lighting. Off-camera flash can be a strong investment, but it works best after the basics are in place. Beginners should first understand exposure, white balance, composition, tripod use, and wide-angle framing. Once those skills feel consistent, flash becomes easier to use and more valuable.
Where AI Tools Can Help
AI tools can reduce the need for advanced editing skills in some standard workflows. They can help with sky replacement, color correction, image enhancement, virtual staging, and listing photo preparation. That can be useful for beginners who want cleaner results without spending hours on manual editing.
Still, AI should not replace good capture. A poorly exposed, blurry, or badly framed photo will always be harder to fix. The best workflow is to capture the image well first, then use editing tools to polish the final result.
A practical starter kit does not need to include every possible tool. For many beginners, a crop-sensor camera, wide-angle lens, sturdy tripod, basic lighting setup, and simple editing workflow are enough to start producing stronger listing photos.
Full Real Estate Photography Equipment Checklist
A smart beginner kit should be built in stages. Start with the gear that improves image quality most, then add tools only when the work demands them.
Full Real Estate Photography Equipment Checklist
A smart beginner kit should be built in stages. Start with the gear that improves image quality most, then add tools only when the work demands them.
Tier 1: Essential Gear
- Crop-sensor or full-frame camera body
- Wide-angle lens, usually 10–22mm for crop sensor or 16–35mm for full frame
- Sturdy tripod for sharp interiors, straight framing, and HDR bracketing
- Remote shutter release or two-second timer to reduce camera shake
- Basic editing software for exposure, color, perspective, and export settings
Tier 2: High-ROI Add-Ons
- One speedlight or off-camera flash setup for darker interiors
- Wireless flash trigger for more controlled lighting
- Extra batteries and memory cards for longer shoot days
- Lens cloth and basic cleaning kit
Tier 3: Optional Growth Gear
- Compact drone for larger lots, exterior views, and neighborhood context
- Gimbal stabilizer for smoother video walkthroughs
- Second flash for larger rooms or more advanced flambient work
- Polarizing filter for glare control in some exterior and window-facing shots
Tier 4: Software and AI Tools
- AI photo enhancement platform for faster correction workflows
- Virtual staging tool for vacant rooms and listing presentation
- Day-to-dusk conversion tool for exterior hero images
- Listing video automation tool for turning photos into simple marketing videos
For vacant rooms, comparing the best virtual staging software for real estate can help beginners choose a tool that matches their budget, listing volume, and review process.
Final Thought
For beginners, the core kit is straightforward: a crop sensor camera body, an ultra-wide-angle lens, a sturdy tripod, and an off-camera flash setup. These four items cover the vast majority of real estate shooting scenarios. Everything else is a layer added as budget and client demand grow.
Lighting deserves more attention than camera body choice. Off-camera flash, used with the flambient technique, produces a more noticeable quality jump than switching to a more expensive camera. Beginners who invest in a two-speedlite setup early find their images improve faster than those who spend the same money on a body upgrade.
Post-production is where many beginners underestimate the time cost. AI editing tools purpose-built for real estate have shortened turnaround dramatically. Several platforms in this category — including AI HomeDesign and others — handle sky replacement, object removal, and exposure correction without requiring Photoshop expertise.
Drone capability is worth adding once the core kit is solid. Sub-250g models reduce regulatory friction in most markets. Aerial shots are increasingly expected for larger properties, so building that skill early positions a photographer well for higher-value listings.
The practical next step for most beginners is to price out the four core items and start shooting with what is available now. Waiting for a complete kit usually delays skill development more than any gear gap does. Consistent shooting with a modest setup builds the judgment that makes better gear useful later.
FAQs
Can a smartphone replace a camera body when starting out?
A flagship smartphone can work for quick exterior shots in good light. For paid real estate shoots, a dedicated camera with a wide-angle lens gives better control over exposure, RAW files, and interior lighting.
Is one speedlight enough to learn the flambient method?
Yes. One speedlight is enough to learn basic flambient photography. A second light helps with larger rooms or darker corners, but it is not required at the start.
Is a sub-250g drone exempt from registration in the United States and Canada?
Not always. In the U.S., recreational sub-250g drones may avoid registration, but commercial real estate work usually falls under Part 107 rules. In Canada, sub-250g drones do not usually need registration, but pilots still need to follow safety and airspace rules.
How should a photographer handle very dark interiors where flash struggles?
Use a tripod, lower ISO, and a longer exposure first. If the room is still too dark, add a second speedlight, use continuous lighting, or shoot bracketed exposures for blending.
Can AI editing tools replace HDR bracketing entirely?
Not entirely. AI tools can improve a well-exposed RAW file, but bright windows beside dark walls still benefit from bracketed exposures. Strong capture gives editing software better material to work with.