3D Cameras for Real Estate: Top Picks and How They Work
Agents get told to “add a 3D tour,” then hit a confusing wall: the phrase 3D camera for real estate gets applied to tools that do very different jobs. Some cameras capture stitched panoramas. Others capture depth. A phone can even fake a walkthrough.
This guide separates the tech into clear tiers, explains the capture chain in plain English, and then lists practical picks based only on the facts provided. It also covers the part that decides whether the deliverable looks professional: capture technique, hosting, and the post-production that still images need.
Last updated: August 2026. The same fundamentals still apply, which is why this sits on top of the real estate photography guide for beginners.
Do Agents Need a 3D Camera for Real Estate?
A tour camera pays off only when the deliverable matches how the listing gets marketed. A 360 tour can help buyers understand flow, but portal thumbnails and the MLS gallery still live and die on strong stills. Many teams end up with a blended package: hero stills first, a tour second, and a floor plan only when a client asks.
Volume comes first. A solo agent shooting a couple of listings per month often benefits more from a repeatable process than from “more gear.” A full-time photographer shooting several homes each week can justify a dedicated tour workflow because setup time and editing time get reused across every job.
Property size and layout decide how painful a shoot becomes. Small condos need fewer capture points and fewer chances to hide. Larger homes, basements, and long hallways increase point count and increase the chances of stitch issues.
Deliverable decides the tier. Clickable tours can come from consumer 360 cameras. Measurable floor plans usually require a depth-capable scanner and its platform. That fork matters more than any spec sheet.
3D Camera vs 360 Camera for Real Estate
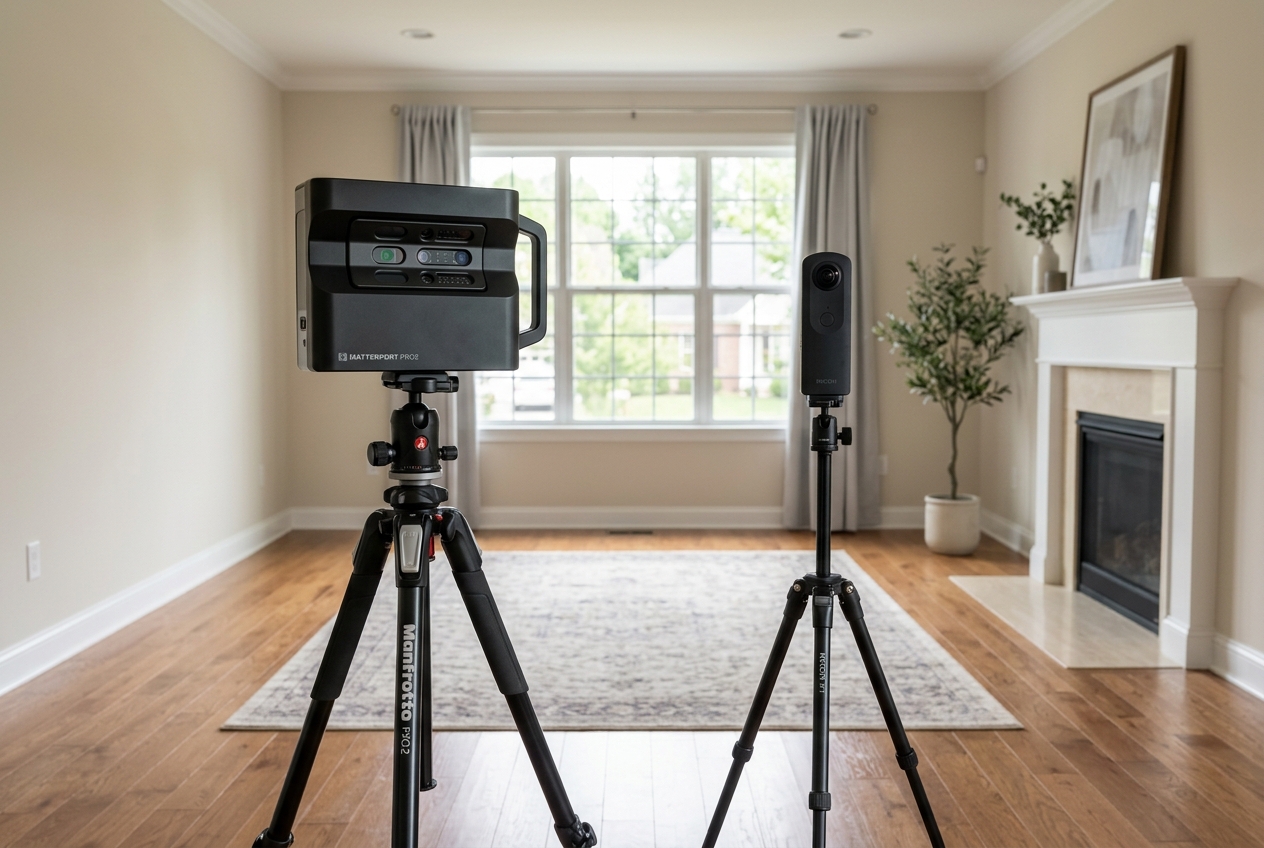
A “360 camera” captures a spherical image from a fixed point. Tour software places those points on a path so viewers can click through the house. The output shows where rooms connect, but it does not create a measurable digital twin.
A “true 3D” capture workflow adds depth data, then turns that depth into a navigable model and often a floor plan. That depth can come from different methods, including structured light, LiDAR, or photogrammetry paired with depth inference. The key is the presence of distance data, not the marketing label on the camera.
Phone capture apps sit in a third tier. Some phones include depth sensors, and many apps can build a simple walkthrough using the handset’s camera plus motion sensors. That approach can work as a low-stakes starting point, but consistency often depends on lighting and careful capture.
For the depth-scan path, Matterport sits at the center of many workflows because the platform handles processing and hosting as a single chain. The best next read is Matterport 3D tours: setup, pricing and ROI, since a scanner decision is really a platform and subscription decision.
How 360 and 3D Cameras Actually Work
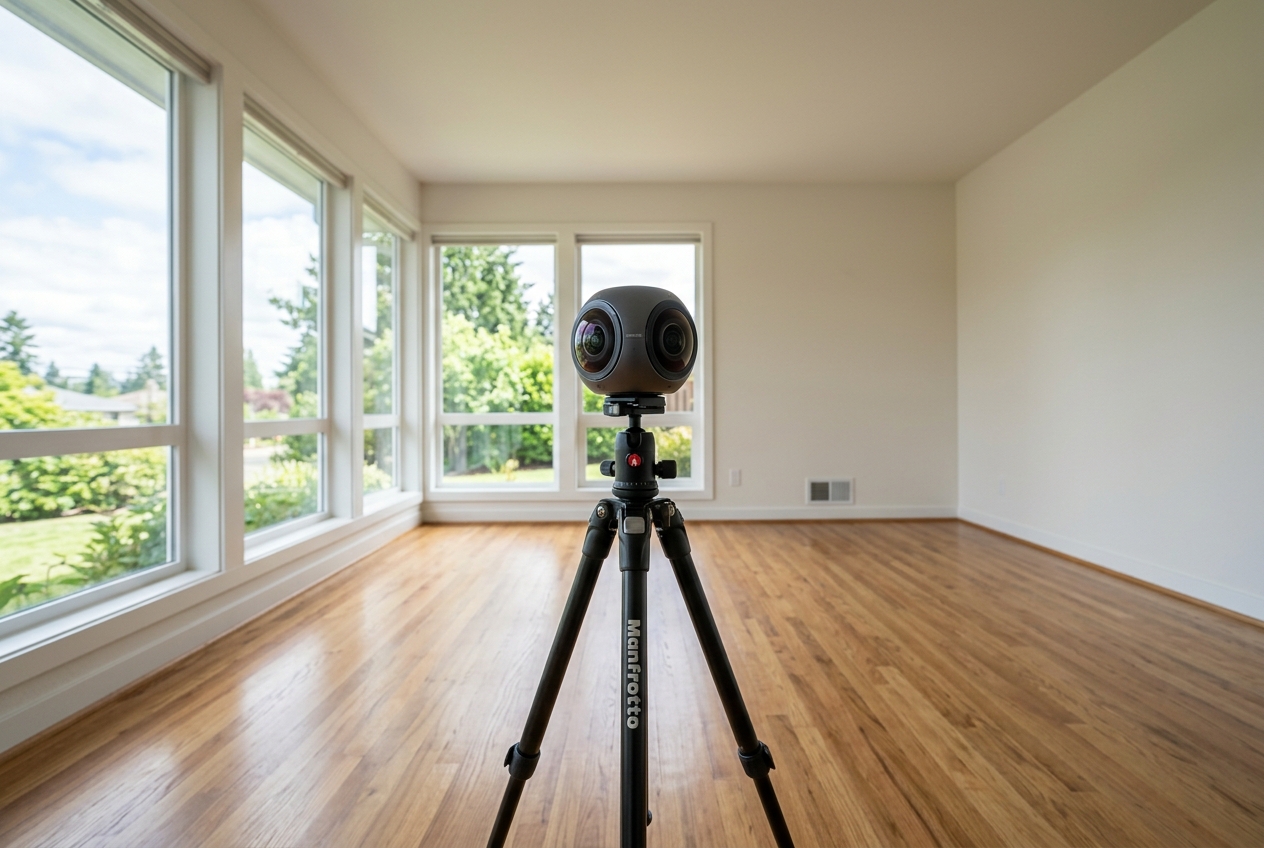
Most 360 cameras use two ultra-wide lenses that shoot in opposite directions. Each lens captures more than a hemisphere, which creates an overlap zone. Stitching software uses that overlap to merge both views into one sphere.
Real estate interiors stress that stitching step. Straight lines, door frames, and furniture edges make seams obvious. That is why “invisible stitching” is a real buying criterion rather than marketing fluff. It also explains why camera height and leveling matter: a tilted sphere makes walls lean and makes seams harder to hide.
HDR matters for listings because windows and dark corners show up in the same frame. Some cameras lean on bracketing and HDR processing to keep a bright view and a dim hallway usable in a single pano. The mechanics mirror still photography basics, and HDR real estate photography covers the exposure logic in a way that transfers well to 360 capture.
A tour platform finishes the chain. It uploads each panorama, places points on a floor path, and adds room labels or hotspots. Many platforms also export still images from the tour, which is useful but rarely “MLS-ready” without cleanup.
Consumer 360 Cameras for Simple Walkthrough Tours
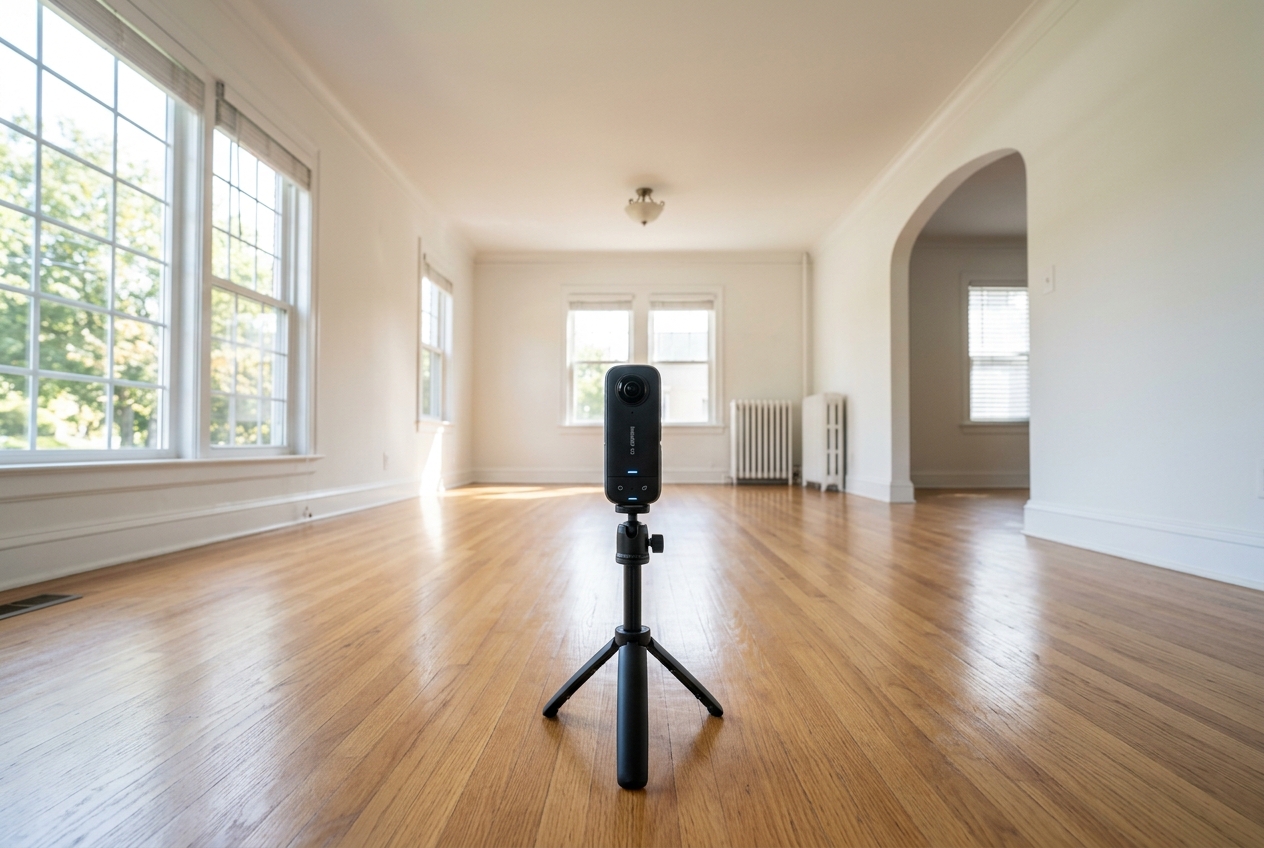
This tier targets agents and teams that want a simple, repeatable deliverable: a clickable walkthrough that communicates layout. These cameras also overlap with social video needs, which matters for teams building short-form content alongside listings.
The tools in detail
This tier fits photographers who sell tours as an add-on and need consistent interior handling across different lighting conditions. It also fits brokerages that want standard output across a team, since image consistency reduces revision cycles.
The table below stays strictly inside the brief’s provided camera facts. Pricing appears exactly as provided, including “not published” and “price varies by retailer.”
Insta360 X3Top pick
Insta360 positions the X3 as a versatile 360 body, and the brief’s source describes it as the best value for many agents shooting their own listings.
Pros:
- Covers both photo and 360 video use cases.
- Listed as Zillow 3D compatible.
Cons:
- Capture time and turnaround are listed as manual and variable, so workflow depends on technique.
Product and source context sit in a single place, viaAmplifiles’ 360 camera roundup.
View Insta360 X3 →
Ricoh Theta X
The Ricoh Theta X is framed in the same source as an ease-of-use pick for real estate walkthroughs, with an emphasis on quick review.
Pros:
- Touchscreen preview supports faster checks between capture points.
- Listed as Zillow 3D compatible.
Cons:
- Capture speed is also listed as manual and variable, so point count drives total time.
A tour workflow that targets Zillow should still start with the portal requirements. The most direct walkthrough isZillow 3D Home tours.
View Ricoh Theta X →
Ricoh Theta Z1
The Theta Z1 is described as a professional image quality choice with strong HDR and low-light performance.
Pros:
- The feature list calls out HDR and low-light strength, which matters in window-heavy rooms.
- Listed as Zillow 3D compatible.
Cons:
- The brief lists capture as manual and variable, so process and prep still decide delivery speed.
A 360 camera still does not replace a wide-angle stills body for hero images. Portal galleries still reward sharp, flattering stills, which is whybest cameras for real estate photographyshould sit in the same buying plan.
View Ricoh Theta Z1 →Trisio Lite2
Trisio Lite2 shows up as a dedicated 360 stills camera aimed at property tours, with an emphasis on photo quality and stitching.
Pros:
- The feature list calls it best-in-class for 360 photo quality for property tours.
- The data highlights seamless or invisible stitching lines.
Cons:
- Dedicated stills focus can be a mismatch for teams that prioritize video-first marketing.
The brief’s source lists capture at abouttwenty seconds per photoand calls out auto-adjustment for mixed indoor and outdoor light during capture.
View Trisio Lite2 →Insta360 One RS 1-Inch 360 Edition
Some teams need a camera that can support both a tour workflow and broader marketing assets. The published source frames this model as a strong all-rounder for both 360 photo and 360 video, with RAW support and a wide range of settings.
Pros:
- Shoots RAW and offers many settings and modes.
- “Invisible stitching lines” appears in the provided feature list.
Cons:
- The brief lists speed as manual and variable, so higher point counts can stretch on-site time.
This kind of hybrid camera often ends up pulling double duty for short-form walkthrough clips. A larger content plan can map tours alongsidereal estate videography.
View Insta360 One RS 1-Inch 360 Edition →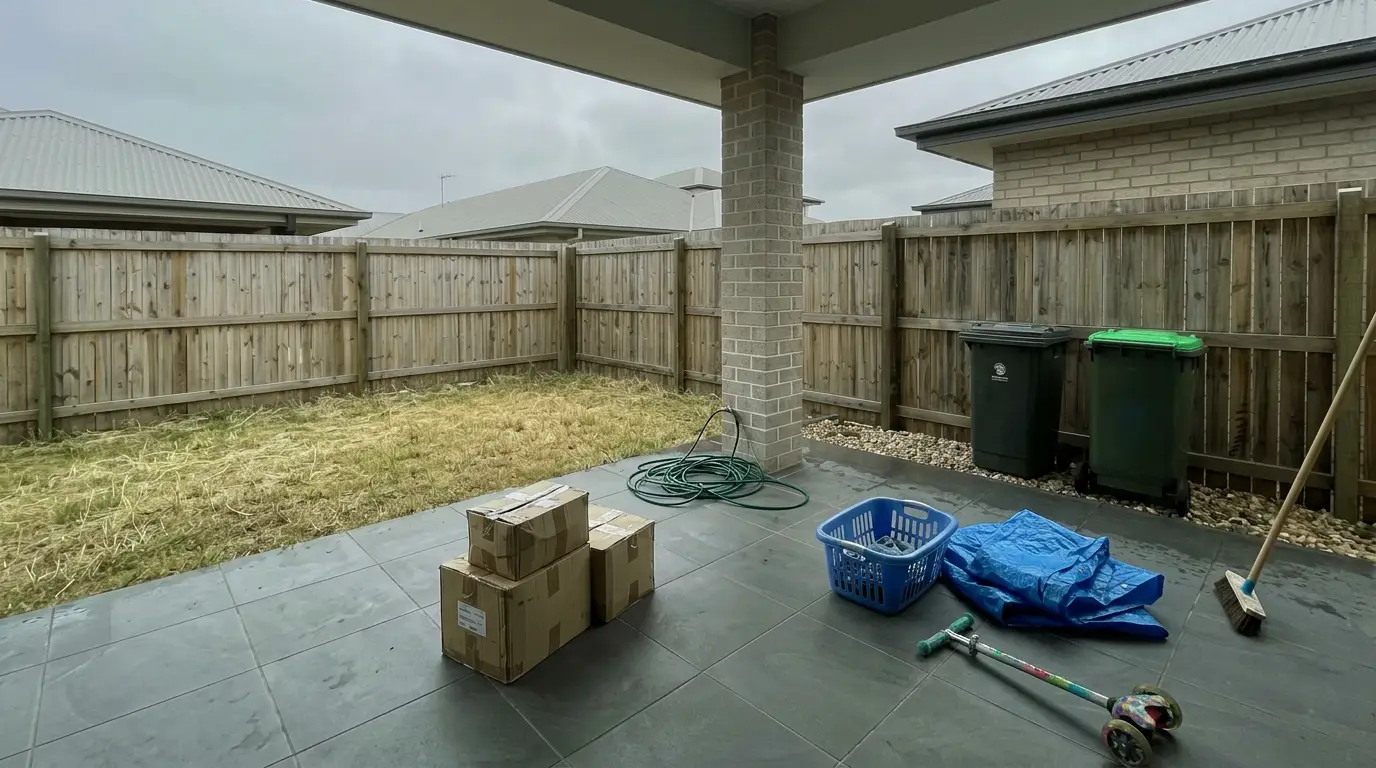
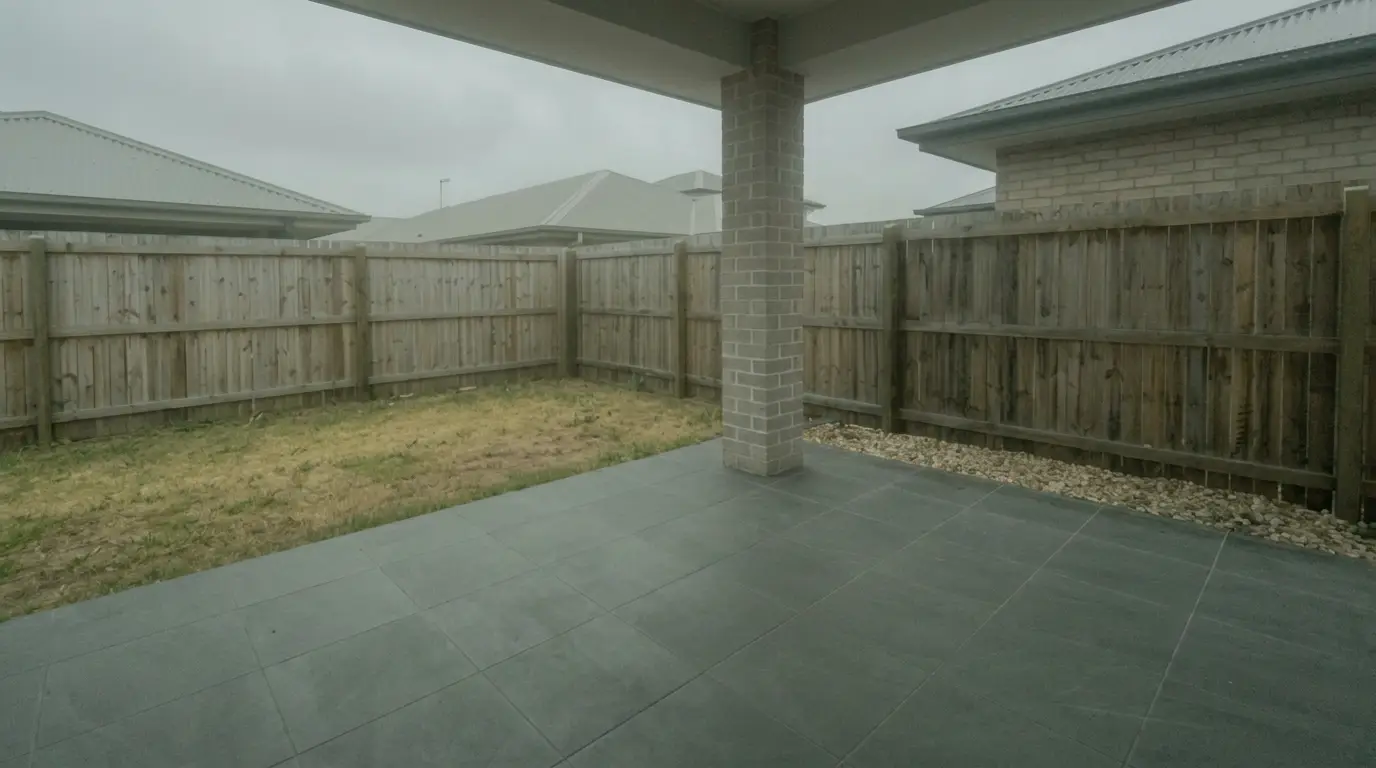
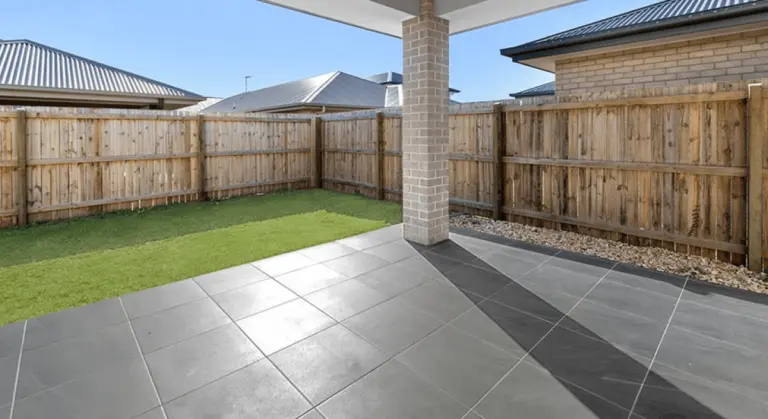
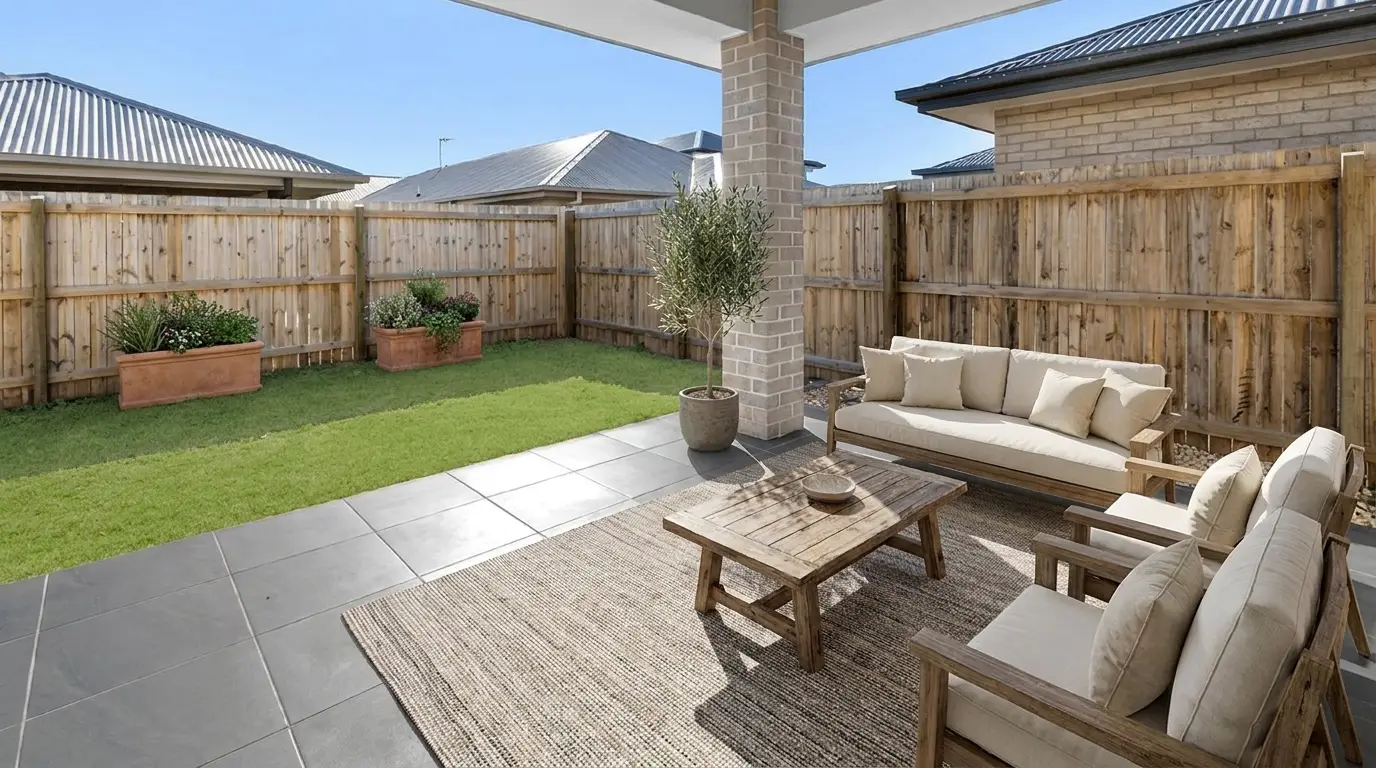
Get listing-ready photos in seconds
Clutter, exposure and twilight handled in one pass. All 11 tools on one account. Free trial credits, no credit card.
Start editing freeThe Capture Workflow and the Post-Shoot Reality
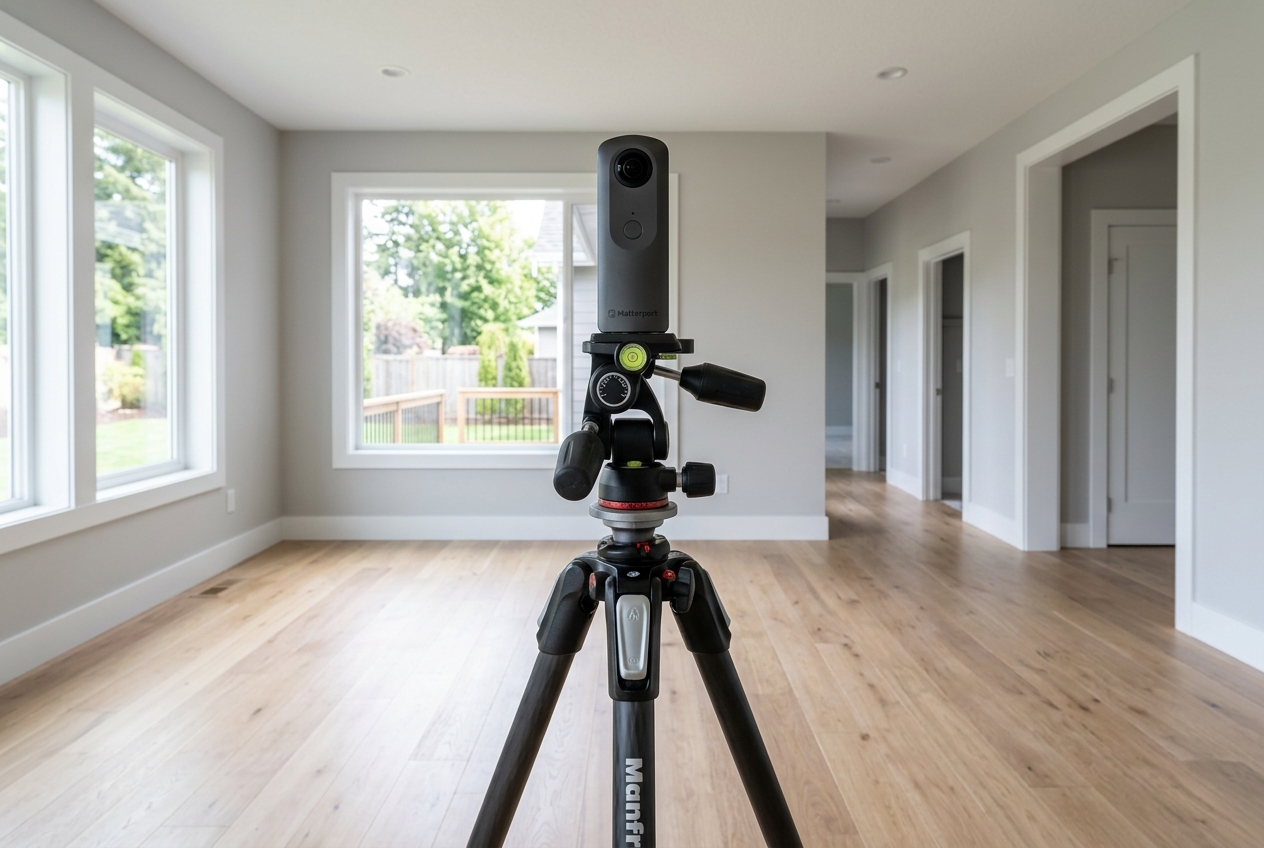
A stable, level camera drives tour quality more than a brand name. A monopod or tripod keeps the body vertical so stitching stays consistent across the whole shoot. Handheld capture creates tilt, and tilt makes walls lean in the viewer.
Camera height should land around standing eye level for a natural perspective. Lower angles make rooms feel taller but can also exaggerate furniture scale. Higher angles can hide clutter, but they can also feel like a security camera view.
Capture point planning needs field guidance, not rigid rules. A practical approach starts with at least one point per room, then adds points in large or L-shaped rooms and at the top and bottom of stairs. A path that feels like a walk, not a teleport, usually needs extra points in long hallways and open-plan spaces.
Remote triggering matters. Agents can trigger from a phone while standing in the next room, behind a wall, or tucked into a closet. That single habit reduces “photographer cameos” and reduces the time spent cloning out gear.
A short accessory checklist helps keep the workflow repeatable:
After capture, the recurring cost shows up: hosting, processing time, and post-production. Same-day delivery can happen for small homes, but next-day delivery is a more realistic expectation once upload, processing, and review get factored in.
Stills exported from a 360 tour often need cleanup before they hit the MLS. For empty rooms, that usually includes virtual staging on the hero stills. A practical shooting workflow starts with how to shoot a property for virtual staging, then moves into editing.
AI real estate photo editing can sit in that post-shoot step for teams that want one platform for virtual staging, photo editing, and renovation. AI HomeDesign groups those into three hubs across eleven tools, with seven focused on renovation. Delivery runs through a web app, a B2B solution, a REST API, or an MCP server, all tied to one account and one credit pool, with free regenerations and MLS-compliant output by default.
Edited or staged stills also need clear Disclosure. Many MLS rules require labeling, and a safe baseline is a visible note such as “Virtually staged” on any staged still used alongside an otherwise documentary tour. Local MLS Rules and brokerage policy should still get the final say.
Common Mistakes That Come From Camera Choice and Process
Most tour problems look like “operator error,” but many are predictable once the camera tier and capture plan are clear.
Overexposed windows usually trace back to HDR handling and prep. Blinds, lights, and capture timing matter, and some cameras are positioned in the data as stronger in HDR and low-light.
Visible stitch lines often come from seam placement. A reposition that puts the seam on a blank wall can fix more than any setting. Cameras described as having invisible or seamless stitching reduce risk, but they do not remove the need for careful placement.
Clutter behind the camera becomes permanent in a 360 frame. Bags, vacuums, and open doors show up instantly because the camera sees everything. A reset routine helps: hide gear first, then trigger remotely.
Mixed color temperature can make rooms look uneven across capture points. A simple plan helps: either turn off warm lamps and lean on daylight, or commit to lamps across the whole room. Consistency matters more than perfection.
Too few capture points create a jumpy tour. Viewers lose orientation when the path skips corners and doorways. A room-by-room plan prevents that, even on a fast shoot.
Battery and storage issues cause the most painful reshoots. A camera that runs out mid-house forces a reset and breaks continuity, especially if the seller changes the lighting or moves items during the pause.
Key Takeaways on Buying the Right Tour Camera
The gear decision gets simpler once the deliverable is clear. A 360 tour camera supports clickable walkthroughs and layout context, while depth scanning sits in a different tier that includes hardware, subscription, and a platform commitment.
A smart buying plan also leaves space for the rest of the listing stack: strong stills, consistent editing, and staged hero images that show potential in empty rooms. Camera choice starts the chain, but workflow quality finishes it.
Find your pick
Tap your situation for a quick recommendation.
Frequently asked questions
A 360 camera captures spherical images that tour software stitches into a clickable walkthrough. A true 3D capture workflow includes depth data, which supports digital twins and often floor plans. Many listings only need the 360 tour deliverable for layout context. Floor plan requirements usually push the decision into a depth-scanning platform.
Some 360 cameras can work with Zillow’s tour flow, but compatibility depends on the camera and the upload method. The brief’s source data lists Ricoh Theta X, Ricoh Theta Z1, and Insta360 X3 as Zillow 3D compatible. For the steps and requirements, the most direct reference is the Zillow walkthrough guide.
A practical field guideline starts with at least one capture point per room, then adds points in large or oddly shaped rooms and at both ends of staircases. Long hallways and open plans usually need extra points so the tour feels like a walk instead of a series of jumps. Consistency across listings matters more than a perfect count.
No. Buyers still pick listings from thumbnails and still-photo galleries, and those images usually come from a wide-angle stills camera. A tour adds layout context, but it rarely provides the best hero images for the MLS. Many teams treat the tour as an add-on deliverable that supports, not replaces, the still photo set.
Yes. Teams often export stills from a tour, then virtually stage select hero images for the MLS gallery so empty rooms show potential. AI HomeDesign sits in that post-shoot step by covering virtual staging, photo editing, and renovation in one platform, with MLS-compliant output by default, free regenerations, and pricing from $0.24 a photo.