Real Estate Photography Lighting: Gear and Settings
In short
- Ambient first: set window-safe exposure before adding flash.
- One light works: a single bounced speedlight solves most homes.
- Angle beats power: reflections and hotspots improve through placement changes.
It is 2pm, the living room faces north, and the windows either blow out or force the sofa into shadow. Ceiling lights add an orange cast that spreads across the whole frame. That is real estate photography lighting in the field, not a studio exercise.
The fix rarely starts with a big strobe kit. It starts with a decision sequence and a small, repeatable lighting setup that holds windows, opens corners, and keeps white balance steady across the full gallery.
This lighting guide sits inside the broader set of real estate photography fundamentals. The sections below cover what lighting problems actually are, the smallest kit that solves them, and the starting settings that work in most homes.
What lighting is actually fixing in a listing photo
A human eye handles a bright window and a shaded corner at the same time. A camera has to choose. When the camera exposes for the couch, the window goes white. When the camera exposes for the view, the room turns into a cave. That gap explains why a room can feel fine in person and look dim on a screen.
Three problems show up on most shoots. Each problem needs a different fix. Treating them as one problem leads to random settings and slow rooms.
Window blowout kills context. Buyers pay for the view, the yard, and the neighborhood. A pure-white window throws that information away. The real fix happens at capture time by holding highlights and lifting the interior with added light.
Mixed color temperature creates the orange ceiling and the green corner. Daylight, warm LEDs, and cool LEDs can all land in one frame. Editing can reduce a cast, but it struggles when different parts of the room sit under different color sources. Clean capture starts with controlling which lights stay on.
Shadow pooling makes rooms read smaller and dirtier than they are. Corners, under-cabinet runs, and hallway transitions go muddy first. Added light does two jobs in those cases: it opens shadows so the room reads its true size, and it creates enough headroom to expose for the window.
The gear ladder that covers almost every interior
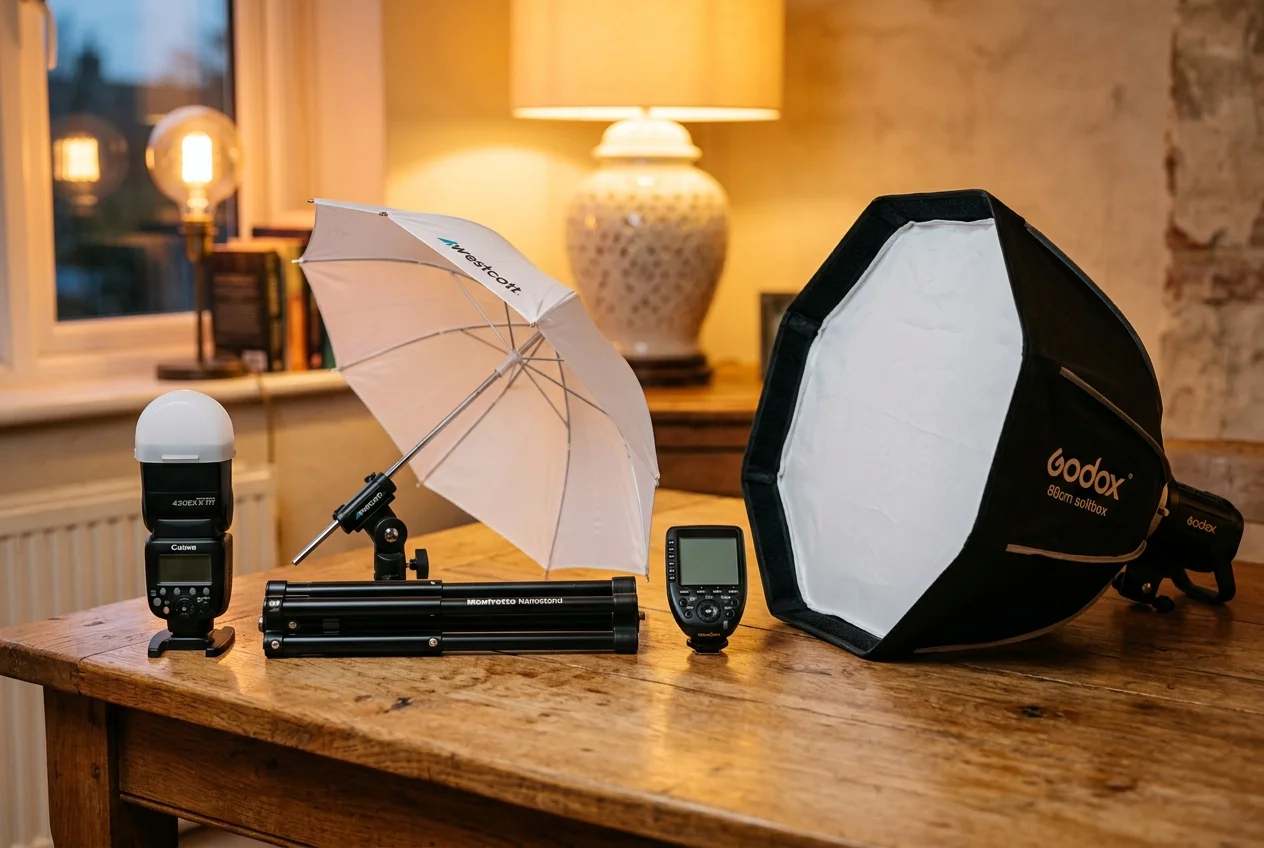
Lighting progress in real estate photography comes in steps. Each step buys a specific capability on a real shoot. The goal is not to own everything. The goal is to carry the smallest kit that solves most rooms.
The ladder below stays brand-agnostic on purpose. The useful distinction is capability, not logo: a speedlight with manual power control, a trigger that fires every time, and a stand tall enough to bounce from above eye level.
Budget matters because the shoot has to pay for the kit. A lighting upgrade makes sense when it saves time per room, reduces reshoots, or earns higher-fee work, which is why it helps to know what real estate photography costs in the first place.
| Tier | What it solves well | Where it fails | Minimal kit |
|---|---|---|---|
| Tier one | bright rooms with clean window light | basements, north-facing rooms, late-day interiors | tripod, camera, wide lens |
| Tier two | faster shadow lift in small rooms | dark wood or high ceilings, colored walls | one speedlight that can bounce |
| Tier three | control of shadow direction and reflections | huge open plan spaces, long dark hallways | one speedlight, trigger, light stand |
| Tier four | long rooms and dark spaces where one light cannot reach | fast, high-volume shoots with tight time boxes | two lights, two stands, triggers |
Tiered lighting setups and the situations each tier handles best.
Tier one: window light and a tripod
Tier one works when the property already provides good light. Open blinds and curtains fully, even them across the room, and shut off household lights. The camera then sees one main light source, which keeps white balance simpler and shadows cleaner.
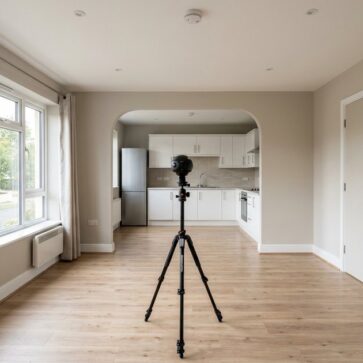
A stable tripod is the real unlock at this tier. It allows longer ambient exposures at lower ISO, which keeps detail and color cleaner in the final file. A tripod that stays steady during long interiors matters more than a taller center column, which is why many shooters treat a tripod stable enough for long ambient exposures as the first interior purchase.
Tier one fails when the room never gets direct daylight, when the ceiling and walls absorb light, or when the shoot lands late in the day. It also fails in basements and many bathrooms, where the window-to-room ratio stays small.
This tier still needs basic support gear. A single, broad shopping list lives in a beginner’s equipment checklist, which keeps this article focused on lighting decisions instead of a full kit breakdown.
Tier two: one speedlight on camera, bounced
A single speedlight on camera changes the job. Instead of accepting whatever the room gives, the shooter can lift shadows and hold windows.
Bounce matters more than raw power. A bounced flash turns the ceiling or wall into a large light source. That makes the light softer, spreads it across the room, and reduces the hard hotspot look that screams “flash.”
This tier solves the common “muddy corners at 2pm” problem in normal-height rooms with neutral ceilings. It struggles when the ceiling is wood, beige, or very high. A colored bounce surface turns the flash that same color and spreads the cast across paint, tile, and cabinets.
Tier three: one speedlight off camera on a stand with triggers
Off-camera flash earns its keep through control, not brightness. A stand lets the light move independently of the camera position. That changes shadow direction and reduces reflections.
Placing the light higher also helps the room read more naturally. A low on-camera bounce can still flatten a room. A higher off-camera bounce can keep ceiling light even while still opening lower corners.
Trigger reliability decides whether this tier feels easy or miserable. Missed pops waste time and create inconsistent frames. Spare batteries and a simple trigger system prevent the most common on-site slowdown.
Tier four: two lights for open plan rooms and basements
One light reaches a limit in long, dark spaces. A second light can lift the far end of an open plan room, open a dark hallway, or bring a finished basement out of the shadows.
The trade-off is time. Two stands take longer to place, and the shooter has more angles to manage around mirrors and glass. On a shoot built around a 30-photo deliverable, that extra setup can become the difference between a three-hour job and a five-hour job.
This tier makes the most sense when the work already demands it. Many shooters gain more by tightening workflow, improving post, or adding a second camera body than by adding a second light to every room.
Starting settings for real estate photography lighting
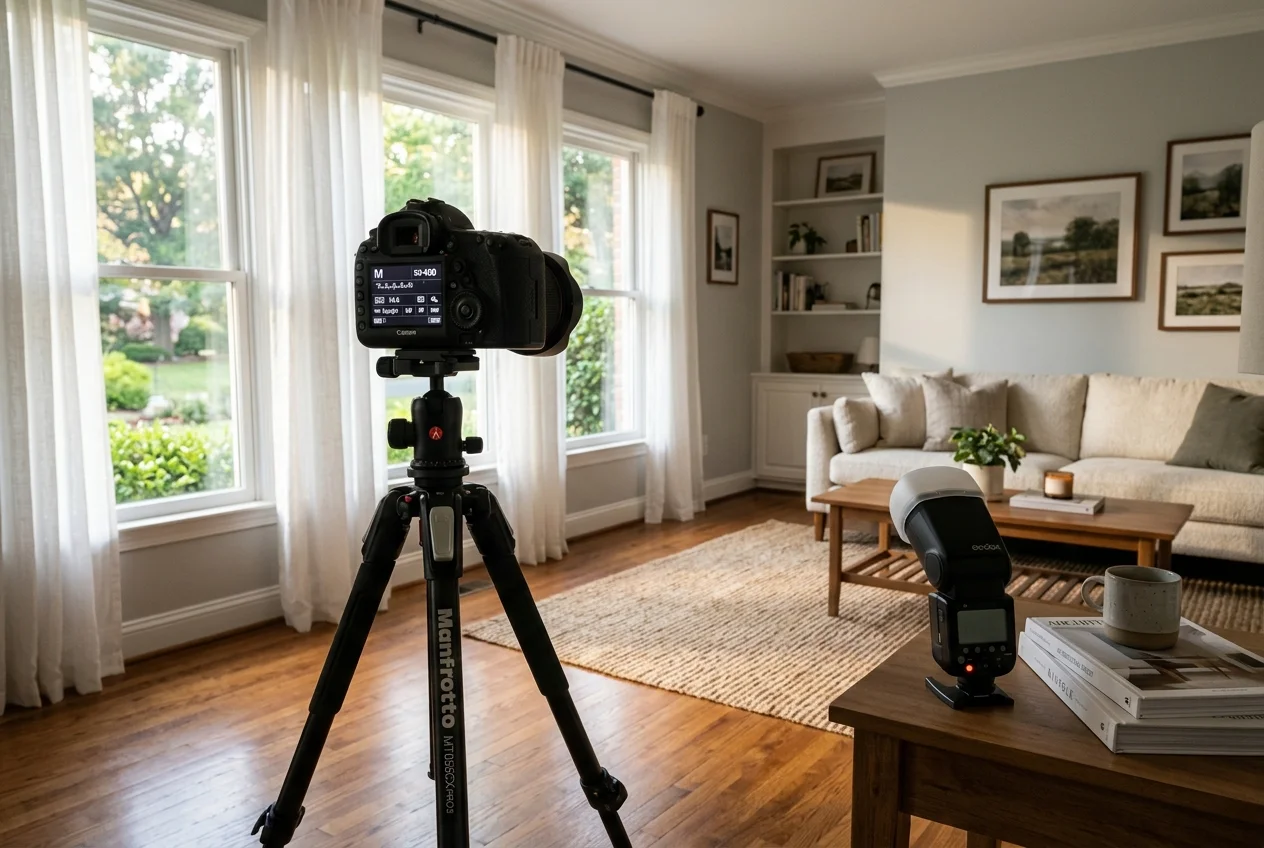
A usable interior exposure starts with ambient. Flash comes second. That sequence prevents the most common mistake in dim homes: blasting flash power to fix an exposure problem that actually started with the ambient frame.
Start by locking the camera down. Level the tripod, keep verticals straight, and frame to avoid half-open doors and mirrored surprises. Then set depth of field first, because it sets the look of the whole gallery.
A practical interior range is f/7.1 to f/9. That range holds depth through kitchens and living rooms while keeping most wide-angle lenses sharp. Pushing far past that range can cost detail through diffraction, especially on smaller sensors.
Set ISO next. ISO 100 works as the default when a tripod is in play. ISO 400 is a common ceiling for interiors, because noise grows fast in the shadow areas that interiors rely on. When a file starts to look gritty, noise in underexposed interior shots usually explains why the photo does not clean up the way it looked on the back screen.
Once flash enters, shutter speed becomes the ambient and window control. Keep shutter at or under sync speed, typically around 1/160 to 1/200. Slow the shutter to pull more window and ambient into the frame. Speed it up to darken the ambient and let flash do more of the work.
Only after the ambient frame reads close should flash power move. A common starting point for a bounced speedlight in a normal room sits around 1/8 to 1/4 power, then small adjustments follow based on the histogram and the window highlights. The right exposure is the one that holds window detail while keeping corners open.
Bounce, feathering, and where to hide the stand
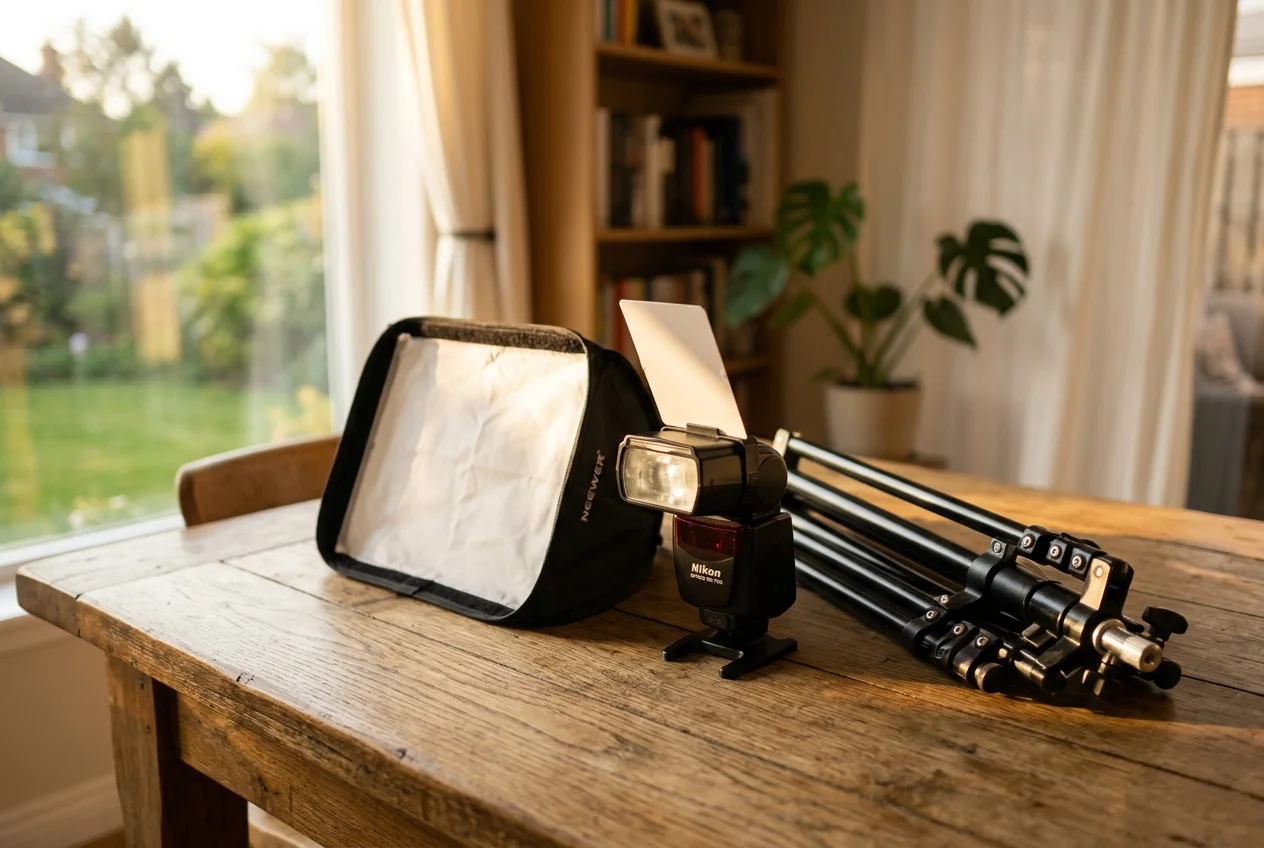
A flash can either clean a room up or make it look artificial. Technique decides which one happens. Most interiors need less flash than expected, and they need it placed with intent.
Neutral bounce surfaces matter more than buying a stronger light. White or neutral ceilings and walls create clean light. Beige paint, warm wood, and bold accent walls turn bounce flash into a color-cast generator. When the only bounce surface carries color, a shoot-through umbrella or a bounce card can keep flash color closer to neutral.
Feathering solves hotspots in tight rooms. When the stand sits close to a wall, aiming the light straight at that wall creates a bright blob with fast falloff. Aiming the light past the wall lets the edge of the beam light the area. The room then gets an even lift without a “flash patch” on paint.
Stand placement works best when it stays on or just behind the camera axis. That position keeps the stand out of frame and reduces mirror problems. It also keeps the light direction consistent across a set, which makes a whole gallery feel like one coherent shoot.
Ceiling height sets the bounce strategy. In tall rooms, ceiling bounce loses too much energy and spreads too wide. A wall bounce often keeps more usable light in the room, and an umbrella can create a predictable source when no wall stays neutral.
Killing mixed color casts
Clean color starts before the shutter press. Mixed lighting happens when daylight, warm bulbs, and cool bulbs all light the same surfaces. The camera then records multiple white balances in one frame.
The default rule is simple: turn household lights off and shoot daylight plus flash. That gives one dominant color temperature for most of the image. It also keeps the gallery consistent from room to room.
Some homes push back on that default. Sellers may insist lamps stay on. Some kitchens look dead with under-cabinet lights off. In those cases, matching matters more than purity. A CTO gel on the flash can pull flash color closer to warm tungsten. Another option is to capture a clean lights-off frame and a deliberate lamps-on frame for a blend.
Modern homes often mix daylight-LED and warm-LED in the same room. That situation is hard because no single white balance solves it. Lights-off usually wins because it removes the competing sources.
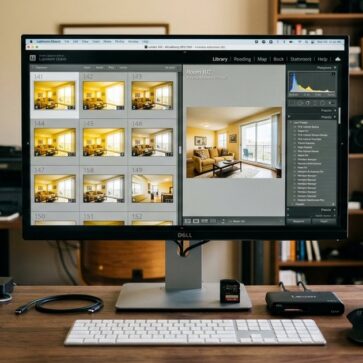
A reference frame helps keep the edit consistent. A quick neutral reference, or a custom white balance set at the start of the shoot, prevents room-to-room color drift. When the job shifts into post, the correction side lives in white balance and exposure correction in post, which covers the edit moves without turning this guide into a software tutorial.
Every tool a listing needs, on one account
Free trial credits, no credit card. Staging, photo editing, and renovation on one account.
Try AI HomeDesign freeReflective surfaces: mirrors, TVs, glossy cabinets, shower glass
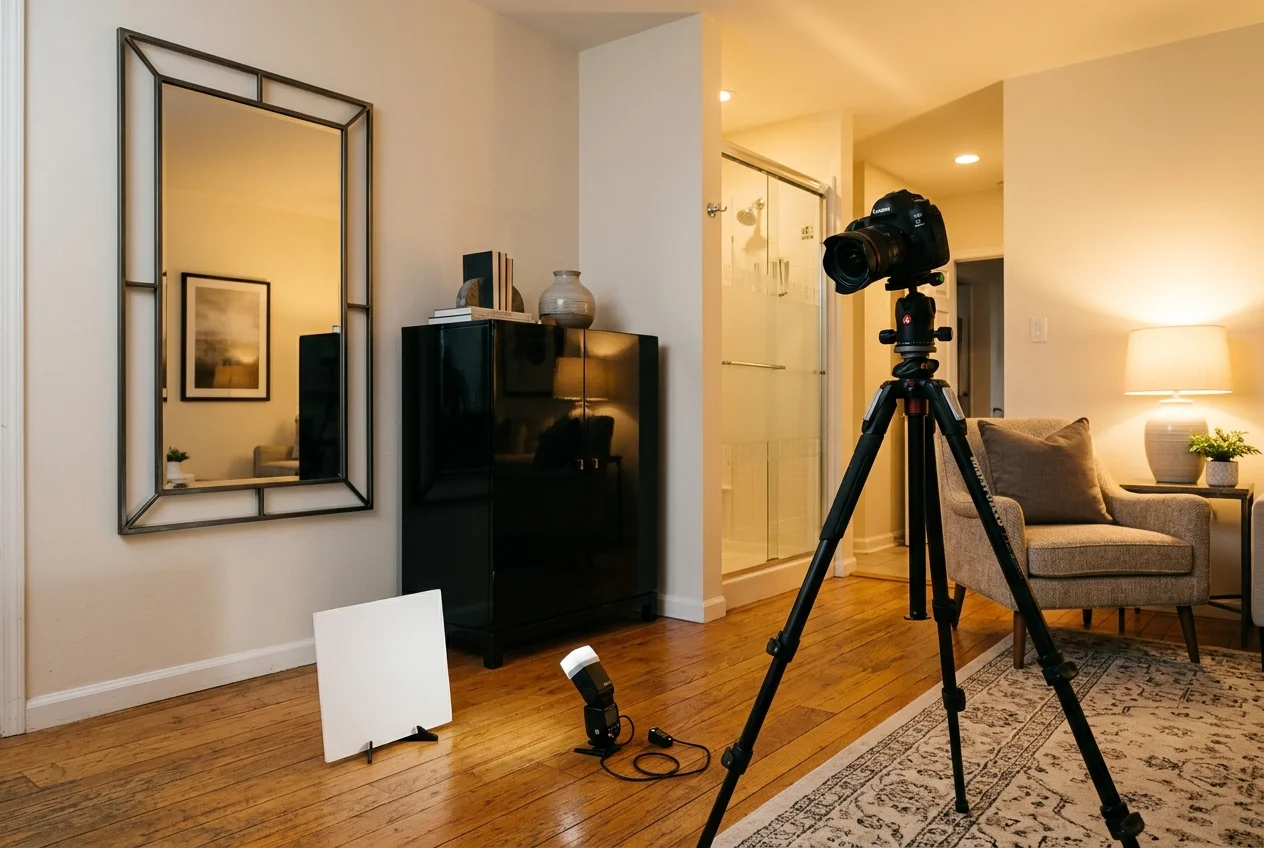
Reflections are an angle problem. Adding more power usually makes reflections worse, because the bright spot gets brighter and tighter.
Mirrors follow a predictable rule: they reflect what sits across from them. A small change in camera angle can turn a mirror from reflecting the shooter into reflecting a blank wall. Shooting from the doorway helps in many bathrooms, because it keeps the camera farther from the mirror plane.
Light placement matters more than light strength around glass and polished surfaces. Keeping the light near the camera axis reduces the chance of a visible flash hit on the mirror. Moving the stand a little to one side can also push the specular highlight out of frame.
Glossy cabinets and stainless appliances show hard blobs first. A higher, wider bounce spreads the highlight so it reads like ambient sheen instead of a flash burst. Feathering helps again here, because it avoids a single hot patch on one cabinet door.
TVs tell on interior lighting. A black screen with a sharp flash reflection reads as an amateur interior even when everything else looks fine. The simplest fix is to shift angle until the TV reflects a darker wall, then keep flash bounced and indirect.
Exteriors, twilight, and when flash is not worth unpacking
Exterior light still follows the same rule: a clear main source creates readable shape. For daytime exteriors, a facade lit from the front or side reads cleaner than a facade in deep shadow. Midday overhead sun creates hard roofline shadows and bright drive patches that pull the eye away from the entry.
Twilight work runs on timing. The balance point comes when sky brightness sits close to the interior lights. That window is short, roughly 15 to 25 minutes, and it rewards prep. Every interior light needs to be on before the sky hits that balance, including porch lights and landscape lights. The full capture flow lives in shooting twilight exteriors, so this section stays on lighting decisions only.
A speedlight can still help outside. A small lift on a dark porch, an entry alcove, or a garage corner can keep the exterior from going flat. A tripod matters even more at dusk because shutter speeds drop fast.
Flash is also optional in many interiors. Ambient-only frames can win in bright south- or west-facing rooms in mid-morning, where natural window light already looks directional and clean. Tiny bathrooms and closets often punish stand placement because walls sit too close for feathering. Occupied homes on a tight schedule can also call for a faster approach, especially when the agent wants the shoot finished in 45 minutes. A clean ambient frame still beats a rushed flash frame.
Flash blending vs bracketed HDR and fixing lighting after the shoot
Volume work forces a choice between speed on site and time in post. Flash blending tends to buy cleaner color and stronger window control. Bracketed HDR tends to buy faster capture with less gear.
Flash blending often produces better window pull and more stable color across rooms. It also avoids some bracket problems in moving curtains and spinning ceiling fans. The trade is time. The process often adds about 3 to 6 extra minutes per room on site, plus more time in post.
HDR bracketing moves faster on location because it needs no stands or triggers. It can still struggle when the room lights stay on, because mixed color casts show up differently across brackets. The look can also drift into halos and muddy local contrast when edits push too far.
The clearest decision rule uses room count, deadline, and property value. A high-room-count shoot under a tight deadline often favors bracketing. A smaller set for a higher-end listing often supports flash blending, because the window and color quality matter more than raw speed. Mechanics matter, but they live elsewhere: the flash side belongs in the flambient capture-and-blend workflow, and the bracket side belongs in HDR bracketing for interiors.
Fixing lighting after the shoot
Post can smooth a lot of real-world compromise. It can recover exposure, neutralize a global cast, and even out brightness across a full set. It can also pull back a mildly hot window when detail still exists in the file.
Post cannot rebuild detail in a pure-white window. It also cannot make a hard flash hotspot look like natural light. Capture still sets the ceiling.
When a full strobe setup is not realistic, AI HomeDesign can handle enhancement, white balance, and window pull as part of its photo editing hub. The platform spans virtual staging, photo editing, and renovation across 11 tools on one account and one shared credit pool, includes free regenerations, starts from $0.24 a photo, and outputs MLS-compliant images by default.
Disclosure still matters. Many MLS systems and brokerages expect clear labeling when an image goes beyond basic correction. A simple label like “Disclosure: virtually staged” for staged images and “Disclosure: AI-enhanced” for materially edited images keeps a file set clear and defensible.
What belongs in the deliverable
A clean deliverable includes final full-resolution files, consistent color and brightness across the set, and clear disclosures on any virtually staged or AI-enhanced images. File naming can stay simple and room-based so agents can build a listing fast.
Pricing, commissions, and fee discussions belong on an invoice or in a separate email thread, not inside the photo filenames or embedded on the images themselves. Listings travel across platforms, and numbers inside the deliverable create confusion for sellers and downstream marketing teams.
Delivery timing should match the listing timeline. Most listing shoots land best when the photographer delivers within one day, and no later than two days, because agents often build the MLS entry and marketing schedule immediately after the shoot.
Pre-shoot lighting checklist
Checklist
0 of 9 doneHome readiness affects lighting more than most shooters expect. A fast room-prep routine lives in prepping the home before the shoot, which agents can send to sellers ahead of time.
A simple room plan for the dim 2pm living room
North-facing living rooms usually need the same sequence every time. The sequence stays fast because it repeats.
Start by killing mixed light. Turn off ceiling fixtures and lamps first. Open window coverings fully, then straighten them so the window reads clean. That single move removes most orange and green casts.
Set the ambient exposure for the window and the midtones. A slightly darker room with a readable window beats a bright room with a blank window. With the tripod locked, small shutter changes control the window without changing depth of field.
Add the smallest flash that lifts the corners. Bounce into a neutral ceiling or wall, then adjust power in small steps. If the ceiling carries wood tone or height, switch to a wall bounce or umbrella rather than pushing power.
Finish with reflection control. A small change in camera position often removes the flash hit from a TV, a framed print, or a glossy cabinet. That final angle check protects the whole photo set from one obvious “flash mistake.”
Frequently asked questions
What is the best lighting setup for real estate photography beginners?
A practical beginner setup is one speedlight with manual power control, a light stand tall enough for ceiling or wall bounce, and a simple 2.4GHz trigger. That kit covers most residential interiors without turning every room into a strobe build. A stable tripod still comes first, since it enables long ambient exposures at low ISO.
What camera settings should be used for interior photos with flash?
A solid starting range is f/7.1 to f/9, ISO 100 with ISO 400 as a common ceiling, and shutter at or under sync speed around 1/160 to 1/200. Set ambient exposure first to protect window highlights, then add bounced flash at low power and adjust in small steps. Consistency across the full set matters as much as any single frame.
Should lights in the house be on or off for listing photos?
Off is the safest default, because mixing daylight with warm and cool bulbs creates color casts that spread across ceilings and walls. Some rooms look better with select lights on, like under-cabinet strips or lamps used for a warm feel. In those cases, matching flash with a CTO gel or blending a clean frame with a lamps-on frame keeps color stable.
Is off-camera flash necessary, or is on-camera bounce enough?
On-camera bounce works well in rooms with a neutral ceiling at normal height, where the ceiling becomes a large, soft light source. Off-camera flash becomes worth it when shadow direction needs control, when ceilings are dark, high, or wood, and when mirrors and glass require moving the light away from the camera position. The gain is control, not raw power.
Is flash or HDR bracketing better for real estate photography?
Flash blending often produces cleaner color and stronger window control, but it adds on-site and post time. HDR bracketing captures faster with less gear, but it can struggle with moving curtains, ceiling fans, and mixed lighting. A deadline-driven, high-room-count shoot usually favors bracketing, while a smaller, higher-value listing often supports flash blending.
Can lighting problems be fixed in editing instead?
Editing can fix part of the problem. It can recover exposure, reduce a global color cast, and even out brightness across a gallery when the file still holds detail. It cannot recreate detail in a fully blown window or make a hard flash hotspot look natural. AI HomeDesign’s photo editing hub can help with enhancement, white balance, and window pull on single-shot captures.