Best Flash for Real Estate Photography: Speedlights vs Strobes
A listing shoot can feel simple until the clock gets loud. Think of a 1,900 sq ft home with a bright window wall, three bulb colors in the kitchen, and a photo set due tomorrow. The camera can hold the room or the view, but not both in one clean frame.
Gear choices make more sense after the workflow choice. This guide sits inside the broader real estate photography fundamentals that shape a consistent, repeatable shoot day. From there, the goal narrows to one question: which flash setup keeps pace without turning every room into a lighting project.
The sections below break down that fork in the road, the criteria that matter on a listing, the flash picks by scenario, the supporting kit that makes any flash usable, a settings baseline, and a room-by-room cheat sheet.
The one decision behind the best flash for real estate photography
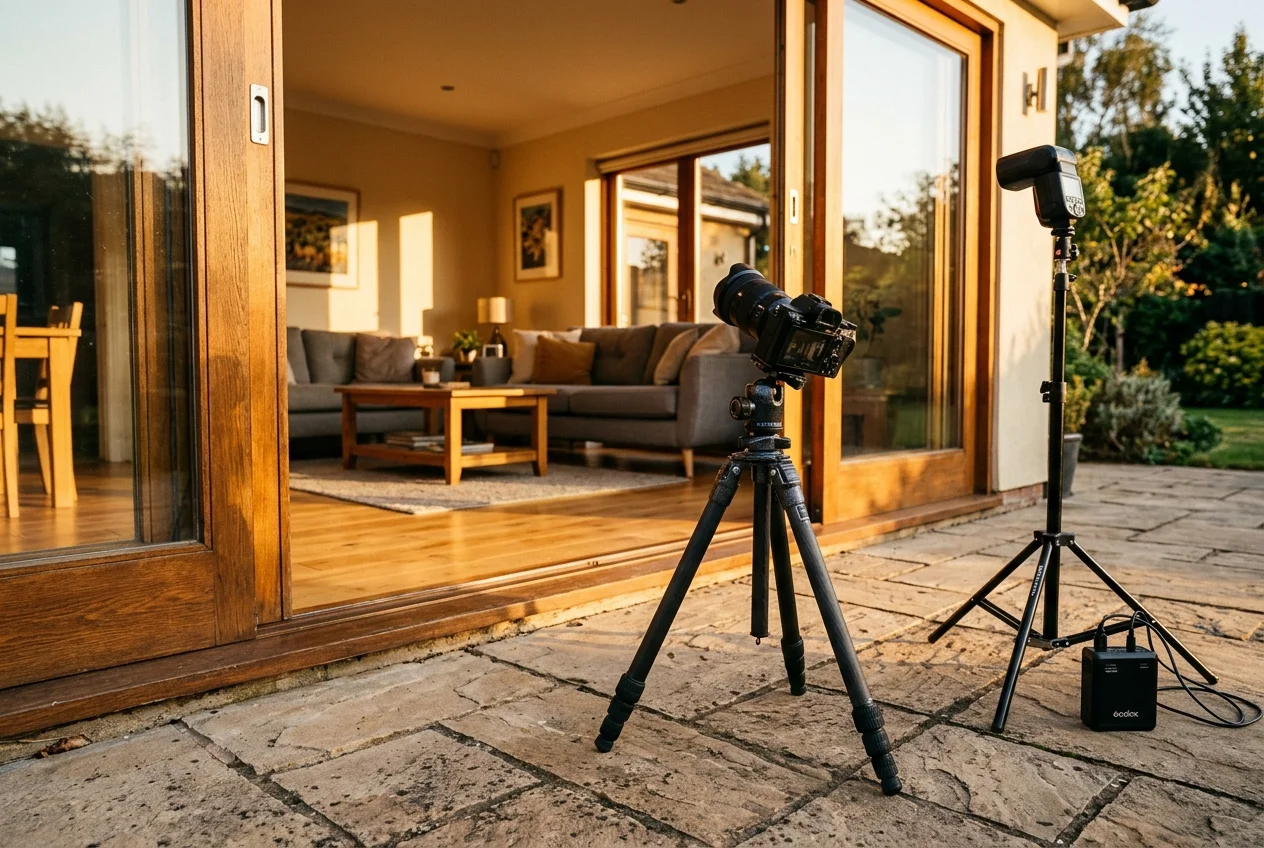
Speedlights and strobes both work for real estate, but they serve different capture habits. The purchase decision starts with how the flash gets used, not what the spec sheet highlights. Most buyers really choose between two workflows, then buy the light that supports that pace.
Workflow A uses one or two bounced speedlights feeding a blend. A flash frame brings clean color and shape. An ambient frame keeps the natural window feel. Photographers then blend them, either as a manual flash blend or as flambient. This approach stays light, fast to pack, and realistic for most bedrooms and average living areas.
Workflow B uses a higher-powered off-camera strobe. The light goes on a stand and pushes through a modifier, or it fires bare into a large space with no clean bounce surface. This setup earns its keep in dark basements, high ceilings, and open plans where bounce loss eats small flashes alive. It also matters on high-volume days when recycle delays stack up across a full route.
Match the kit and color plan to the workflow
Each workflow changes the rest of the kit. Bounce work values compact heads, quick handling, and a trigger system that stays predictable. Off-camera work values watt-seconds, a stand that stays stable on hardwood, and modifiers that fit rooms without blocking doorways.
Ceiling color creates the biggest trap in bounce-heavy work. A cream ceiling adds warmth. Wood adds orange. Green walls add green. That cast is not a flash problem. It is a color-management problem. The fix usually comes from a consistent white balance plan, plus gels when warm ambient light has to stay in the scene.
Technique details matter more than model names at this point. A tighter overview of exposure choices and interior technique sits in lighting gear and camera settings for interiors. For the bounce-and-blend path, the cleanest mental model is the flambient capture and blending workflow, even when the final edit uses a simpler manual blend.
How to judge a flash for listing work
Buying advice falls apart when it treats real estate like event photography. Listing work repeats the same angles across many rooms, and the deliverable is a consistent set. Five criteria decide whether a flash helps or slows the day.
Power comes first, but it needs the right units. Speedlights talk in guide numbers. Strobes talk in watt-seconds. In practice, the question is simpler. Can the light bounce off a typical ceiling and still lift the far corner. Can it also push through a modifier when the ceiling is too high or too warm.
Recycle time matters at the power levels used for ceiling bounce, not at full dump. Listing work often lives at modest power settings to keep cadence steady. A slow recycle forces either a higher ISO or a longer wait. Both cost time, and time is the only spec that always runs out on a shoot day.
Color consistency pop-to-pop controls editing speed. When a flash holds roughly the same output color on every pop, a whole set can share one white balance strategy. The picks below cite output around 5600K where that data was provided, because daylight-balanced pops reduce per-image color rescue.
Batteries, controls, and reliability
Battery type is a workflow decision. Li-ion packs reduce swapping and keep output steady across a long session. AA power makes spares easy to find mid-route and keeps the bag flexible. Neither is morally better. The choice depends on how often a full day runs long and how much weight can stay in the kit.
The radio trigger ecosystem is the silent decider. One trigger controlling every light beats a bag of adapters and mixed receivers. A single system also keeps group control simple, which matters when a long hallway needs one output and a kitchen needs another.
TTL vs manual matters, but less than most buyers expect. TTL works for fast, occupied homes where shots happen under social pressure. Manual works for repeatability, which is why it dominates interior blends. Manual also makes frame five match frame one, even after a room reset.
Reliability rarely comes from a published number. Heat and build quality show up as pace problems long before they show up as failures. Photographers can talk about that reality without inventing lab thresholds. The safest approach is to plan for spares, keep power modest when bounce allows it, and avoid pushing a small speedlight like a strobe.
Picks by workflow and room size
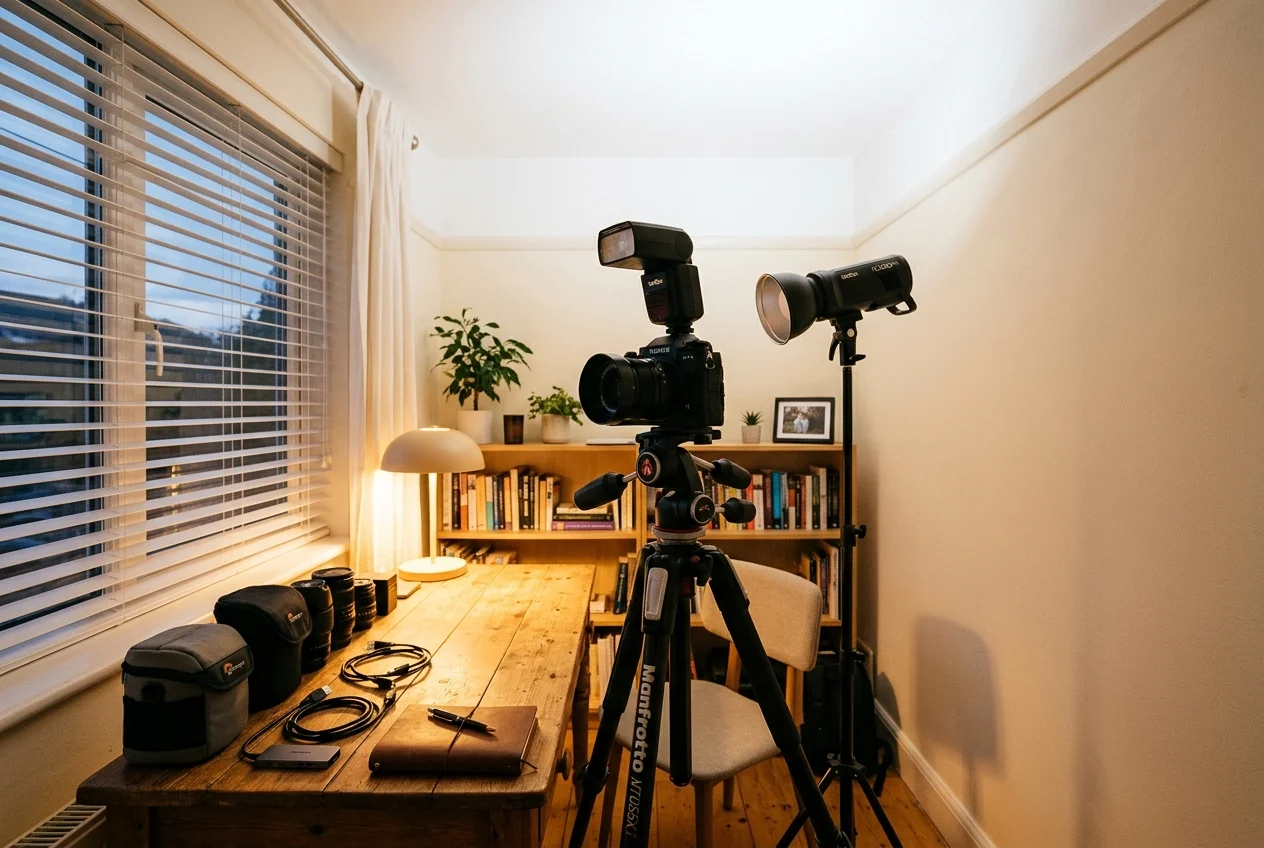
The picks below map to common real estate scenarios rather than a single ranking. A small condo with white ceilings needs a different tool than a vaulted great room with dark finishes. The goal is to buy one light that fits most rooms, then add a second head only when the jobs demand it.
These choices also assume the supporting kit exists. A flash without a trigger, a stable stand, and a color plan often performs like a worse camera upgrade. The next section covers that kit in detail.
A speedlight-first photographer usually wants a head that bounces cleanly and recycles fast enough to keep moving. A strobe-first photographer usually wants a compact unit that still has watt-seconds in reserve for modifiers. Both paths can share the same habits, like bouncing into a rear corner to spread light and keeping ambient color consistent across the set.
Finally, none of these tools remove the need for post. Flash reduces color mess and raises shadow detail at capture. Windows, mixed ambient, and practical lamp glow still require a consistent edit plan.
The tools in detail
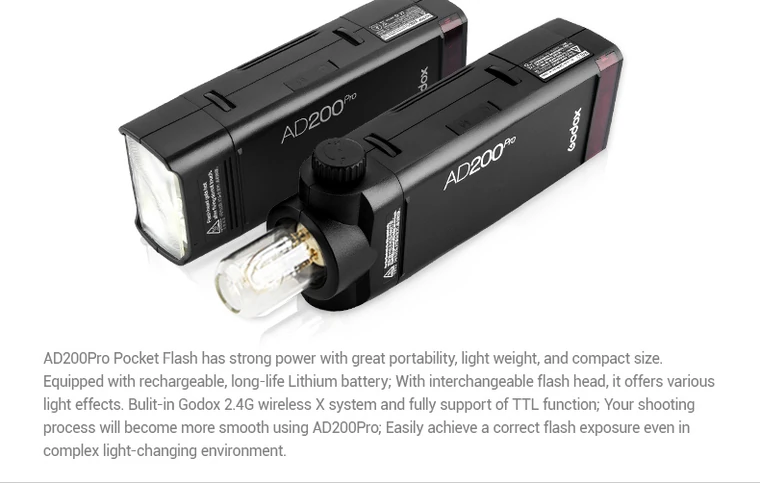
Godox AD200 ProTop pick
The Godox AD200 Pro is the compact step up from speedlights for interior work. It brings 200Ws in a portable body, targets consistent color temperature around 5600K, and uses a rechargeable Li-ion battery. It supports manual and TTL, and lists recycle time around 1.8 seconds.
Best for photographers who want more headroom without committing to the size of larger monolights. It fits bounce workflows that want cleaner files, and it carries enough power to push through a small modifier when a ceiling bounce fails. It also fits mixed workflows where HDR or blends need a clean, controlled flash frame.
Pricing: price varies by retailer.
Pros:
- Strobe-level power in a small kit footprint.
- Daylight-balanced output supports consistent editing.
- Battery power suits on-location work.
Cons:
- Overkill for bright condos shot in steady daylight.
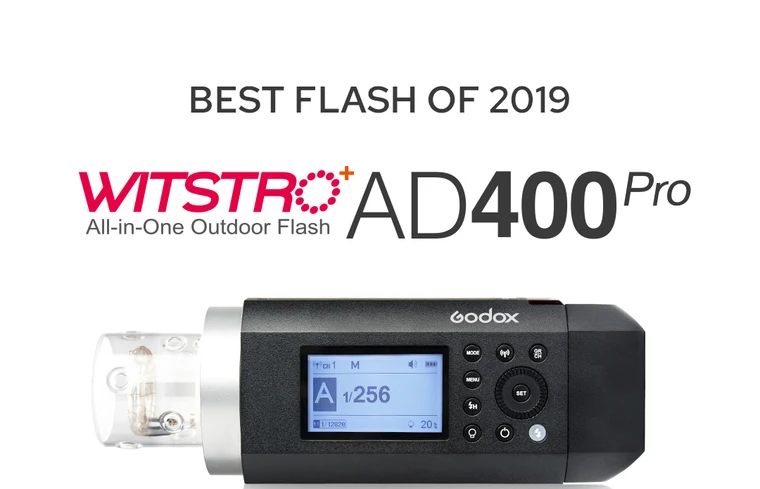
Godox AD400 Pro
The Godox AD400 Pro targets large homes, high ceilings, and higher shot volume. It offers 400Ws, supports manual and TTL, and lists recycle around 1 second. The positioning emphasizes excellent color consistency, and it handles complex mixed-light environments more easily than speedlights.
Best for photographers who walk into vaulted ceilings, dark finishes, and deep rooms where bounce efficiency collapses. A faster recycle also reduces the wait between frames when a route includes several properties.
Pricing: price varies by retailer.
Pros:
- Power headroom for big rooms and modifiers.
- Faster recycle supports a steady room-to-room pace.
- Consistent output supports a repeatable edit.
Cons:
- More bulk, and a heavier stand requirement.
- More power than many typical rooms require.
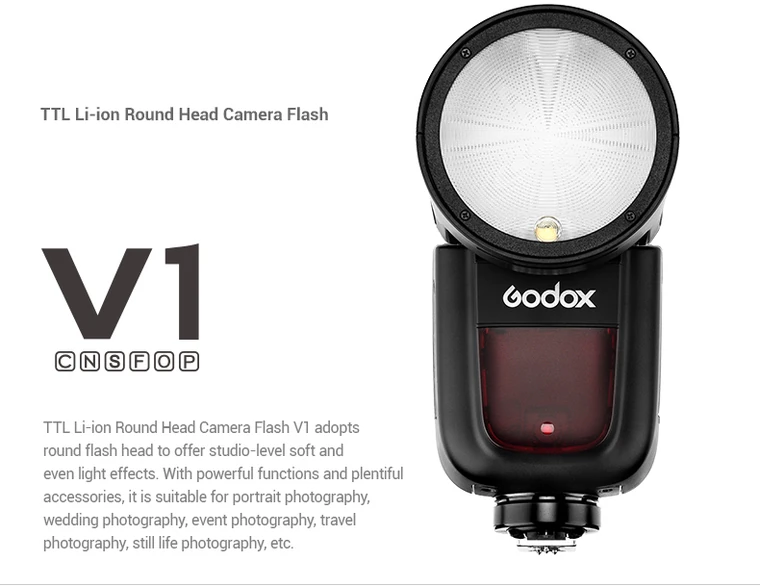
Godox V1 Round Head Flash
The Godox V1 Round Head Flash fits bounce-first interiors where a shoe-mount form factor matters. Its round head produces a softer, more even spread that plays well when bouncing into ceilings and corners. The magnetic modifiers add quick control without a full modifier bag. It runs with manual and TTL, uses a Li-ion battery, targets consistent output around 5600K, and lists recycle around 1.5 seconds.
Best for photographers building a two-flash flambient kit, or anyone who wants a primary bounce light that packs small. It also fits on-camera use for tight bathrooms where a stand blocks the doorway.
Pricing: price varies by retailer.
Pros:
- Softer bounce spread from the round head.
- Quick modifier changes with magnetic attachments.
- Li-ion power suits longer sessions.
Cons:
- Speedlight power can run out in large dark volumes.
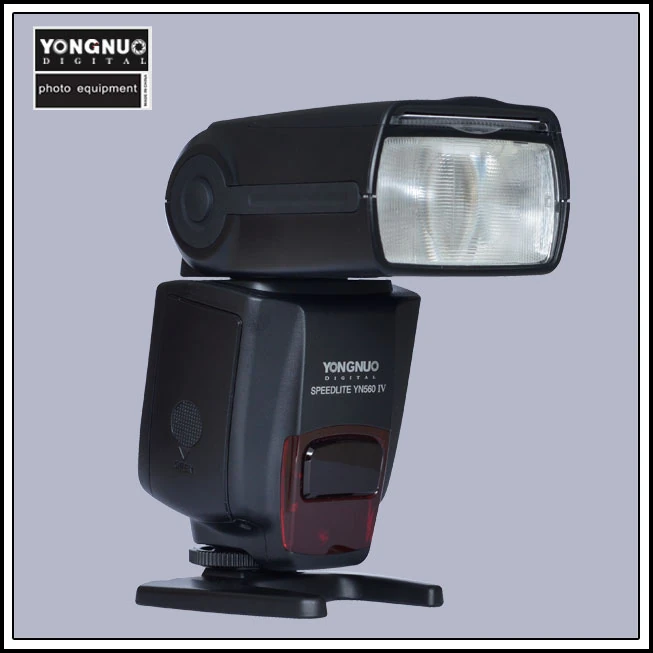
Yongnuo YN560 IV
The Yongnuo YN560 IV is a budget starter built for learning manual flash. It offers full manual control with no TTL, runs on AA batteries, and reports output around 5600K with a guide number of 58. It lists recycle around 3 seconds. One roundup mentions a built-in zoom range of 24–105mm.
Best for photographers who want the fundamentals without committing to a larger system. Bedrooms, bathrooms, and small condos offer enough bounce efficiency that a manual speedlight can teach angles, wall influence, and exposure balance.
Pricing: price varies by retailer.
Pros:
- Manual-only design keeps learning straightforward.
- AA power makes spares easy to source.
- Strong value for the basics.
Cons:
- Slower recycle can drag the pace on larger sets.
- No TTL option for run-and-gun situations.
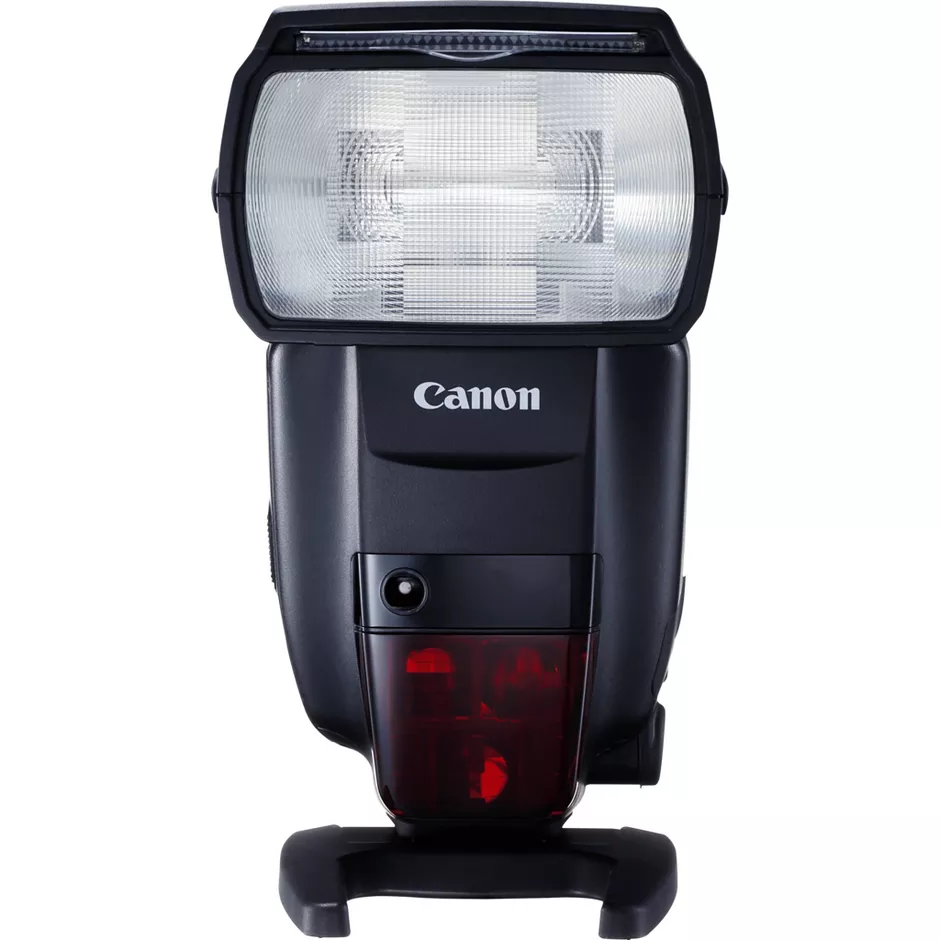
Canon Speedlite 600EX II-RT
The Canon Speedlite 600EX II-RT is the native-brand TTL option for photographers already in the Canon system. It positions brand reliability, strong color accuracy, and stable output as the main benefits. It supports manual and TTL, runs on AA batteries, and lists recycle time around 1.1 seconds, which is fast for the speedlight class.
Best for occupied homes and tenant-occupied rentals where TTL saves time and stress. It also fits teams that value deep integration with camera menus and consistent behavior across bodies.
Pricing: price varies by retailer.
Pros:
- Reliable TTL behavior for fast interior coverage.
- AA power keeps spares easy.
- Fast recycle for a speedlight.
Cons:
- Higher cost than many third-party speedlights.
The kit that makes the flash actually work
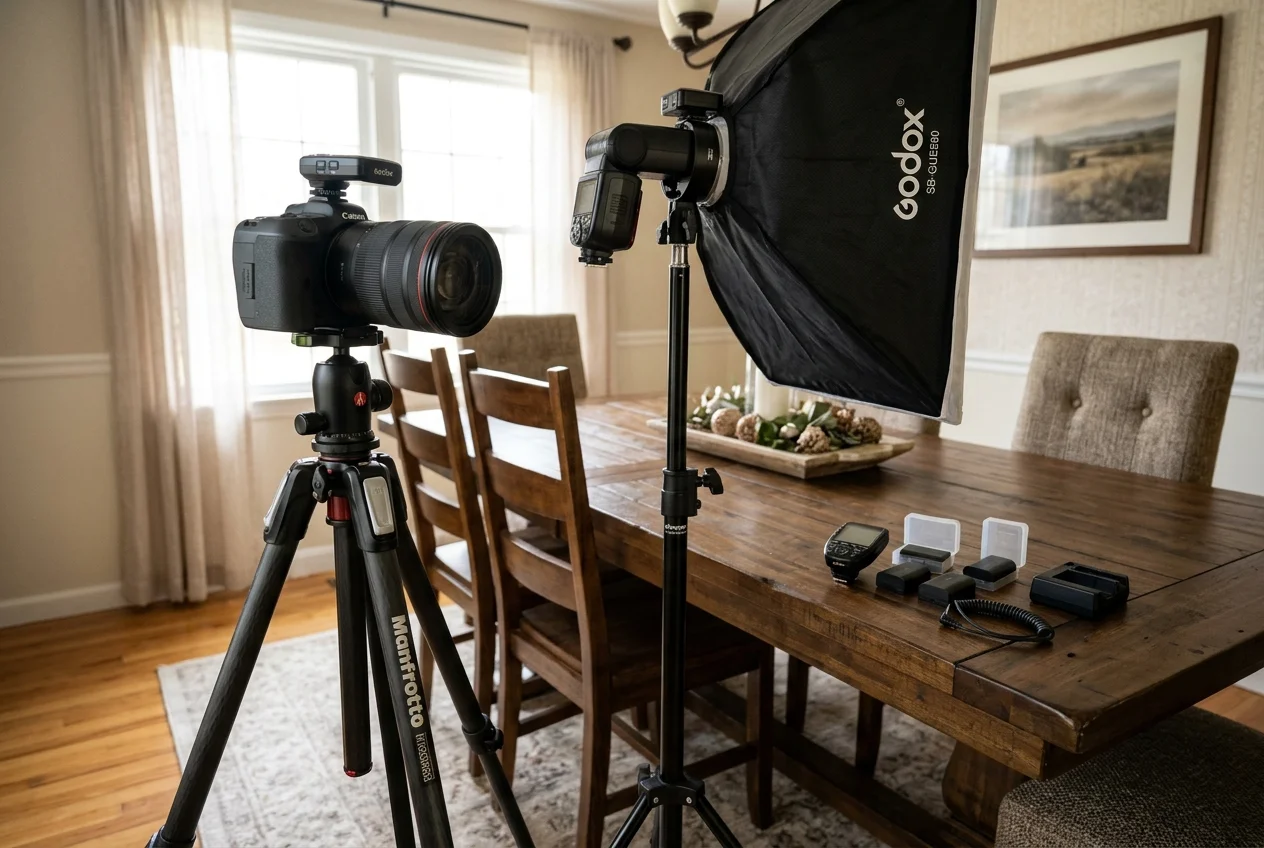
Flash purchases often fail because the flash is only half the tool. The other half is everything that keeps the light controllable and repeatable across rooms. The goal is not to carry more gear. The goal is to carry the few pieces that prevent a spiral in the worst rooms.
Radio triggers sit at the center of this. A trigger that matches the chosen ecosystem keeps lights grouped and predictable. It also allows the same flash power strategy to stay consistent across the whole set, rather than chasing exposure room by room.
A stable light stand matters more in real estate than in portraits. The light often needs height to reach a ceiling corner. Hardwood floors and tight walk paths punish flimsy legs. The stand also needs enough footprint to survive a brush-by without tipping into furniture or a framed mirror.
Control color and keep blends aligned
Gels solve the mixed-color-temperature problem that shows up in kitchens, hallways, and older homes. Under-cabinet LEDs, warm can lights, and daylight from windows rarely match. Photographers can either gel the flash toward the warm ambient so the whole set shares one white balance, or they can reduce ambient contribution and let the flash define the color. The mistake is switching strategies halfway through a house.
Modifiers fill the gap when there is no usable bounce surface. Coffered ceilings, wood planks, and tall dark ceilings often turn bounce into color mess or power loss. A shoot-through umbrella or a compact softbox gives a predictable surface and a predictable spread. It also makes it easier to place the light off-axis, which helps avoid mirror reflections.
Tripod alignment keeps blends clean. The difference between a calm merge and a time sink often comes from stable framing across exposures. A deeper gear overview sits in a full beginner equipment checklist, and the stability piece matters most with a tripod stable enough for blended exposures.
Night-before packing can stay simple with a real checklist.
Checklist
0 of 5 done
Every tool a listing needs, on one account
Free trial credits, no credit card. Staging, photo editing, and renovation on one account.
Try AI HomeDesign freeA settings baseline for bounce-flash interiors
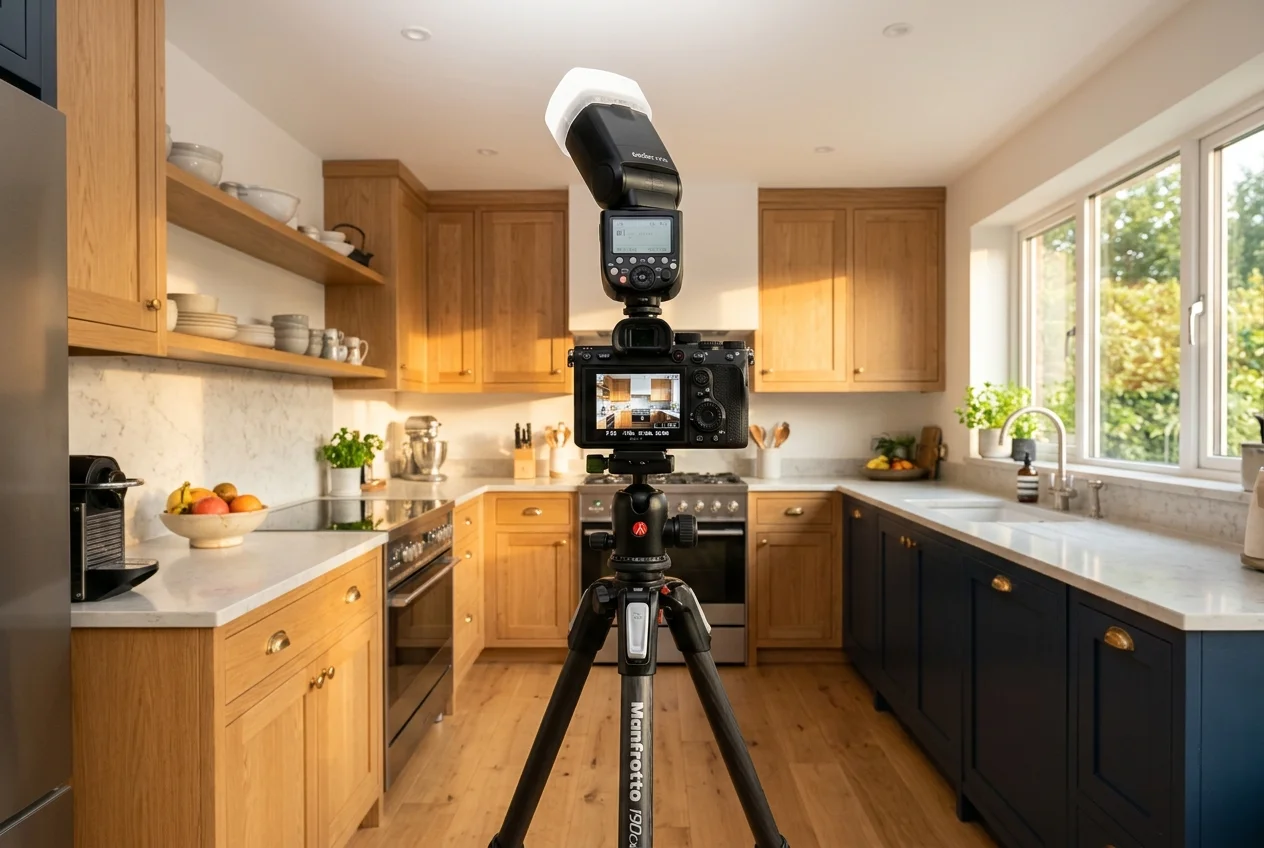
A repeatable baseline matters more than a perfect baseline. Real estate work rewards a starting point that lands close enough, then adjusts with small moves. The goal is a clean flash frame for the room and a clean ambient frame for the windows, both from an identical camera position.
A common baseline starts on a tripod at base ISO, with an aperture around f/7.1 to f/9 for depth. Shutter speed stays at or below sync speed. Flash runs in manual at a modest fraction of power and bounces into a white ceiling or into a rear corner near the camera position.
The flash frame should read like a clean interior, not like a lit portrait. If the ceiling hotspot blows out while the far corner stays dead, power is not the first fix. Light position is. Moving the head, changing the bounce angle, or shifting to a corner bounce usually spreads the same energy farther than simply raising power.
Handle difficult ceilings and capture the blend
Rooms with wood, coffered, or colored ceilings require a different plan. Bounce off wood forces warm spill. Coffers can create uneven patterns. In those cases, a modifier on a stand often produces a more neutral file than any amount of bounce finesse.
Raising ISO to avoid waiting for recycle usually backfires. ISO changes ambient contribution, changes noise, and changes the blend. If recycle feels slow, the better path is usually to lower flash power by improving bounce efficiency, or to accept a slightly longer shutter for the ambient frame while keeping the flash frame crisp.
A basic capture sequence can stay consistent across most rooms.
Lock the camera on the tripod, level the frame, and set exposure for the ambient window view.
Shoot an ambient frame that holds the brightest window detail intended for the final image.
Turn on the flash in manual and bounce into a ceiling corner or rear wall for broad fill.
Shoot a flash frame that lifts the room without crushing natural shadow shape.
Adjust by moving the light first, then adjust power in small steps.
Do you even need flash?
Many photographers can deliver a sellable interior set without firing a flash once. The practical question is not whether flash is required, it is whether flash makes the full workflow faster and more consistent for the spaces being shot.
Ambient-only on a tripod is the simplest capture route. It works best in bright daytime rooms with clean window placement and neutral wall colors. It can also struggle when the room turns dim, when lamps create warm pools, or when a north-facing space loses contrast. The edit then spends more time lifting shadows and controlling noise.
Bracketed HDR with a window pull often wins on speed at capture. The photographer brackets, keeps the camera locked, and merges later. It handles window contrast well when the bracket sequence captures both the view and the interior. A deeper walkthrough sits in bracketed HDR capture for windows, and it remains a solid default for many daytime jobs.
Flash blends and post-capture editing
Flash blend and flambient capture trade capture time for editing time. Flash gives the file a clean color reference and stronger shadow detail, which reduces rescue work. That advantage grows in dim rooms, in evening shoots, and in homes with mixed color temperatures that fight a single white balance. The trade is that the photographer carries more kit and makes more capture decisions per room.
Post work still matters regardless of capture method. Windows, mixed casts, lamp glow, and grain are handled after the shoot even on clean flash files. For noise and high-ISO clean up, a useful starting point is cleaning up grain in dim interiors.
AI HomeDesign is one post-capture option for photo enhancement, including color-cast cleanup, window recovery, and brightening, across three hubs and 11 specialized tools. Pricing runs per image with one shared credit pool, unlimited free regenerations, and published rates from $0.24 a photo, with MLS-compliant output by default. It improves what the camera captured, and it does not replace lighting a room well.
Room-by-room cheat sheet
A flash choice gets easier when it maps to rooms rather than specs. The table below uses room problems as the starting point, then points to the capture approach that usually stays fastest and most consistent.
Small changes beat big power moves in most rooms. A corner bounce can spread light farther than doubling power. A gel can save more time than a new flash head. A stand moved one step can remove a mirror reflection without any post work.
The notes column calls out the traps that slow editing. Mixed ambient changes color from frame to frame. Reflections reveal stands and umbrellas. Long halls punish single-point bounce because of falloff.
A final check keeps the deliverable consistent. The capture method can change by room, but the gallery needs one color baseline and one window strategy. A clean, repeatable edit sequence in post-processing helps, and the workflow in post-capture photo enhancement steps can anchor that consistency across a full set.
Find your pick
Choose the situation closest to your work.
Frequently asked questions
One bounced flash covers most bedrooms, bathrooms, and average living rooms. A second light earns its place in long open-plan spaces and hallways where a single bounce falls off before it reaches the far wall. The trigger system, a stable stand, and a gel set usually improve results more than adding a second head too early.
A speedlight is usually enough for typical residential rooms with a usable white ceiling for bounce. A strobe makes sense when ceilings are high, walls are dark, rooms are large, or modifiers are required because bounce surfaces add color. Recycle time at working power often matters more than maximum output for listing pace.
Manual power is the default for interiors because it keeps every frame consistent across a full set, which speeds blending and batch edits. TTL helps in occupied homes and fast shoots where exposure changes from room to room and there is no time to meter. Many photographers use TTL to get close, then lock manual for repeat angles.
Recycle time sets pace. A flash that recycles slowly at common bounce power levels forces longer waits between frames or pushes ISO higher to compensate. That change often increases noise and shifts the blend strategy. Faster recycle also reduces missed moments when owners need rooms cleared quickly and shots must happen in a tight window.
Consistency comes from choosing one color plan for the property. Either gel the flash toward warm ambient so the set white-balances together, or limit the ambient contribution and let the flash define color. Switching approaches mid-house creates a gallery where each room carries a different tint, which increases per-image correction time.
Editing can lift windows, correct color casts, brighten shadows, and reduce grain, and it can save time across a full gallery. It cannot restore detail the sensor never recorded in a dark corner, and it should never misrepresent the property. Strong capture technique still sets the ceiling for the final listing set.