Best Tripod for Real Estate Photography in 2026
Interior listing work breaks tripods in quiet ways. A set can look sharp in each room, yet the full gallery still feels off because the camera height drifts, verticals lean, and bracketed frames refuse to line up.
This guide covers the real specs behind the phrase best tripod for real estate photography, with a legs-plus-head buying rule that matches interiors, bathrooms, and twilight. It also fits inside the wider fundamentals in real estate photography tips.
Street prices move constantly, and retailers bundle heads in different kits. The goal here is to show what matters for listing work and to flag what cannot be verified from the available sources.
Best Tripod for Real Estate Photography: The Interior Buying Rule
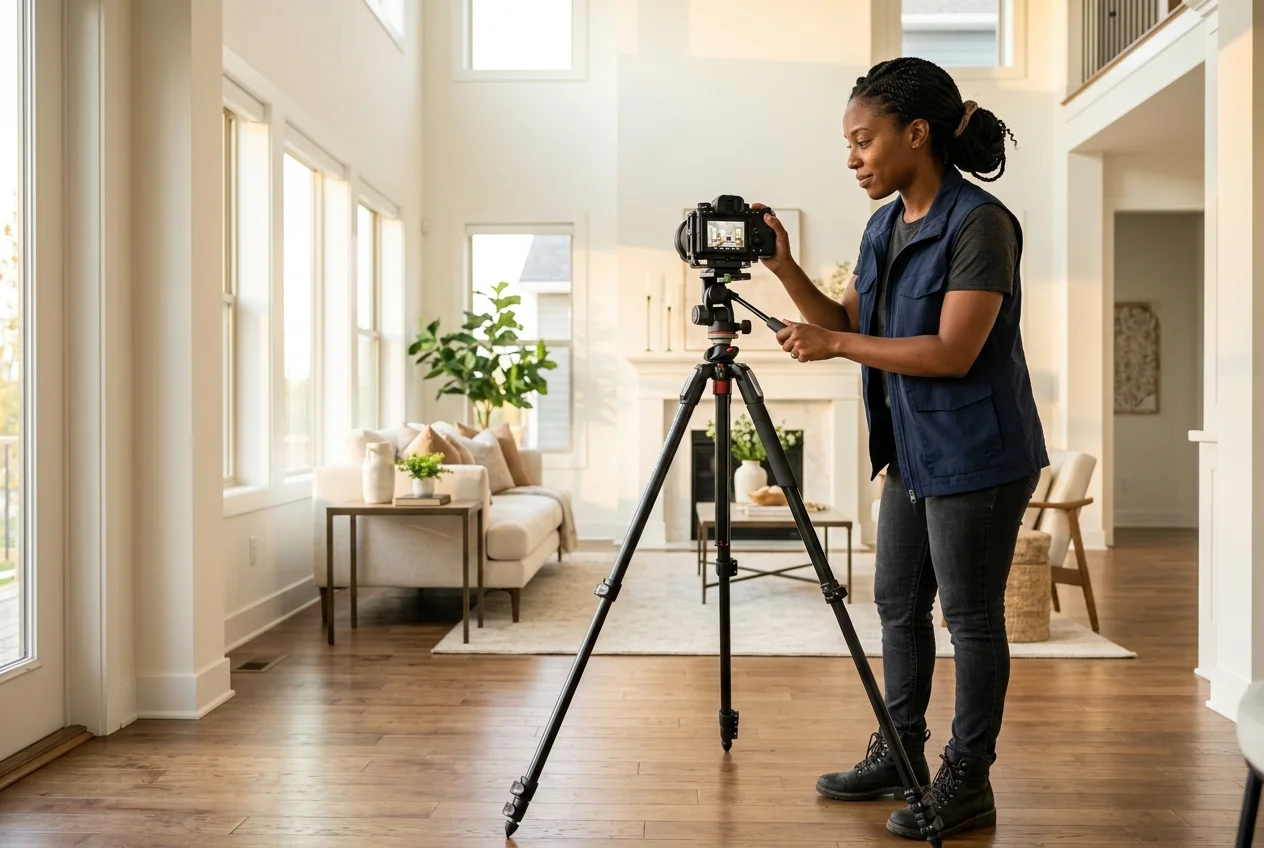
A camera upgrade usually buys a little. A tripod and head buy consistency across a whole house. That consistency shows up as straight verticals, aligned brackets, and a repeatable camera height that makes a set feel like one property.
The headline spec for interiors is not maximum height. The working spec is how fast a shooter can get a level camera at a repeatable height with the center column fully down. A raised column adds wobble, and wobble shows up most during multi-frame work.
Footprint matters as much as height. Bathrooms, tight hallways, and stair landings force legs into odd angles. Leg-angle adjustment and a wide-to-narrow stance decide whether the angle gets shot or skipped.
Head choice does the rest. If verticals drift, a more precise head often fixes the problem faster than another set of legs. Legs carry the camera, the head levels the photo.
Why a Tripod Decides How Good Interior Photos Can Be
Interior exposure problems do not match daylight. Rooms often need lower ISO to keep color clean, plus shutter speeds that hand-holding cannot protect. Even with stabilization, sharpness drops when shutters slow down.
Bracketing raises the stakes. A hand-held bracket shifts between frames, even when hands stay steady. That shift creates double edges at window frames, cabinet lines, and railings. Misalignment in a hand-held bracket is a capture problem, not an editing problem.
A level camera also protects verticals. Leveling removes most of the keystone look before any software correction. Post correction still helps, but heavy correction costs edge detail and can stretch patterns.
Multi-frame workflows multiply the benefit. HDR blends, flash-and-ambient composites, and stitched views all assume the camera stays in the same place. The technique matters too, so the method in HDR bracketing workflow for interiors pairs naturally with a stable support system.
The Real-Estate Tripod Checklist: What to Judge Before Price Tags
Listing photographers waste money when they shop by brand tiers instead of constraints. Interior work creates three constraints first, then the budget gets set around them.
Checklist
0 of 10 doneBeginners often build the kit backward by buying the camera first, then chasing stability later. A tripod deserves a line item alongside the wider beginner equipment checklist because it changes what the camera can capture.
The checklist also clarifies one practical point: legs and head should get shopped as a system. A tall tripod with a sloppy head still produces crooked verticals. A short travel set of legs can still work indoors if the head levels precisely and the column stays down.
The Head Is Half the Purchase: Ball, Three-Way, Geared, or a Leveling Base
Most “tripod problems” are actually head problems. The legs hold weight. The head controls the last degree of tilt that decides whether door frames look straight.
A ball head moves fast, and that speed fits room-to-room pace. The trade-off is fine control. Small adjustments on one axis can nudge the others, so leveling takes more patience.
A three-way head separates axes. That makes vertical correction easier, even on a budget. It does slow down repositioning, but it also protects against accidental tilt drift.
A geared head adds micro-adjustment on each axis. That precision suits architectural lines and luxury interiors where verticals carry the whole image. A leveling base can also solve part of the problem by leveling the platform once, then allowing level pans and consistent horizons.
A quick-release standard also matters in the field. An Arca-Swiss quick release plate keeps plates consistent across bodies and brackets, while proprietary plates can slow down swaps when one plate goes missing.
Heads do not fix lens distortion. Distortion plus tilt makes keystone look worse, so the head decision pairs with wide-angle lens choices rather than replacing it.
Budget and Starter Legs That Still Hold a Multi-Frame Workflow
A starter tripod fails when it slows the shoot. Bathrooms force leg-angle changes, and brackets punish even small shifts. This tier needs predictable setup and a head that can level without fighting the legs.
Aluminum often wins here because it tolerates knocks from door frames and tile thresholds. The trade-off is carry weight, so the setup has to feel fast enough that the tripod still gets carried into every room.
Manfrotto MK290XTA3-3WUS 290 Xtra
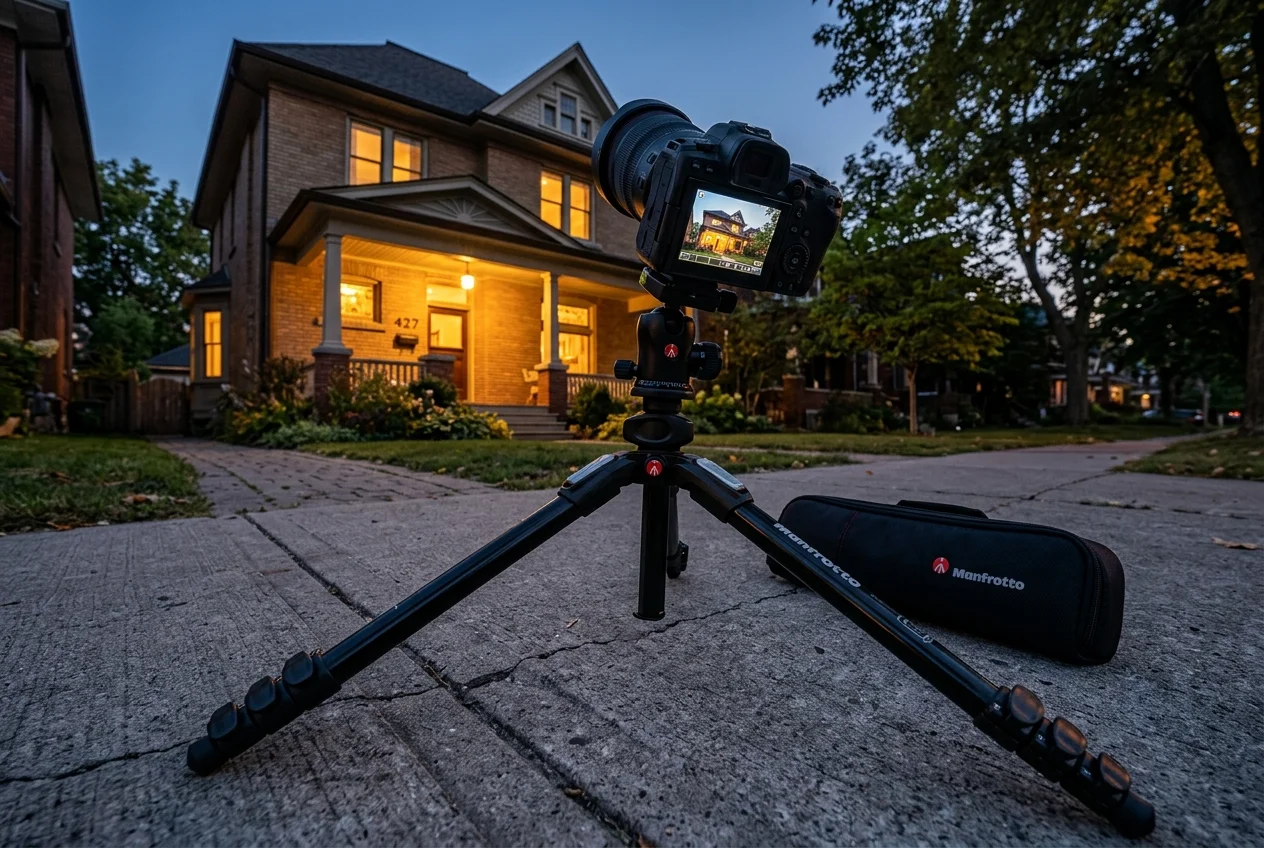
This kit sits in the sensible first serious tripod slot for listing work. A published real estate and architectural workflow pick calls it a versatile, affordable option, with aluminum legs, four leg angle positions, a folded length of about 24 inches, and a max height of about 58 inches not including the head, plus a carrying case.
The four angle positions matter more than the headline height. They decide whether the tripod can plant in a narrow bathroom, straddle a stair tread, or level up on uneven exterior steps. The source also notes an around 5 lb weight with the head attached as a personal measurement, which is useful context for all-day carry.
Pricing: varies by retailer, often sold as a legs plus head kit.
Pros:
- good leg-angle flexibility for tight rooms
- affordable entry point for a real estate dedicated tripod
- kit format can simplify first purchase
Cons:
- aluminum carry weight adds up over a long day
- max height before the head can feel short for taller shooters
Skip it if: the shoot schedule involves long carries, and weight drives tripod avoidance.
Source: published real estate tripod pick
The tools in detail

Manfrotto MK290XTA3-3WUS 290 (290 Xtra)Top pick
- Versatile, affordable real-estate/architectural tripod pick
- Aluminum legs; around 5 lbs with head attached (per author)
- Adjustable legs to four different angles for uneven ground
- Compacts to ~24 inches; max height ~58 inches (not including head)
- Includes carrying case for transport

Manfrotto MT190XPRO4
This set of legs targets durable, flexible day-to-day work. A published roundup lists a 90 degree center column for vertical-to-horizontal positioning, a max height of 63 inches, Quick Power Lock levers for faster setup, and an Easy Link connector for accessories such as lights.
The 90 degree column is not a gimmick for listing work. It can cover overhead detail angles on counters, tile, and flooring without turning the tripod into a ladder. Easy Link also matters for photographers who mount a small light or accessory on the rig rather than adding another stand.
Pricing: varies by retailer.
Pros:
- flexible center column supports overhead detail angles
- lever locks prioritize speed for multi-room coverage
- accessory connector helps when a small light needs to ride the tripod
Cons:
- more sections and locks create more cleaning points
- lever locks can catch on straps and bags
Skip it if: sandy job sites or renovation dust make lock maintenance a constant chore.
Source: listed features for MT190XPRO4
View Manfrotto MT190XPRO4 →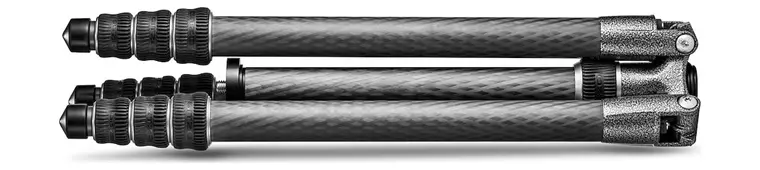
Gitzo GT2545T Series 2 Traveler
This is the premium travel slot for photographers who move fast between appointments. The same source lists a max height of 60 inches, a very light 2.3 lb weight as listed, and a 26 pound load capacity.
Those figures map directly to listing realities. A travel tripod that stays light enough to carry into every room often produces better results than a heavier tripod left behind. A 60 inch max height plus a head covers eye level for many shooters, and the high load rating signals stiffness headroom for multi-frame work.
Pricing: varies by retailer.
Pros:
- low carry weight encourages consistent use in every room
- load headroom supports stiff, creep-free framing
- traveler design fits dense multi-location days
Cons:
- travel folding designs can take longer to deploy
- pricing often sits above aluminum workhorse options
Skip it if: speed beats carry weight and a simpler leg design would move faster all day.
Source: Gitzo traveler specs as listed
View Gitzo GT2545T Series 2 Traveler →
Feisol CT-3342 Carbon Fiber Tripod
This pick targets stability per pound for long exposures. The provided source lists carbon fiber construction, a 2.5 lb weight, a 55 lb load capacity, a max height of 55.9 inches, a min height of 7.9 inches, and a folded length of 23.2 inches.
The low minimum height stands out for listing work. It supports low-angle room views without relying on a center column. The high load rating also signals stiffness headroom, which reduces framing creep during long exposures and brackets.
Pricing: over $514 currently, and the source notes buying $375 new previously.
Pros:
- strong stability-to-weight balance for long exposures
- very low minimum height supports tight-room and detail angles
- high load headroom reduces creep during multi-frame sequences
Cons:
- max height is the shortest listed height in this group
- pricing is harder to pin down from the available sources
Skip it if: eye-level framing is non-negotiable and the shorter max height would push column extension.
Source: Feisol stability and specs
A stable tripod also changes what can happen outdoors. Twilight exterior shoots often require slower shutters, so the field notes in twilight exterior shoots pair naturally with a long-exposure capable support.
View Feisol CT-3342 Carbon Fiber Tripod →
Sirui T-025X 52″ Carbon Fiber Tripod
This option fits the “always in the bag” role. The same source describes very lightweight travel-style carbon fiber legs, twist or sleeve locks that feel very secure, and a common pairing with a C-10X ball head. The practical takeaway is more interesting: the legs can still work for interiors like kitchens, rooms, and baths when paired with a geared head for precision.
That pairing detail is the point. Legs that look like travel gear can still produce listing-grade verticals when the head handles the micro-leveling. The note about full extension feeling slightly short for taller shooters is also the kind of real-world check that matters before buying.
Pricing: varies by retailer.
Pros:
- light carbon fiber carry makes it easier to keep the tripod in the workflow
- secure twist locks support fast room-to-room moves
- precision improves sharply with a geared head pairing
Cons:
- full extension can feel short for taller shooters
- travel-style legs can take longer to deploy than a simple workhorse set
Skip it if: eye-level framing matters in every room and column extension would become a habit.
Source: review notes on Sirui pairing
View Sirui T-025X 52″ Carbon Fiber Tripod →
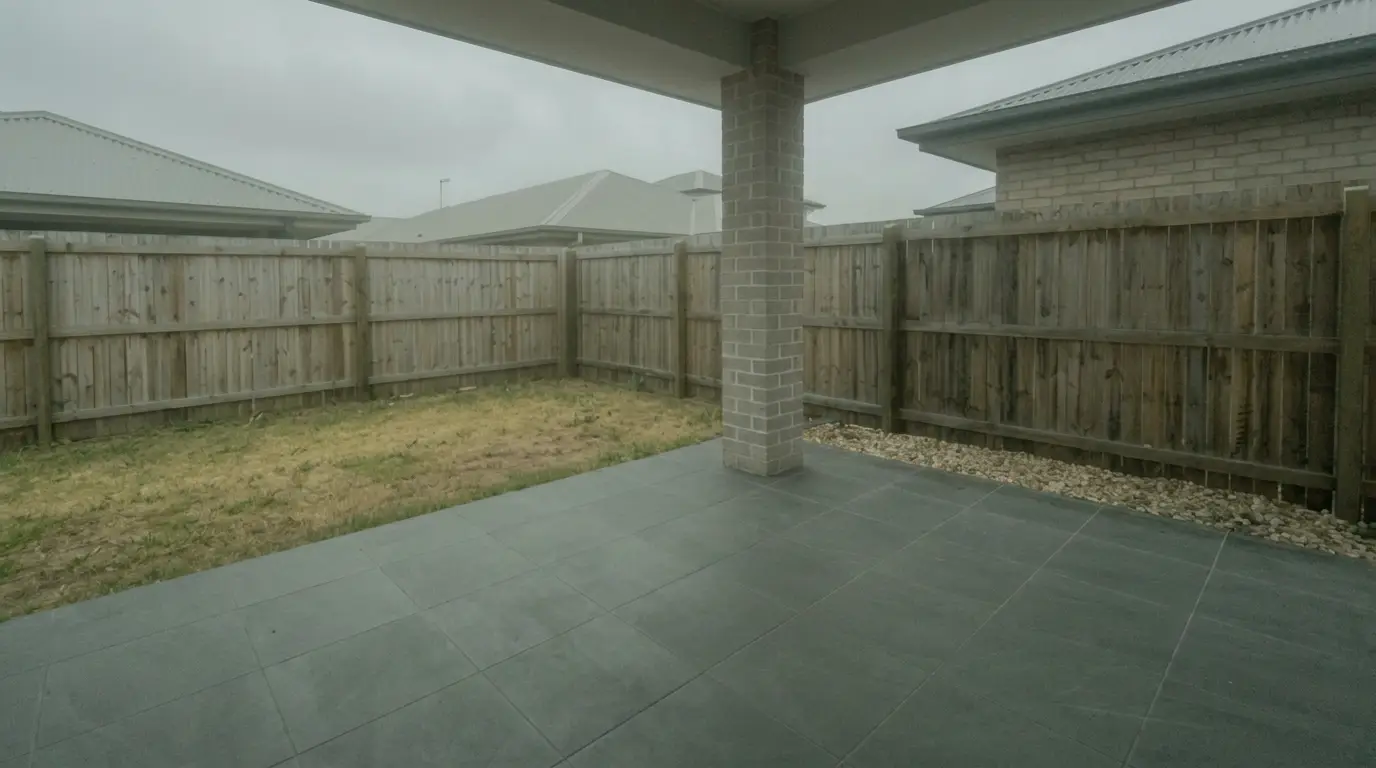
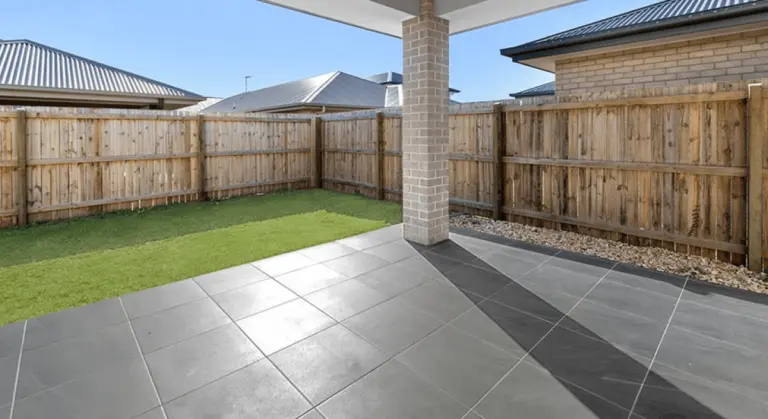
Get listing-ready photos in seconds
Clutter, exposure and twilight handled in one pass. All 11 tools on one account. Free trial credits, no credit card.
Start editing freeWorkhorses and Travel Rigs for Multi-Listing Days
A high-volume day favors two things at once: fast setup and a tripod that keeps its settings. The day also rewards lighter carry weight, since a tripod that stays in the hallway cannot help the bathroom shot.
This tier is also where folded length becomes a real constraint. A tripod that fits the passenger footwell stays available between appointments. A tripod that only fits in the trunk often gets buried under light stands.
Stability for Twilight and Long Exposures
Long exposures expose weak support first. Wind, floor bounce, and a raised column all show up as softness, even when the camera sits well within the load rating.
This use case also rewards a low minimum height. A tripod that can get close to the floor without gymnastics opens up low angles that make small rooms feel grounded. It also helps with under-cabinet lines and flooring details.
On-Site Workflow and the Post-Shoot Handoff
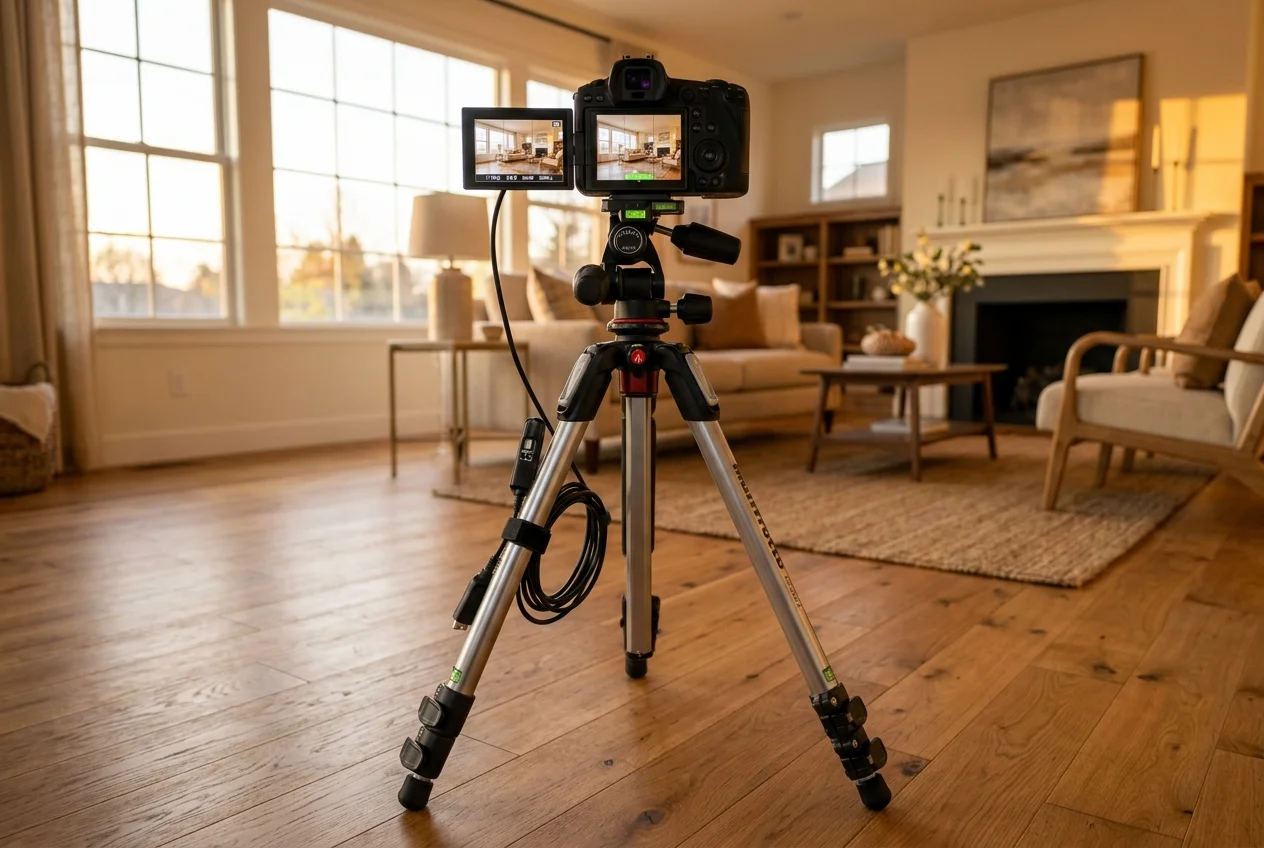
A tripod only pays off when habits make it repeatable. A shooter can own a stiff set of legs and still deliver a mixed-looking gallery if height and level drift room to room.
The workflow below focuses on speed and consistency. It also protects multi-frame alignment for HDR and flash composites such as the method in flambient flash-and-ambient technique.
Set the interior camera height standard
Pick one camera height that fits most rooms, then keep it. Mark a leg section with a small strip of tape so the same extension repeats in every room. Use a second tape mark for a lower “bathroom height” that still keeps the column down.
Level the base before touching the head
Adjust leg length or a leveling base first. Avoid compensating for an unlevel base by tilting the head, since that approach invites drift when the camera gets repositioned.
Lock the camera for multi-frame work
Start the bracket or flash sequence only after the frame is locked. Turn off anything that adds vibration, and avoid touching the tripod between frames.
Weight the tripod only when the weight cannot move
Hang weight from the center hook only if it rests still or straps tight. Never hang a bag that can swing, since movement adds sway during long exposures and brackets.
Protect floors and move without losing settings
Use rubber feet indoors and clean grit out of the feet after exterior work. Carry the tripod with legs partially closed so the height setting stays repeatable without re-measuring.
Care prevents the most common mid-season failure: leg locks that start slipping. Twist locks need occasional cleaning to remove job-site grit. Lever locks need checks for loosened hardware. Every tripod also benefits from a quick plate screw check before the first room.
Tight spaces still happen. When a full tripod will not fit, a low, wide leg spread often solves the powder room. Mini tripods and clamps can work for a single exposure, but they are not reliable for HDR alignment or multi-frame work since countertops and door frames can flex.
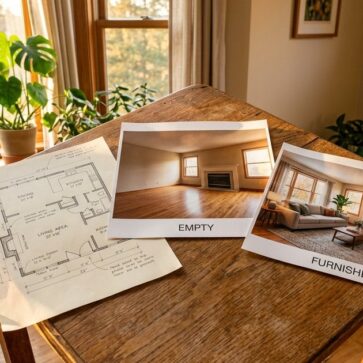
After the shoot, a level and consistent set makes downstream work faster. Bracket blending, vertical correction, and color consistency become simpler when the files share the same horizon and height. Capture discipline also supports presentation edits, such as empty-room staging and cleanup described in shooting a property for virtual staging and the workflow in editing techniques for listing photos.
AI edits still need clear labeling. Follow MLS Rules and add a Disclosure on any virtually staged or digitally altered image. A plain label like “virtually staged” or “digitally altered” is easy to apply and avoids confusion.
A clean capture also gives post work more room to look natural. AI HomeDesign supports three hubs, virtual staging, photo editing and renovation, with 11 tools in total, seven of them on the renovation side, all sharing one account and one credit pool, free regenerations when a result is not right, from $0.24 a photo, and MLS-compliant output by default. The tripod does not replace that layer, it supplies aligned, level files that make it behave predictably.
Find your pick
Tap your situation for a quick recommendation.
Frequently asked questions
Yes. Stabilization can help a single hand-held frame, but it cannot hold the camera in the identical position across a bracket or a flash and ambient sequence. It also does not create a repeatable camera height from room to room. Alignment, level horizons, and repeatability are the practical reasons a tripod stays essential for interiors.
Leg height in the high 50s to low 60s inches usually covers interior work once a head is added, since framing often sits around chest height. The more useful check is working height with the center column fully down. That is the height that stays stiff during brackets and long exposures.
A geared head, or a ball head paired with a leveling base, suits precision leveling. A ball head repositions quickly, but small changes can nudge multiple axes at once. If verticals drift even with careful shooting, head precision usually fixes the issue faster than changing tripod legs.
Carbon fiber makes sense when carry weight drives real behavior. A lighter tripod gets carried into every room and used in bathrooms, which raises the overall quality of the set. Aluminum still makes sense for durability per dollar when the tripod mostly moves from car to living room and takes hard knocks.
Yes, unless the shot truly needs the extra reach. A raised column is the least rigid part of most tripods, and vibration shows up during long exposures and multi-frame brackets. Extend a leg section first, accept a slightly lower camera height second, and use the column as the last option.
For a single exposure, it can. For multi-frame workflows like HDR bracketing or flash composites, treat it as unreliable. Vanities, countertops, and door frames flex, and the frames will not align. A low, wide leg spread or a short column setup usually works better than a clamp.