The Real Estate Photography Equipment Checklist for Beginners starts with a few high-impact essentials, not a room full of expensive gear. A crop sensor camera, a wide-angle lens, a sturdy tripod, and an off-camera flash cover the vast majority of real estate shooting scenarios. Lighting matters more than camera body price. Start there, add drone and AI editing tools later.
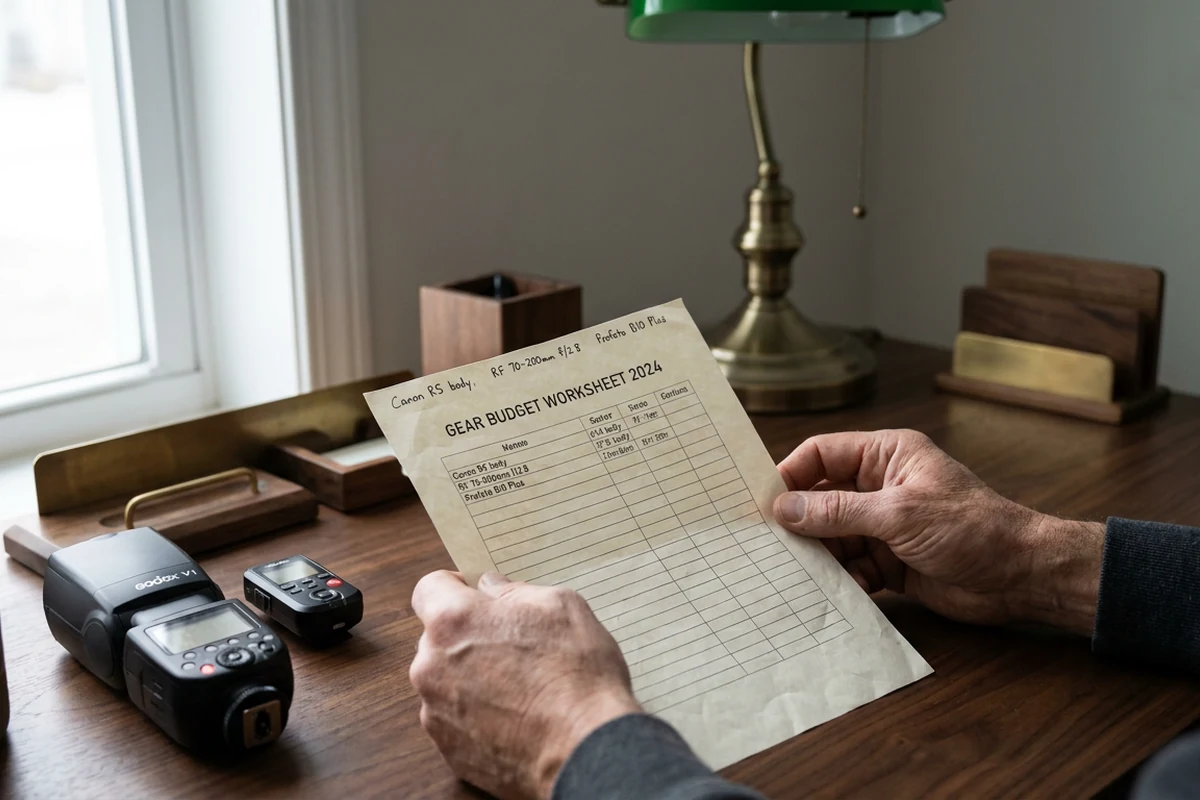
Starting out in real estate photography can feel like drowning in gear options. Camera bodies, lenses, lighting, and accessories all compete for a limited budget. A focused, well-chosen starter kit goes a long way. This guide breaks down each category, explains what each item does, and helps beginners focus spending so the first kit delivers strong results from day one.
Why Gear Choice Matters, But Isn’t the Whole Story
Plenty of photographers spend thousands on a new camera body, then shoot interiors with the overhead lights on and no flash. The results disappoint. Not because the camera failed, but because the lighting did.
Gear selection is about knowing which purchases move the needle most, not simply spending more. The foundation is simple: a crop sensor body, a wide-angle lens, a sturdy tripod, and an off-camera flash. Those four items cover the techniques experienced shooters return to regardless of budget.
Off-camera flash delivers a larger image quality jump than upgrading from a mid-range to a premium camera body. A beginner shooting with a crop sensor, a wide lens, and a single bounced flash will routinely outshoot a full-frame body used with no flash at all. That single fact shapes the priority framework used throughout this equipment list.
Essential Gear #1: Camera Body
Crop Sensor vs. Full Frame for Beginners
Beginners often overspend on a camera body before buying a single lens. That decision usually backfires. Crop sensor cameras have improved to the point where image quality alone is no longer a sufficient reason to choose full-frame. For most beginners, a capable APS-C body is the smarter starting investment.
Full-frame mirrorless bodies like the Sony A7 IV and Canon EOS R6 Mark II are the professional standard. They offer superior low-light performance and a wider native field of view. Those advantages matter in dark rooms with no flash setup. For a beginner still building technique, though, those gains are secondary to learning light and composition first.
| Factor | Crop Sensor (APS-C) | Full Frame |
|---|---|---|
| Cost | Lower | Significantly higher |
| Field of view | Narrower (crop factor) | Wider natively |
| Low-light | Good | Superior |
| Weight | Lighter | Heavier |
Consider a small bedroom shoot. A crop sensor body paired with a wide-angle lens in the 10–22mm range covers the space well. A full-frame body needs a 16–35mm lens to achieve a similar result. Both approaches work. The crop sensor kit simply costs less to assemble at the start. For model-specific picks, the guide on best cameras for real estate photography breaks down current options by budget and use case.
Essential Gear #2: Wide-Angle Lens
Focal Length and Distortion Guide
The camera body captures light, but the lens determines how space reads to a viewer. For interior real estate photography, the standard range is 16–35mm on a full-frame body or 10–22mm on a crop sensor. These ranges balance generous coverage with natural-looking perspective.
Focal length directly affects perceived room size and vertical line distortion. Shooting wider makes rooms appear larger, but going too wide introduces barrel distortion. Below 10mm on a crop sensor, walls curve and proportions misrepresent the actual space. That kind of distortion erodes buyer trust quickly.
A practical example clarifies this. Shooting a living room at 10mm on a crop sensor captures more of the room but bends straight lines noticeably. Pulling back to 16mm tightens the frame slightly yet keeps walls straight and geometry honest. For model-specific picks, the guide on best lens for real estate photography breaks down current options by sensor size and budget.
Essential Gear #3: Tripod
Blurry kitchen shots and converging vertical lines are two of the most common reasons a real estate photo set gets rejected by a listing agent. Both problems share the same root cause: a handheld camera. Even a steady hand introduces micro-movement at slower shutter speeds. No amount of post-processing fully recovers lost sharpness or corrects tilted walls after the fact.
HDR bracketing requires the camera to fire multiple exposures of the same frame. Any shift between shots creates ghosting that is difficult to blend cleanly. A tripod locks the frame completely, making each bracket pixel-perfect and the merge far cleaner in editing software.
Geared Head vs. Ball Head
Head choice matters as much as the legs. A ball head is fast to reposition, but fine leveling adjustments are difficult to control precisely. A geared head, such as the Manfrotto 190X series, uses separate knobs for pan, tilt, and roll. That allows micro-adjustments without disturbing the other axes. For architectural interiors where vertical lines must stay perfectly plumb, that level of control is a practical advantage.
Load Capacity and Height
A tripod rated for at least double the weight of the camera-and-lens combination is the standard starting point. Undersized load ratings cause slow, invisible sag during long exposures. Height matters too: the tripod should reach roughly chest height without the center column extended, since raising the column reduces stability.
The Remote Shutter Release
Even with the camera locked on a tripod, pressing the shutter button physically introduces vibration. A remote shutter release, or an intervalometer for bracketed sequences, eliminates that contact entirely. The result is cleaner long exposures and sharper HDR brackets, particularly when using the flambient method, where ambient and flash exposures must align precisely.
Essential Gear #4: Off-Camera Flash and the Flambient Method
Blown-out windows and muddy shadows are the most common complaints clients raise about interior shots. Fixing them does not require a more expensive camera body. A starter setup of two Godox V1 speedlites paired with an X2T radio trigger keeps the investment manageable while solving both problems.
How the Flambient Method Works
When a photographer captures two exposures of the same room, one with natural window light and one with a bounced speedlite filling the shadows, then blends them in editing, that is flambient. The result is interior light that reads as natural rather than artificial. Clean, balanced rooms without the harsh hotspots that direct flash creates.
The workflow follows three steps. Shoot a bracketed ambient sequence. Shoot a separate flash-only frame with the speedlite bounced off the ceiling. Blend the two in editing software using layer masks. Each step is repeatable, which matters when scaling to multiple shoots per week.
Natural Light vs. Off-Camera Flash
Natural light requires almost no setup time and has a minimal learning curve. Off-camera flash demands more time on location and a post-processing skill investment. The trade-off is consistent image quality regardless of weather, time of day, or window orientation, conditions that natural light alone cannot guarantee.
Optional Gear: Drone Photography
Clients listing properties with large backyards, acreage, or distinctive rooflines increasingly ask for aerial shots. Aerial photography via drone has shifted from a premium add-on to a near-standard expectation for these property types. Photographers who lack this capability risk losing listings to competitors who offer it.
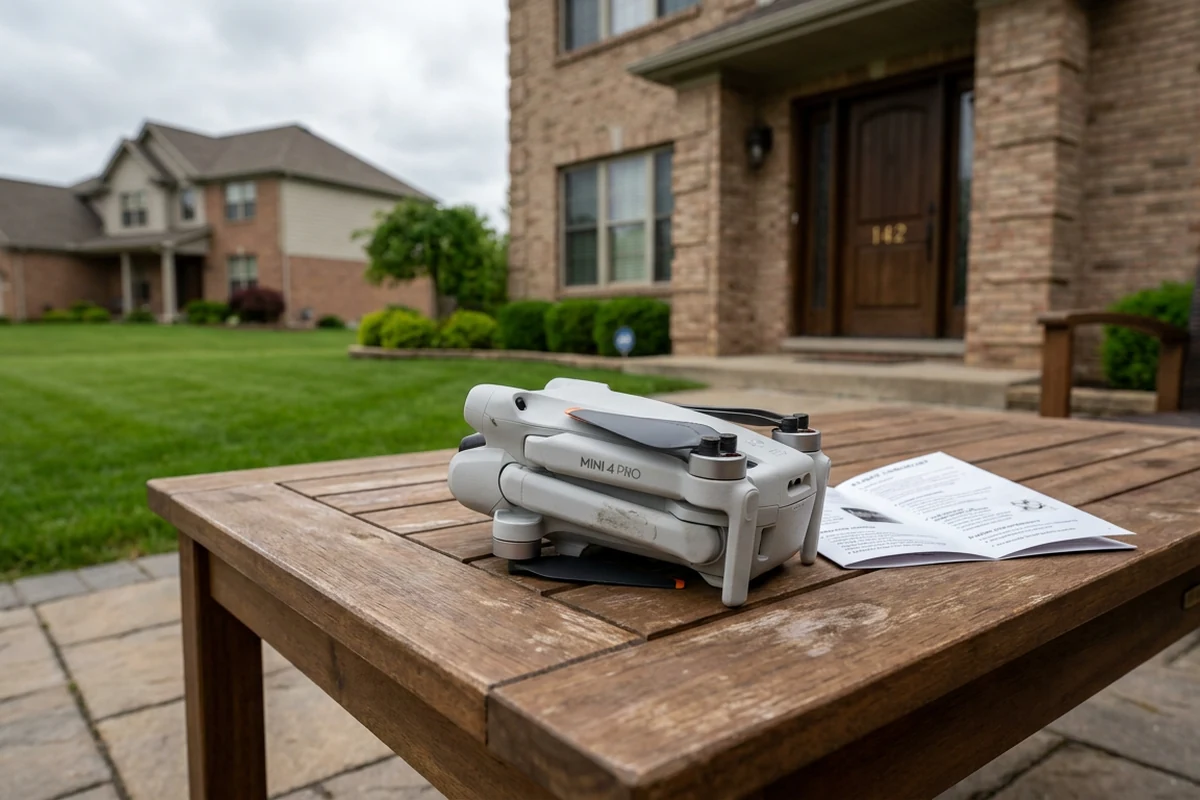
Sub-250g Drones and Regulations
The DJI Mini 4 Pro sits in the sub-250g weight class. In many jurisdictions, drones below this threshold bypass the heavier registration and licensing requirements applied to larger aircraft. That regulatory advantage makes it a practical entry point for photographers adding aerial services without significant administrative overhead.
Lighter drones sacrifice some sensor size and wind resistance. Heavier models offer a higher image quality ceiling but carry stricter registration requirements, reduced portability, and greater cost. For most suburban property shoots, a wide backyard or a corner-lot exterior, the sub-250g class delivers more than enough quality.
One caution: sub-250g status is not a universal exemption. Airspace rules vary by country, region, and municipality. Always verify local regulations before any flight. Consulting resources on best drones for real estate photography can help narrow down model comparisons and flag jurisdiction-specific considerations.
Software and AI Tools for Post-Production
Beginners often shoot a solid set of images, then stall at the editing stage. Real estate photo editing no longer requires Photoshop fluency. Purpose-built AI platforms can deliver polished, corrected images in seconds, a fraction of the time manual editing demands.
Day to dusk conversion is one of the clearest examples of AI’s practical value. Rather than reshoot at golden hour, an AI tool replaces a flat daytime sky with a warm dusk scene automatically. This adds listing appeal without additional scheduling or travel costs.
Virtual Staging and Video Automation
Platforms in the AI virtual staging category, AI HomeDesign among them, offer virtual staging at costs reported to be up to 97% cheaper than traditional physical staging. That price difference makes staging accessible on nearly any listing budget. Separately, tools like Amplifiles convert listing photos into a marketing video in minutes. Anecdotally, listing video packages represent the biggest competitive upsell opportunity for real estate photographers heading into the next year.
AI tools can also prepare real estate photos for MLS by auto-resizing and adjusting images to platform specifications. About 85% of real estate agents report regular AI use as of 2026, which means these tools have moved from novelty to standard workflow.
When to Skip Expensive Gear
Overspending early is one of the most common beginner mistakes. A drone, for instance, makes little sense for urban high-rise listings, heavily regulated airspace, or clients who only need interior shots. The registration requirements and flight restrictions alone can stall a shoot before it starts. Matching gear to the actual job prevents wasted money.
Off-camera flash is the highest-ROI lighting investment, but only once camera fundamentals are solid. A photographer still struggling with exposure, white balance, and composition will not benefit from adding flash complexity. Natural light first, flash second. That sequence produces better results and fewer frustrating shoots.
Where AI Changes the Calculus
Purpose-built real estate AI tools handle sky replacement, window pulls, and color correction automatically. That removes the need for advanced Photoshop skills in most standard workflows. For tasks like virtual staging, AI handles the heavy lifting entirely. A smartphone remains a legitimate tool for quick detail shots, but it is not a substitute for a dedicated camera body on a full listing.
A practical starter kit stays well under two thousand dollars: a crop sensor body, a wide-angle lens, a sturdy tripod, and one speedlite cover the vast majority of interior assignments.
Full Real Estate Photography Equipment Checklist
A smarter approach organizes gear into priority tiers, matching spend to actual impact on image quality and client results.
Tier 1: Essential
- Crop sensor camera body (modern APS-C sensors deliver professional results)
- Ultra-wide-angle lens (10–22mm crop / 16–35mm full-frame)
- Sturdy tripod with geared head, non-negotiable for HDR bracketing
- Remote shutter release to eliminate camera shake
Tier 2: High-ROI Add-On
- Two speedlite flashes plus radio triggers for flambient shooting (delivers a larger quality jump than any camera body upgrade)
Tier 3: Optional Growth
- Sub-250g drone (e.g., DJI Mini 4 Pro), often bypasses heavy registration requirements
- Gimbal stabilizer (e.g., DJI RS4 Pro), the standard for smooth video walkthroughs
Tier 4: Software
- AI editing platform for fast turnaround on corrections
- Best virtual staging software for real estate, AI-powered options cost a fraction of physical staging
- Listing video automation tool, converts photos into marketing video in minutes
Final Verdict
For beginners, the core kit is straightforward: a crop sensor camera body, an ultra-wide-angle lens, a sturdy tripod, and an off-camera flash setup. These four items cover the vast majority of real estate shooting scenarios. Everything else is a layer added as budget and client demand grow.
Lighting deserves more attention than camera body choice. Off-camera flash, used with the flambient technique, produces a more noticeable quality jump than switching to a more expensive camera. Beginners who invest in a two-speedlite setup early find their images improve faster than those who spend the same money on a body upgrade.
Post-production is where many beginners underestimate the time cost. AI editing tools purpose-built for real estate have shortened turnaround dramatically. Several platforms in this category — including AI HomeDesign and others — handle sky replacement, object removal, and exposure correction without requiring Photoshop expertise.
Drone capability is worth adding once the core kit is solid. Sub-250g models reduce regulatory friction in most markets. Aerial shots are increasingly expected for larger properties, so building that skill early positions a photographer well for higher-value listings.
The practical next step for most beginners is to price out the four core items and start shooting with what is available now. Waiting for a complete kit usually delays skill development more than any gear gap does. Consistent shooting with a modest setup builds the judgment that makes better gear useful later.
Frequently Asked Questions
Can a smartphone replace a camera body when starting out?
Modern flagship smartphones can produce usable exterior shots in good light. The real limitations appear indoors: fixed aperture optics, aggressive computational sharpening, and limited RAW flexibility make it hard to recover blown windows or dark corners in post. For paid client work, a dedicated camera body with a wide-angle lens gives far more editing latitude.
Is one speedlite enough to learn the flambient method?
One speedlite is enough to learn the fundamentals. A single bounced flash blended with an ambient exposure covers most standard rooms. A second unit becomes useful for larger spaces or rooms with multiple problem light sources, but it is not a prerequisite for learning the technique.
Is a sub-250g drone actually exempt from registration in the United States and Canada?
Not entirely. In the United States, the FAA still requires recreational flyers to pass TRUST certification, and commercial operators must hold a Part 107 license regardless of drone weight. In Canada, sub-250g drones fall under a lighter regulatory category but are not fully exempt. Checking current Transport Canada and FAA rules before any commercial flight is essential.
How should a photographer handle very dark interiors where flash struggles?
A second speedlite placed deeper in the room, triggered wirelessly, helps fill shadows that a single bounce cannot reach. Portable LED panels are another option for continuous fill in very dark spaces. Some photographers also shoot additional ambient exposures at higher ISO and blend them in post, which reduces the load on flash output.
Can AI editing tools replace HDR bracketing entirely?
AI editing tools can recover significant dynamic range from a single well-exposed RAW file, and generative ai in real estate photography has made single-exposure workflows more viable. Rooms with extreme contrast, bright windows alongside very dark walls, still benefit from bracketed exposures. Shooting brackets costs nothing extra on set and preserves options in post.