How to Photograph a House Exterior in a 45-Minute Order
In short
- Shoot a sequence: prep first, choose a three-quarter hero angle, then lock a repeatable capture recipe.
- Keep walls straight: hold the camera level at chest height and step back instead of tilting up.
- Edit cosmetics only: sky, color, and lawn recovery are fine; structural changes are not.
Bad exterior photos rarely fail for a “camera” reason. Most fall apart because no one ran a simple sequence on site: the driveway stayed busy, the camera tilted up, the facade sat in the wrong light, and the sky and shadows fought each other.
This walkthrough shows how to photograph a house exterior in a repeatable shoot order that fits a normal listing schedule. The routine takes about 30 to 45 minutes and works on a recent phone or a camera.
For a broader foundation beyond exteriors, the real estate photography guide for beginners covers the baseline habits that keep whole galleries consistent.
What a finished exterior set needs
Listings need an exterior set that reads fast at thumbnail size and still holds up full-screen. That starts with one hero front image that carries the click, then a small supporting set that answers basic buyer questions: “what does the front look like,” “how does it sit on the street,” and “what is the outdoor living like.”
A clean target set usually includes a hero three-quarter front, a secondary front from the opposite corner, and a street-context frame taken from down the block. Add a backyard wide, an outdoor living shot that feels like a place to sit, and one entry detail. Then capture any amenity that truly drives value, like a pool, a view, extra parking, or a detached structure.
The hero front deserves extra care because it must do three jobs at once. It has to show the facade clearly, hold the sky, and keep walls straight. Supporting shots can stay simpler as long as they match the hero’s tone and horizon.
Delivery also matters. A practical standard is to edit and deliver the exterior selects within 1 day, because agents often build the MLS draft and marketing posts right after the shoot. Extra time usually signals avoidable rework, not better photography.
Shoot order for how to photograph a house exterior
A strong exterior shoot runs like a loop, not a scavenger hunt. The fastest path is a prep pass, an angle decision, a light decision, then a capture recipe that stays consistent across every frame.
This order also clarifies what must happen on site versus what can wait for editing. Cars, bins, and camera tilt need on-site fixes. Sky, contrast, and lawn recovery belong in the finishing pass.
The steps below assume a single-family home, shot from the opposite sidewalk or curb line. For tight urban lots, the same sequence still applies, but the hero position shifts farther down the block.
Start with the hero, then shoot the supporting loop. That keeps the gallery anchored even if weather or traffic interrupts the last few frames.
Do the prep pass before the camera comes out
Move every vehicle off the driveway and out of the likely frame, including anything parked on the street that blocks the facade. Roll trash and recycling bins behind a fence line or into a garage. Coil hoses, hide sprinklers, and pull small clutter off the porch.
Close the garage door in most cases. A closed door looks cleaner, protects privacy, and avoids a dark “cave” rectangle. Leave it open only when the garage itself sells the property, and the interior looks staged and bright.
Sweep or hose the driveway and walkway so concrete reads even. Straighten mats, planters, and house numbers. Clean the front door glass and any sidelights.
For a deeper prep checklist that covers the whole property, how to prepare a home for real estate photos breaks the work into quick, agent-friendly passes.
Pick the hero angle on a three-quarter arc
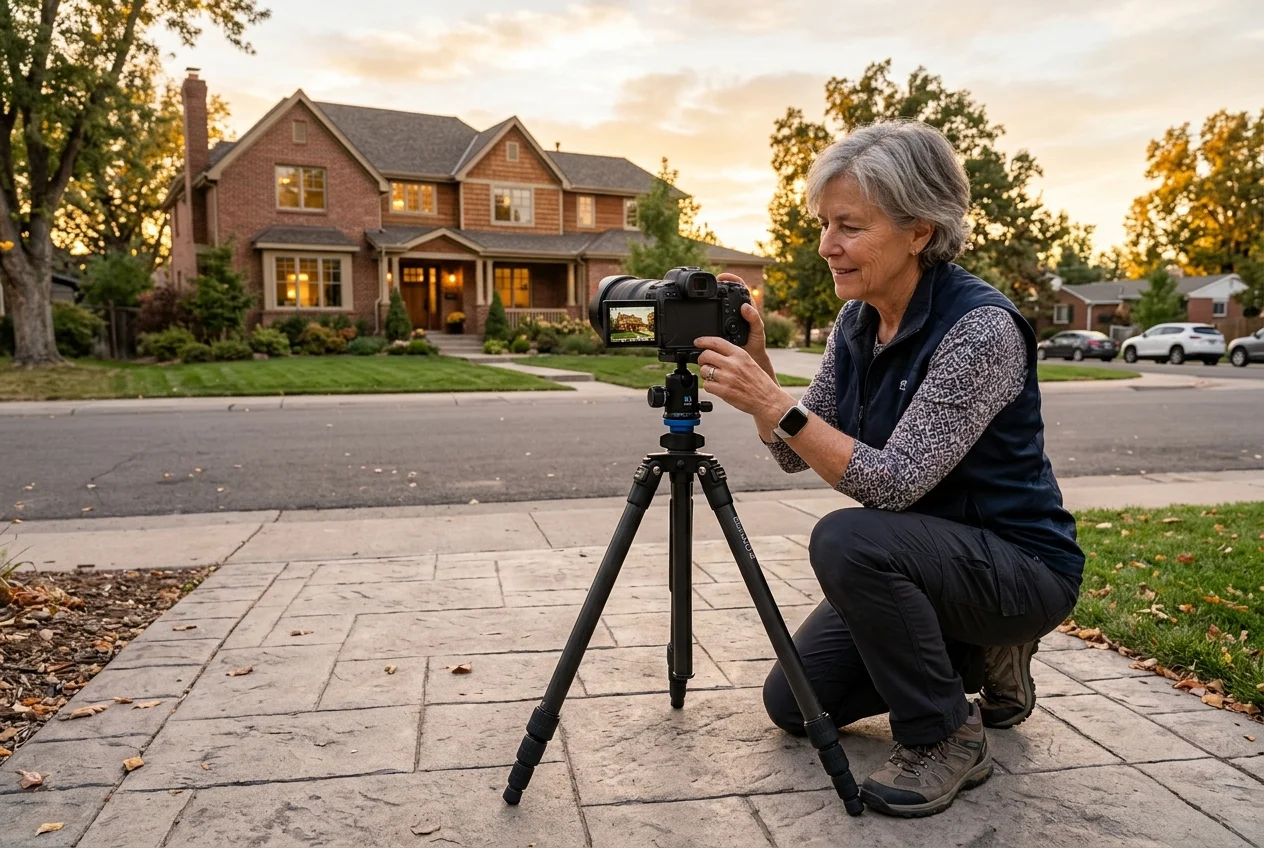
Start across the street, then walk an arc from one front corner to the other. The best hero spot usually shows the front facade plus one side wall, with the entry visible and the driveway kept from dominating the lower third.
Keep camera height around chest height and keep the camera level. Tilting up creates leaning verticals that look like falling walls. Stepping back, then going slightly wider, fits a two-storey roofline without forcing a tilt.
Use a walkway or driveway as a leading line when it naturally points toward the door. Avoid framing that blocks the facade with branches or parked cars. Leave a little extra space above the roofline, since vertical correction later will crop the top edge.
A stable setup helps more than a “better” lens here. A tripod that holds a level horizon reduces the small tilts that create extra correction work in post.
Choose the light window based on facade orientation
Pick a light window that matches which direction the front faces, not a generic “golden hour” rule. East-facing fronts look best in the morning. West-facing fronts look best later in the day. North-facing fronts often stay shaded, so bright overcast or late-day edge light often reads cleaner.
Overcast light is the easiest window for a clean, even hero. Shadows soften, brick and siding hold detail, and the whole facade stays readable. The trade-off is a flatter sky, which the finishing pass can often fix.
Front-lit late-day light adds depth and warmth when the sun sits behind the camera position and lands on the facade. Avoid harsh midday whenever possible, since short shadows and bright sky often push the camera into ugly exposure choices.
True twilight works for premium listings, evening-lit homes, and properties with strong exterior lighting. A dedicated twilight workflow takes planning, and shooting a true twilight exterior covers timing, safety, and the light-prep routine that makes the short window count.
Shoot the capture recipe on camera
Use a focal length that holds the house from the sidewalk without bending the facade. A 24 to 35mm equivalent range usually fits that balance. Set aperture around f/8 for depth and corner sharpness, ISO 100 as a base, and let shutter speed fall where exposure needs it, since the tripod carries stability.
Shoot RAW when available. Set focus once on the facade, then keep it consistent so the bracket merges cleanly.
Bracket exposures for the hero. Capture 3 to 5 frames spaced 1 to 2 stops apart so the sky and shaded facade both hold detail. The outdoor dynamic range between bright sky and deep porch shade rarely fits into one exposure, even on a modern sensor.
For a deeper explanation of merge options and when HDR helps, bracketed HDR capture for real estate lays out the trade-offs clearly.
Shoot the phone version without ultra-wide distortion
Use the main lens, not the ultrawide, unless the lot forces a tight stand. Turn on the grid and level. Tap the facade, then lock exposure and focus so the phone stops “breathing” between frames.
Expose slightly for the sky, then lift shadow detail later. HDR can help, but it can also create crunchy edges on rooflines, so the safest approach is a steady, locked shot with consistent exposure.
Shoot the highest-quality format available on the device. Avoid panorama for the hero, since stitched panoramas often bend straight lines in roof edges and siding.
For device-specific settings, shooting with an iPhone for listings covers the controls that matter most for property work.
Lock the hero, then run a fast supporting loop
Shoot the hero three times, shifting slightly left, then center, then slightly right on the same arc. That small spread often produces one frame with cleaner rooflines, fewer reflections, or better tree separation.
After the hero, walk a loop and shoot one strong frame per item. Capture the opposite-corner front, then street context, then the backyard and outdoor living. Finish with entry and detail frames.
Save experiments for last. The deliverable should include only the consistent, listing-ready set, while odd angles and “maybe” frames belong in a separate selection folder.
Supporting shot list that completes the exterior story
After the hero front, the goal shifts from “best possible” to “complete and consistent.” The supporting set should answer buyer questions without pulling attention away from the lead photo.
A reliable order is: opposite front corner, street context, then the backyard. The opposite corner gives depth and shows the other side of the structure. The street context frame shows setback, tree coverage, and how close neighbors sit.
Backyard frames sell lifestyle. Shoot one backyard wide from a corner, then an outdoor living shot composed as seating or dining space. If a pool, view, garden, shop, or detached structure exists, capture one bracketed wide frame and one tighter detail.
Edge cases change the list. Townhomes and condos often need a broader street-context frame and less “side elevation.” Rural properties often benefit from a longer-lens street context that avoids showing too much neighbor property. For homes under construction, capture the exterior as-is and keep edits strictly cosmetic.
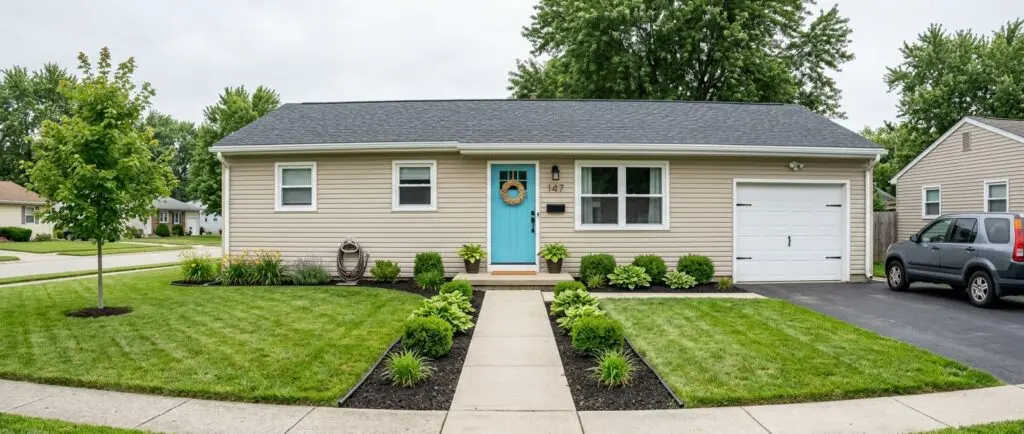
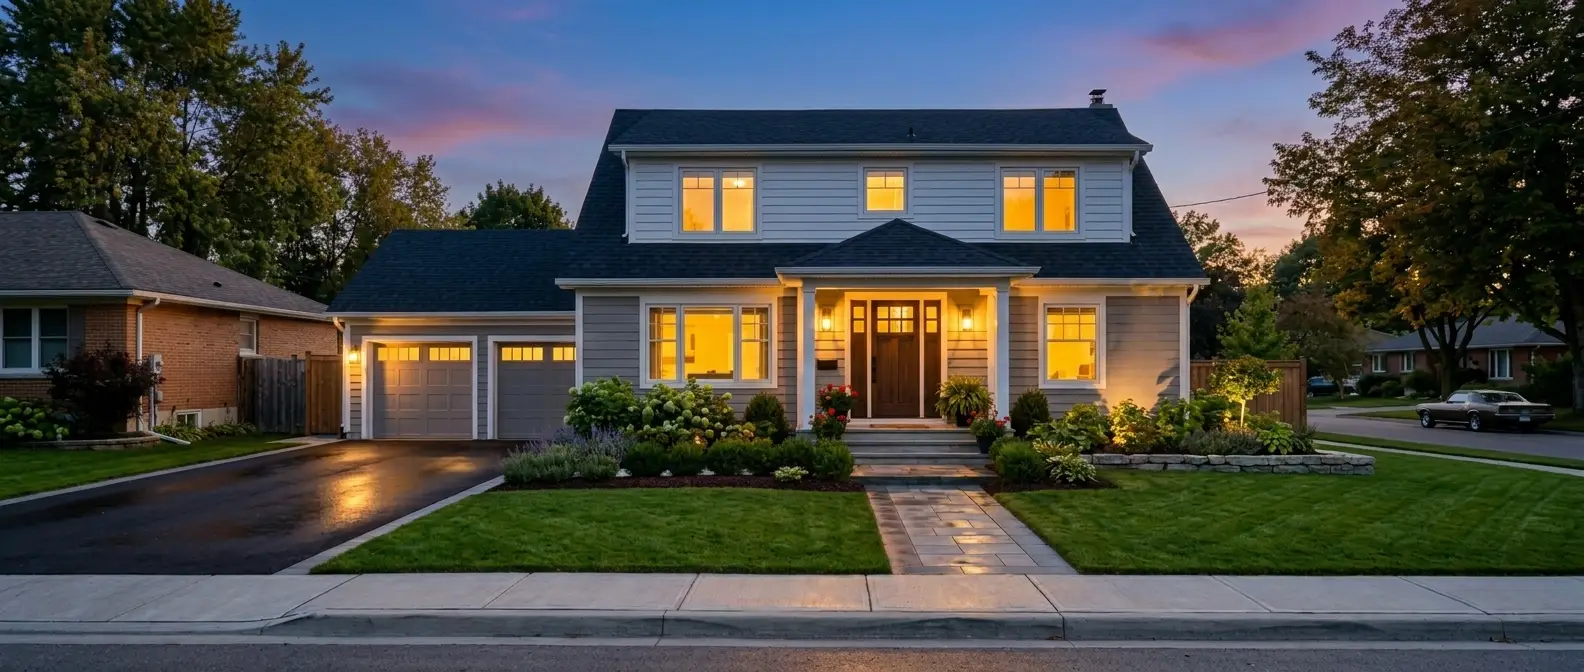
Turn a daytime shot into golden hour
Twilight sky, cleaner shadows, a tidier lawn. All 11 tools on one account. Free trial credits, no credit card.
Start day to dusk freeThe finishing pass that stays listing honest
Finishing starts with consistency, then moves to corrections. Merge or tone-map the bracket first. Apply lens correction and straighten the horizon. Then correct verticals so walls stand straight, accepting the small crop that correction requires.
Next, set a neutral white balance so siding, brick, and trim read true. Adjust exposure and contrast, then selectively lift the shaded side of the facade. Keep the look consistent across the entire exterior set, and match the overall tone to the interior images.
Cosmetic cleanup comes last. Sky replacement can solve a featureless or blown sky. Lawn recovery can reduce patchiness and bring grass back toward a natural green. Remove small objects that slipped through the prep pass, like a hose end or a stray bin corner.
The editing deliverable should stay clean. Edited finals belong in the delivered gallery. Agent notes about boundary issues, neighbor sightlines, or things worth disclosing belong in an email or call, not inside the photo files.
AI tools can also speed up this pass. AI HomeDesign combines virtual staging, photo editing, and renovation across three hubs and 11 specialized tools, with a shared credit pool, unlimited free regenerations, and pricing from $0.24 a photo. Its MLS-compliant output preserves fixtures and structure by default, which fits the “cosmetic only” goal of exterior finishing.
What stays MLS-compliant when editing exteriors
MLS rules vary, so the safest working principle stays simple: edits can improve how the photo looks, but they should not change what the property is.
Common cosmetic edits usually stay on the right side of that line. Exposure, color, contrast, and lens corrections help the camera match what the eye saw. Perspective correction fixes a capture artifact, not the building. Sky replacement and lawn recovery change weather and season feel, but they leave the structure intact.
Edits cross the line when they remove or add structures or hide material facts. Do not erase additions, damage, roof problems, or features that define the lot. Avoid removing neighboring buildings, overhead lines that materially affect the property, or any boundary-defining element.
Disclosures also matter. Many MLSs expect clear remarks when an image is virtually staged or heavily AI-edited.
Suggested disclosure language for listing remarks:

- “Photo digitally enhanced for brightness and color accuracy.”
- “Sky has been replaced for presentation.”
- “Virtual twilight image created from a daytime photo.”
- “Some images have been virtually staged.”
Commission or fee figures should not appear in the photo deliverable. Photos should sell the property, while pricing terms belong in a separate agreement or invoice.
Why the front shot looks flat and how to fix it
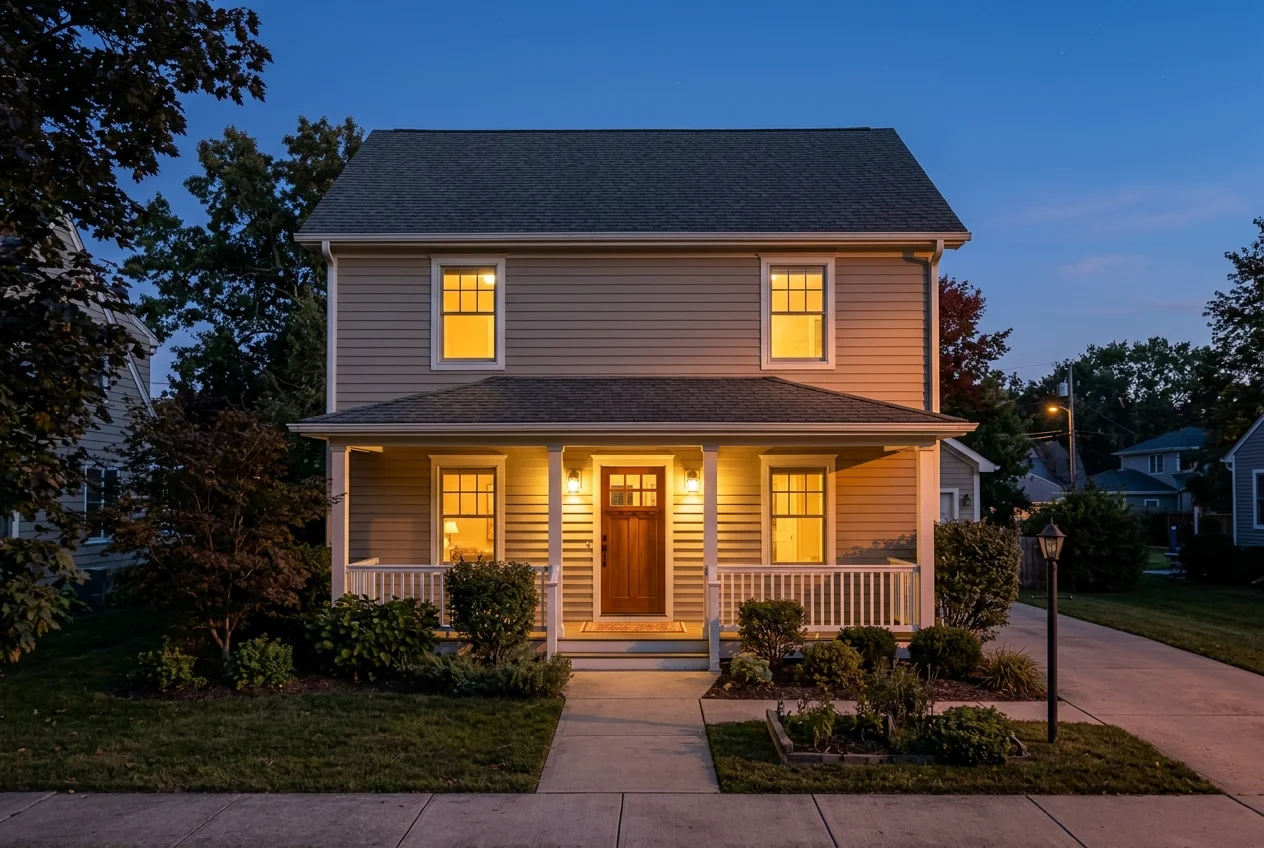
A flat hero shot usually signals a small on-site choice that compounded. Light hit the facade from the side, the camera pointed up, or the phone changed exposure between frames. Fixing the root cause matters more than adding “clarity” in editing.
Start by diagnosing what the photo is doing at thumbnail size. If the roofline disappears into a white sky, bracketing failed or never happened. If the front looks like a dark block, the light window was wrong for the facade orientation.
Some problems only accept an on-site fix. A parked car, open bin, or visible person in the hero should trigger a quick reshoot. Editing those out risks misrepresentation and often looks inconsistent across the set.
Other problems belong in the finishing pass. A featureless sky, a tired lawn, and deep porch shade respond well to bracket merging, selective lifts, and careful replacement work.
Hard shadow cuts across the facade
Likely cause: midday light or side-lit window
On-site fix: reshoot when the front is front-lit or overcast
Edit fix: lift shadows after a bracket merge
Car or bin dominates the lower third
Likely cause: prep pass missed clutter
On-site fix: move it, then reshoot
Edit fix: avoid “hero” object removal
Walls lean inward
Likely cause: camera tilted up
On-site fix: keep camera level, step back, then go wider
Edit fix: correct verticals, expect a small crop
Lawn looks brown and patchy
Likely cause: season or drought stress
On-site fix: tidy edges, remove debris, avoid extreme saturation
Edit fix: lawn recovery to a natural green
Sky turns white
Likely cause: single exposure, no bracket
On-site fix: bracket 3 to 5 frames
Edit fix: replace sky after base corrections
House looks small and far
Likely cause: head-on angle or too long a focal length
On-site fix: move closer, return to three-quarter arc
Edit fix: crop carefully, avoid fake zoom
Exterior set feels mismatched
Likely cause: auto exposure or shifting white balance
On-site fix: lock AE and keep a consistent position
Edit fix: batch-match white balance and contrast
Troubleshooting guide from symptom to cause, on-site fix, and edit fix.
Printable pre-shoot checklist for exterior photos
The fastest exterior shoots start the night before. This checklist fits a screenshot, a printout, or a notes app.
Keep the checklist out of the deliverable gallery. It is a production tool, not client-facing content.
Run the list in order. Small misses add up, especially around the hero frame.
Night before
0 of 5 doneTwenty minutes before
0 of 5 doneOn the frame
0 of 6 doneDIY or hire it out
DIY exterior work fits mid-market listings, cooperative light, and schedules that allow a focused 45-minute loop. The phone workflow can produce a credible hero when the prep and angle decisions stay disciplined.
Hiring a pro makes more sense for high-value homes, complex architecture, heavy tree cover, and listings that truly need real twilight or specialized gear. High listing volume also pushes the economics toward outsourcing, since agent time often becomes the expensive input.
A hybrid approach also works. Capture the exterior set on site, then send the selects through a consistent finishing pass that keeps the gallery clean and MLS-safe.
Frequently asked questions
What is the best time of day to photograph a house exterior?
The best time is when the sun lights the front facade, which depends on the home’s orientation. East-facing fronts usually read best in the morning, and west-facing fronts read best later in the day. Bright overcast can also produce clean, even siding with soft shadows. Midday often creates harsh contrast and washed skies.
What angle makes a house look best in photos?
A three-quarter angle from across the street usually looks best because it shows the front plus one side, which adds depth. A straight-on frame can work well for symmetrical architecture, but it often feels flatter as a lead image. Keeping the camera level matters more than the exact angle, since tilt creates leaning walls.
Can a house exterior be photographed with only a phone?
Yes for many listings, as long as the phone workflow stays controlled. The main lens usually keeps lines straighter than the ultrawide. A level grid, locked exposure, and steady support reduce most “DIY” problems. Panorama often bends rooflines, so a standard frame with bracketing or HDR usually holds up better.
What camera settings work best for exterior real estate photos?
A practical starting point is 24 to 35mm equivalent, around f/8, ISO 100, and RAW capture on a level tripod. Bracketing 3 to 5 frames spaced 1 to 2 stops apart helps hold both the sky and shaded facade detail. Shutter speed can vary freely when the camera stays stable.
Why do vertical lines lean in exterior photos?
Leaning walls usually come from tilting the camera upward to fit the roofline in frame. Tilting converges the verticals, especially on two-storey homes. A cleaner fix starts on site: keep the camera level, step back, and then go wider if needed. Editing can straighten verticals, but it requires a small crop.
Is sky replacement and virtual twilight allowed in listing photos?
Many MLSs allow cosmetic edits like sky replacement because they change the look of the image, not the structure of the property. The risk comes from edits that remove or alter buildings, boundaries, or material defects. Virtual twilight and virtual staging often require disclosure in remarks, so local MLS photo policy should guide labeling.