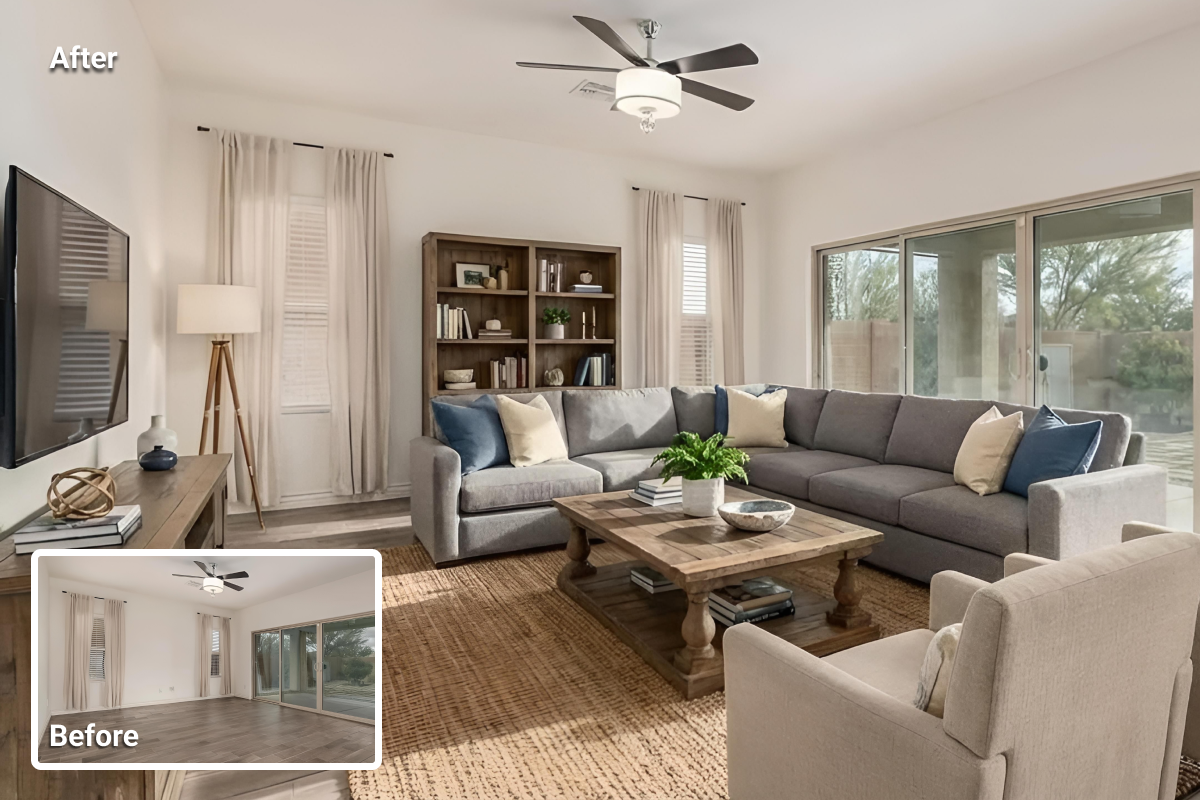
In the beginner guide to real estate photography, the focus is on capturing images for property listings. Shooting properties for virtual staging follows a more specific set of requirements.
To take virtual staging photos that support faster listing workflows, the objective is not only to capture a room, but to produce a clean, stable, and well-lit base image suitable for staging.
Virtual staging adds furniture and decor digitally, but the result depends on the quality of the original image. If the source photo contains distortion, mixed lighting, clutter, or poor framing, the final staged image often appears less realistic.
Tilted lines, blown-out windows, dark corners, and edge distractions can reduce clarity even after editing. These issues also introduce extra correction steps, which can slow down listing preparation.
This guide explains how to take virtual staging photos using a repeatable workflow that supports consistent results, realistic staging, and a more efficient path from capture to listing.
What Makes a Photo Work for Virtual Staging
Not all property photos perform equally in staging workflows. Certain visual conditions make staging results more accurate and more consistent.
Photos that work well for virtual staging typically include:
- clear room geometry with straight vertical lines
- visible floor space and wall boundaries
- balanced exposure without extreme highlights or shadows
- neutral color without strong yellow or blue shifts
- minimal clutter and clean surfaces
- enough depth and perspective to support furniture placement
When these conditions are present, staging tools can place objects more accurately, match lighting more naturally, and produce results that align better with the original space.
Shooting a Property For Virtual Staging: Step-by-step Overview
- Walk the property and pick your angles
- Clear the room and clean what the camera will capture
- Set up the camera and lock a consistent shooting height
- Use reliable camera settings that work in most homes
- Follow a room-by-room shot list
- Control light and color balance
- Run a final quality check before leaving
- Export, deliver, then stage with AI HomeDesign
Each step removes a common failure point. Together, they produce clean geometry, balanced lighting, and a complete photo ready for virtual staging. Each step also improves how staging tools interpret the space, which affects realism, consistency, and turnaround time.
Step 1: Walk the Property and Pick Your Angles
Decide what to shoot before you set up gear. Start with an angle that shows room shape and flow, then add a second angle only if it introduces new information.
To determine the best angles:
- Walk through the entire property once without carrying a camera.
- Select the main view for each room first. Corners and doorways typically show room shape most clearly.
- Plan shots that show how spaces connect (hall to living area, living to dining, kitchen entry).
Checkpoint: the angle for each room should be describable in one sentence, such as “Back-left corner toward windows and fireplace” or “Front-right corner toward the kitchen opening and the main window.” This makes shot consistency easier to maintain during capture.
A planned angle keeps the photo set consistent across rooms and reduces reshoots. It also clarifies what needs to be moved, straightened, or ignored because it never enters the frame. The next step focuses on clearing the space for those planned views.
A well-selected angle supports staging accuracy. Clear walls, visible floor space, and readable depth improve how furniture can be placed and scaled during staging.
Step 2: Clear the Room and Clean What the Camera Will See
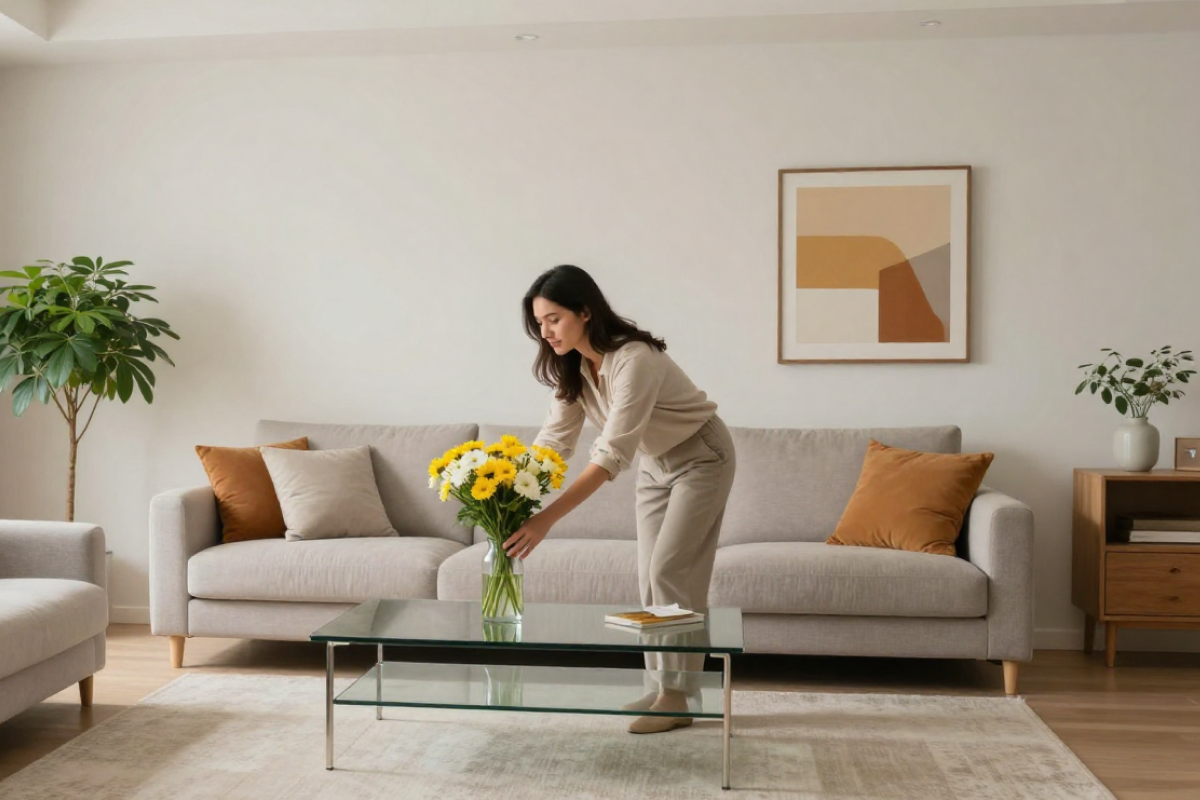
Remove visual noise so staging has a clean scene. Visual distractions pull attention away from the room and make the space harder to interpret. A clean frame also gives virtual staging a stronger foundation, so furniture placement, lighting, and shadows appear more natural.
To clear the room:
- Remove personal items such as family photos, toiletries, fridge notes, paperwork, chargers, pet items, trash bins, and loose cables.
- Clear counters and tables. Leave one or two neutral items only if the space feels unnaturally empty.
- Clean reflective and high-attention surfaces, including mirrors, stainless steel, glass, shiny floors, and glossy cabinets.
- Straighten rugs, chairs, bedding, towels, curtains, and blinds.
Checkpoint: Stand in the planned shooting position and scan the frame edges. Remove or reposition anything that pulls the eye away from the space itself.
Note: If certain items cannot be moved (large bins, boxes, bulky furniture), you can still shoot. Objects can be removed later using AIHomeDesign’s item remover, and the room can then be staged normally.
A clean frame reduces the need for item removal and improves staging accuracy. Fewer distractions allow staged elements to integrate more naturally into the scene.
Step 3: Set Up the Camera and Lock a Consistent Height
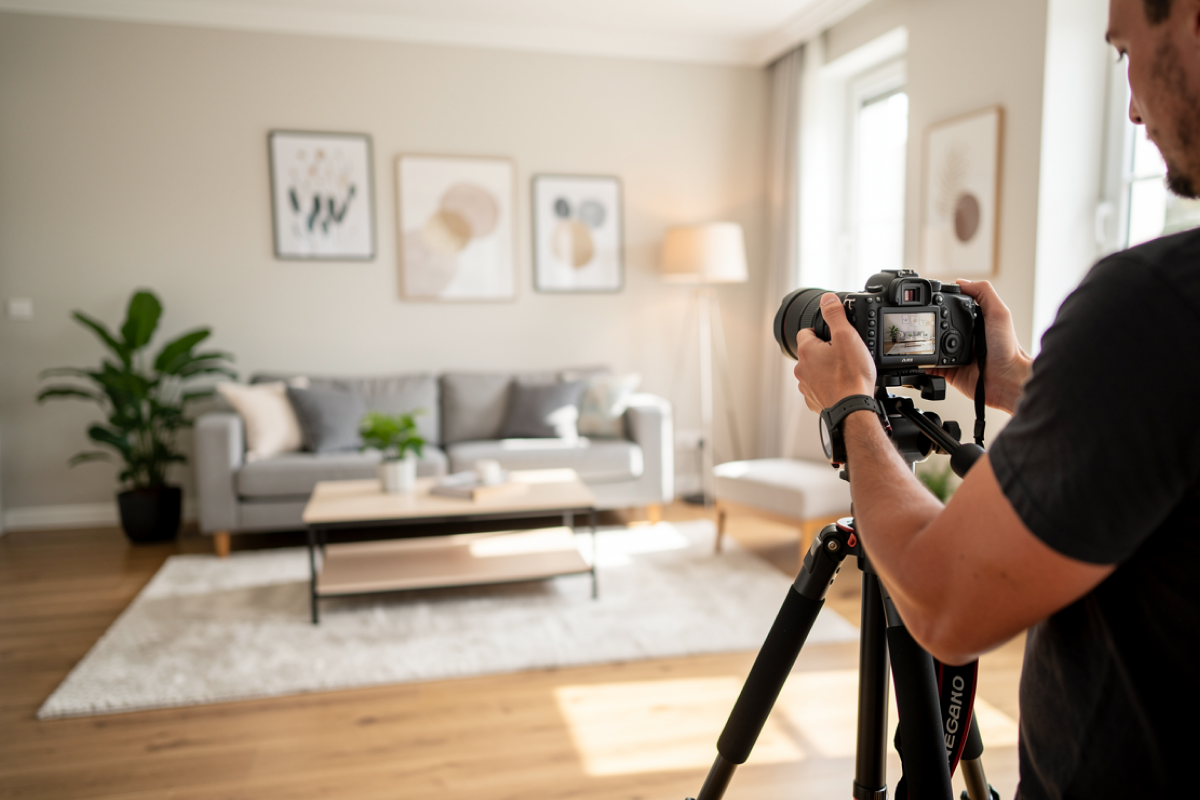
Consistency across the full photo set helps a listing read as a single, cohesive shoot. Keeping the same camera height, level horizon, and lens approach from room to room makes layout and scale easier to interpret.
Gear basics
- Camera: A DSLR or mirrorless camera for real estate photography gives better control over exposure, sharpness, and lens selection.
- Tripod: Using the same tripod in every room prevents blur and keeps framing stable.
- Lens: A wide-angle lens is typically best for interiors. Wide-angle lens choices for real estate photography matter because distortion can bend vertical lines and change how room size is perceived.
Setup rules
- Place the camera on a tripod for every shot.
- Set the camera height once and keep it consistent across the property. Many shoots land around chest height as this usually keeps vertical lines straight and avoids ceiling-heavy framing.
- Level the camera before each shot.
- Keep the camera square to walls whenever possible and avoid tilting up or down unless there is no alternative.
Checkpoint: Door frames and cabinet edges appear straight. Walls do not lean. The horizon stays level for all rooms.
Consistent framing across rooms supports a cohesive listing presentation and simplifies staging review when processing multiple images.
Step 4: Use Simple Camera Settings That Work in Most Homes
Sharp images with natural color and controlled noise depend on stable baseline settings. The goal is to keep walls neutral, edges defined, and shadows readable across the full photo set.
Start with a test shot. Review window detail and corner brightness, then lock the approach for that room before moving on. In most properties with standard lighting, the following baseline settings provide reliable results.
Baseline settings (adjust per room):
- Shoot in RAW when possible.
- Keep ISO low when possible (start around ISO 100–400).
- Use a mid-range aperture for full-room sharpness (often around f/7.1–f/11 on many lenses).
- Let the tripod handle slower shutter speeds instead of raising ISO.
- Set white balance manually when mixed light causes color shifts. If auto white balance is necessary, keep it consistent within each room.
If shooting with a phone:
- Use a tripod and a stable mount.
- Use the widest “normal” lens that does not introduce heavy line distortion.
- Use HDR only when it preserves wall and window detail. Disable it if halos or plastic-like textures appear.
Checkpoint: Zoom to 100% on a test frame. Fine textures should look clean, edges should remain sharp, and darker areas should still show surface detail. If blur or grain appears near the edges, lower ISO and allow a slower shutter speed on the tripod.
Stable exposure and color reduce the need for correction during staging and help preserve natural-looking results.
Step 5: Follow a Room-by-Room Shot List
A structured shot plan supports virtual staging by ensuring each room includes enough visual information for layout interpretation and furniture placement.
A room-by-room shot list prevents gaps, such as missing a bathroom, skipping an exterior view, or failing to show how the kitchen connects to the dining area. It also reduces reshoots by confirming full coverage before leaving the property.
After shooting a few properties, most photographers develop a sense of how many shots each space needs. For early shoots, the checklist below provides a reliable starting point.
Living room (4–6 shots)
- Two corner shots that show the full layout
- One shot from the entry that shows flow
- One shot that shows a key feature (fireplace, built-ins, large windows)
- Optional: one tighter shot showing materials (woodwork, shelving)
Kitchen (4–6 shots)
- Corner shot showing the full kitchen run
- Sink angle
- Stove/hood angle
- One shot showing counters and cabinet layout
- If the kitchen opens to dining, shoot that connection
Bedroom (3–5 shots each)
- Corner shot showing bed wall and window wall
- Opposite corner showing closet or entry
- Optional: one feature shot (balcony, built-in storage)
Bathroom (2–4 shots each)
- Shot from the doorway to show full layout
- Vanity/sink shot
- Shower/tub shot
- Close shot only if materials look high-end and clean
Dining area (2–4 shots)
- Corner showing dining area and nearest connecting space
- Shot showing ceiling fixture and wall space
Entry / hall (1–3 shots)
- One shot showing entry width
- One shot showing main path to living areas
Outdoor (4–8 shots)
- Front exterior straight-on
- Angle showing depth and driveway or walkway
- Backyard or patio wide view
- Balcony or terrace wide view
- One detail shot only if it adds real value (pool, outdoor kitchen)
Checkpoint: The full property story should be understandable using photos alone, with no missing rooms. Each space should include at least one clear “main” image plus connection shots showing how rooms relate to each other.
Scan the set in sequence and check for gaps in visual flow, framing inconsistency, or rooms that appear noticeably darker than the rest.
A structured shot plan supports virtual staging by ensuring each room includes enough visual information for layout interpretation and furniture placement.
Step 6: Control Light and Color
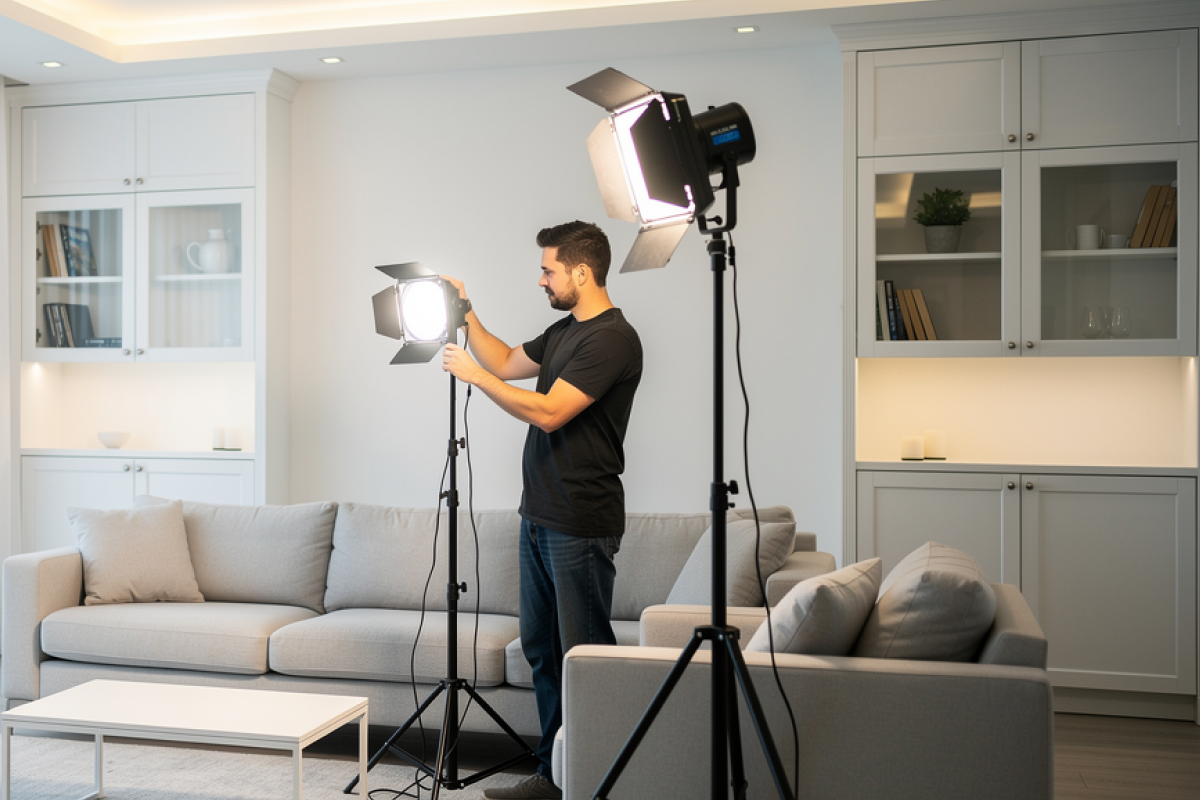
Most rooms combine daylight with warm interior bulbs, and that mix often pushes wall tones toward yellow or green in photos. Controlling the dominant light source helps preserve accurate color and keeps surfaces neutral.
Select one primary light source for the room, then adjust the environment to maintain consistent color. Capture a test frame and check the white surfaces (trim, cabinets, bedding) before shooting the full set.
Lighting control basics:
- Turn on interior lights in darker rooms when needed.
- Open blinds and curtains when daylight improves overall balance.
- Remove small lamps from frames if they create hotspots or odd color shifts.
Mixed light fix (common issue):
When daylight and warm bulbs conflict, one light should dominate.
- Option A: Use daylight as the primary source and turn off warm lamps that change wall color.
- Option B: Use interior lights as the primary source and reduce harsh daylight if it blows out windows.
Checkpoint: Review several “white” surfaces in the frame (trim, ceiling, cabinets, towels). They should appear consistent. If warm tones appear near lamps and cool tones appear near windows, adjust the room lighting or set white balance for that room and retest.
Balanced lighting improves material matching, shadow consistency, and overall realism in staged outputs.
Step 7: Do a Final Quality Check Before Leaving
Fixing issues on-site costs far less than fixing them later. On location, it’s easy to adjust framing, move an object, change lighting, or reshoot within minutes. A quick check also prevents coverage gaps that could require another visit.
Use this quick checklist to confirm each room has at least one clean main shot:
- Lines: Door frames and cabinets stay straight
- Sharpness: Edges look clean when you zoomed in
- Reflections: Mirrors and glossy surfaces do not show the photographer, tripod, or clutter
- Windows: Bright areas retain detail
- Floor: The image shows room depth without extreme distortion
- Framing: Doorways and architectural edges are not cropped awkwardly
Checkpoint: Confirm each room has at least one main photo strong enough to lead listing.
Strong source images reduce the need for reshoots and prevent delays in listing preparation.
Step 8: Prepare Files for Staging Tools
Export files that upload cleanly into virtual staging tools and remain easy to manage.
Clean exports reduce upload errors and keep previews close to the original shots. Consistent file naming also makes it easier to select the correct room during staging.
File guidelines:
- Use high resolution. Avoid unnecessary downscaling.
- Keep the original camera aspect ratio when possible.
- Export to JPG for standard delivery. Use PNG or TIFF only if the workflow requires it.
- Keep filenames simple and consistent (example: “01_LivingRoom_A.jpg”).
Avoid:
- On-camera flash aimed directly into the room (harsh glare, flat depth)
- Heavy filters that change wall color and floor tone
- Extreme ultra-wide settings that bend walls and cabinets
Clean file structure supports faster processing in virtual staging workflows and reduces selection errors during upload.
Common Capture Issues That Affect Virtual Staging
Most unrealistic staging results originate from problems in the original photo rather than the staging process itself.
Common issues include:
- tilted or distorted images that affect furniture alignment
- mixed lighting that creates inconsistent wall color
- cluttered rooms that interfere with object placement
- low-resolution or noisy images that reduce detail
- extreme wide-angle distortion that bends walls and edges
These conditions make it harder for staging tools to interpret the space correctly. In many cases, retaking the photo produces a better result than attempting to correct the image afterward.
Next step: Stage the photos with AI HomeDesign
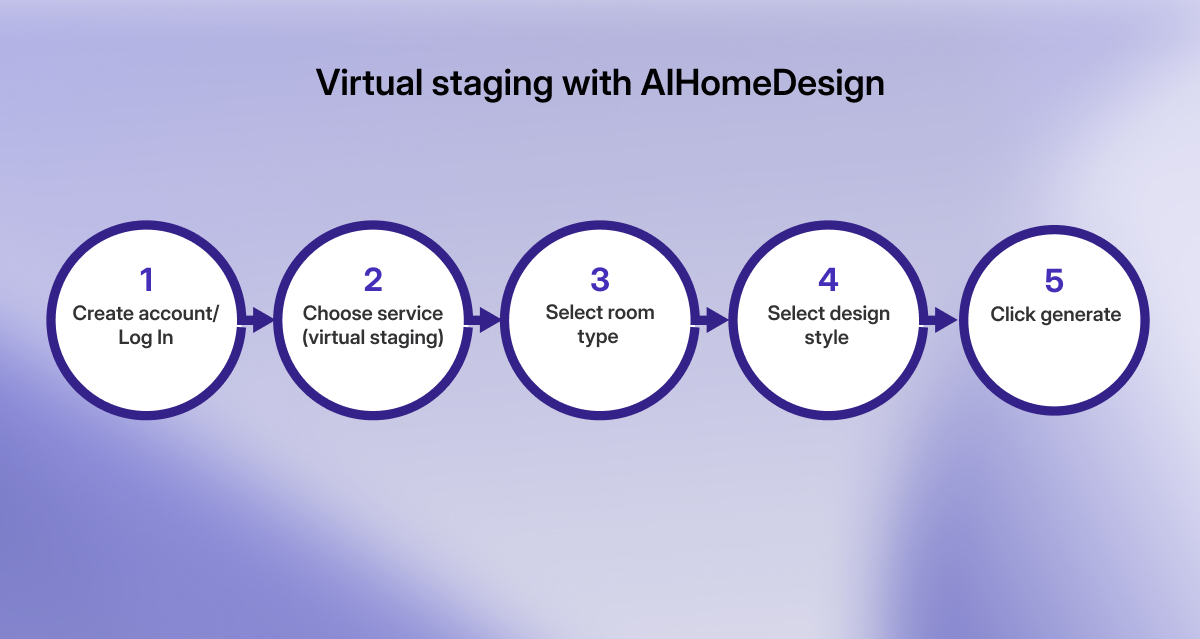
After confirming that the photos are ready, they can be uploaded to a virtual staging platform such as AIHomeDesign. The staging process typically includes selecting a room type, choosing a design style, and generating the staged image. The basic workflow looks like this:
- Create an account
- Choose AI virtual staging
- Upload the photo
- Choose room type
- Select a design style
- Click “generate”
Processing usually takes around 20–30 seconds. If the result does not look right, click “Generate More” to create additional staging variations. Each regeneration, you can use a different style if needed.
Once the staging looks accurate and visually balanced, download the final image.
Final Thoughts
Taking virtual staging photos consistently depends on consistency, attention to detail, and a structured workflow.
Small issues in capture can affect the final result. A slight tilt can shift vertical lines. Mixed lighting can alter wall color. Incomplete coverage can limit staging options. Following a repeatable process helps maintain quality across all images.
Over time, consistent capture improves staging accuracy and supports a more efficient listing workflow.